How to Laser Engrave a Photo: Prep, Image Mode, DPI and Settings
Laser engrave a photo on wood, slate or metal: prep, Jarvis or grayscale, the interval test for DPI, starting settings by material, and fixes for muddy results.
By Depthue Lab10 min read
To laser engrave a photo, crop it to the final size, raise its contrast, and engrave it with a dither mode such as Jarvis or Stucki. Find speed and power with a material test, then the line interval where your laser's lines just touch, usually 120 to 300 DPI. Invert the photo for slate, glass and anodized aluminium, and test on a scrap of the same material before the real piece.
Photos are a hard job for a laser. One answer on the LightBurn forum put it plainly: "photos are probably, the most difficult thing you can choose to do with a laser." What works is a fixed order of settings, each tested on its own.
The short version
- Pick and prep the photo. Sharp, contrasty, the subject filling the frame, cropped to the size you will engrave.
- Choose the image mode. Jarvis in LightBurn, Stucki as the alternative.
- Find speed and power. Run a material test and pick the darkest square that does not cut deep.
- Find the line interval. Run an interval test and keep the value where the lines just touch.
- Adjust the image. Gamma, contrast and brightness, tested on a small crop such as the eyes.
- Invert if needed and test. Invert for slate, glass and anodized aluminium, then engrave a scrap first.
Steps 3 to 5 follow LightBurn's own five-step guide: focus, speed and power, line interval, dot correction, then image adjustments. The sections below add the numbers from LightBurn's and xTool's documentation.
Choose and prep the photo
What engraves well
- Contrast and clear edges. LightBurn: "Images with sharp contours and contrast will work best."
- Enough pixels. xTool: "Aim for images that are at least 1000 by 1000 pixels."
- A big subject. A face that fills the frame keeps its detail. Remove a busy background before you start.
- The right material for a first try. LightBurn: "Slate makes a great beginner material, while wood can sometimes be a bit more challenging."
Size it to the final piece first
Two different numbers both get called DPI, and they are easy to mix up:
- The photo's resolution: how many pixels the photo has for each inch of the finished piece. xTool's photo guide asks for "at least 300 dpi to avoid pixelation".
- The engrave DPI: how many lines the laser scans per inch. This comes from your line interval test, below, and is usually 120 to 300.
Set the photo to the exact width and height of the finished piece before you adjust anything. LightBurn resamples the photo to the engrave DPI unless you tell it not to. Once you know your interval, LightBurn recommends you "create future images with the same DPI as dictated by the Line Interval you found".
Keep a customer's photo private
If you engrave other people's photos, check where they go. ImagR says: "Uploaded images are processed on our servers and automatically deleted after 30 minutes." PhotoEngraving.online says: "Photos are processed locally in your browser and are not uploaded to our server." LightBurn is a program on your own computer, so the photo stays with you.
Pick the image mode
The image mode decides how shades of grey become dots or power. LightBurn's own words for each mode:
| Mode | What LightBurn says | Use it for photos? |
|---|---|---|
| Jarvis | "Generally the best choice for smooth-shaded or photo images" | Yes, start here |
| Stucki | "A good choice for smooth-shaded or photo images, with slightly faster processing than Jarvis" | Yes |
| Dither | "the best choice for smoothly shaded images, like photos" | Yes |
| Atkinson | "resembles Jarvis but preserves detail better, though struggles to show detail in very light and dark areas" | Sometimes |
| Ordered | "ok for general use, but works best for images with large areas of solid fill" | Rarely |
| Newsprint | "A decorative pattern that imitates newsprint halftoning" | For the look |
| Halftone | "Good quality shading for high DPI images" | For the look |
| Sketch | "Useful for line drawings or handwriting" | No |
| Threshold | "Don't use this mode for grayscale or color images." | No |
| Grayscale | Varies the power instead of placing dots | Hard; see below |
Dither or grayscale?
It depends on the laser and the software:
- LightBurn on a diode: Grayscale "can provide great shading but is harder to get right than plain dithering".
- LightBurn on a CO2: "grayscale mode can achieve variable depth (3D) engraving rather than shading." On a CO2, Grayscale carves rather than shades.
- xTool: "Generally, we recommend Jarvis mode for infrared light and grayscale mode for blue light."
So there is no single right answer. Start with Jarvis in LightBurn. On an xTool blue diode, try xTool's recommended Grayscale first, then Jarvis on the same scrap.
xTool Studio
xTool's bitmap guide lists seven modes: Grayscale, Jarvis, Bayer, Floyd, Stucki, Atkinson and Sierra. For xTool Studio (formerly XCS), xTool says: "The default mode is Grayscale." Sketch appears among xTool's image filters, not its modes. Bitmap Engrave takes PNG, JPG or WEBP.
Already dithered? Use Pass-Through
Free web tools can hand you a photo that is already dithered: black and white dots only. Engrave that as it is. LightBurn's Pass-Through setting does this "rather than resampling", and the "Line Interval/DPI will be directly tied to the size of the image". Do the reverse with a normal photo: Threshold "should only be used for images that are two-color black/white to begin with".
Find speed and power
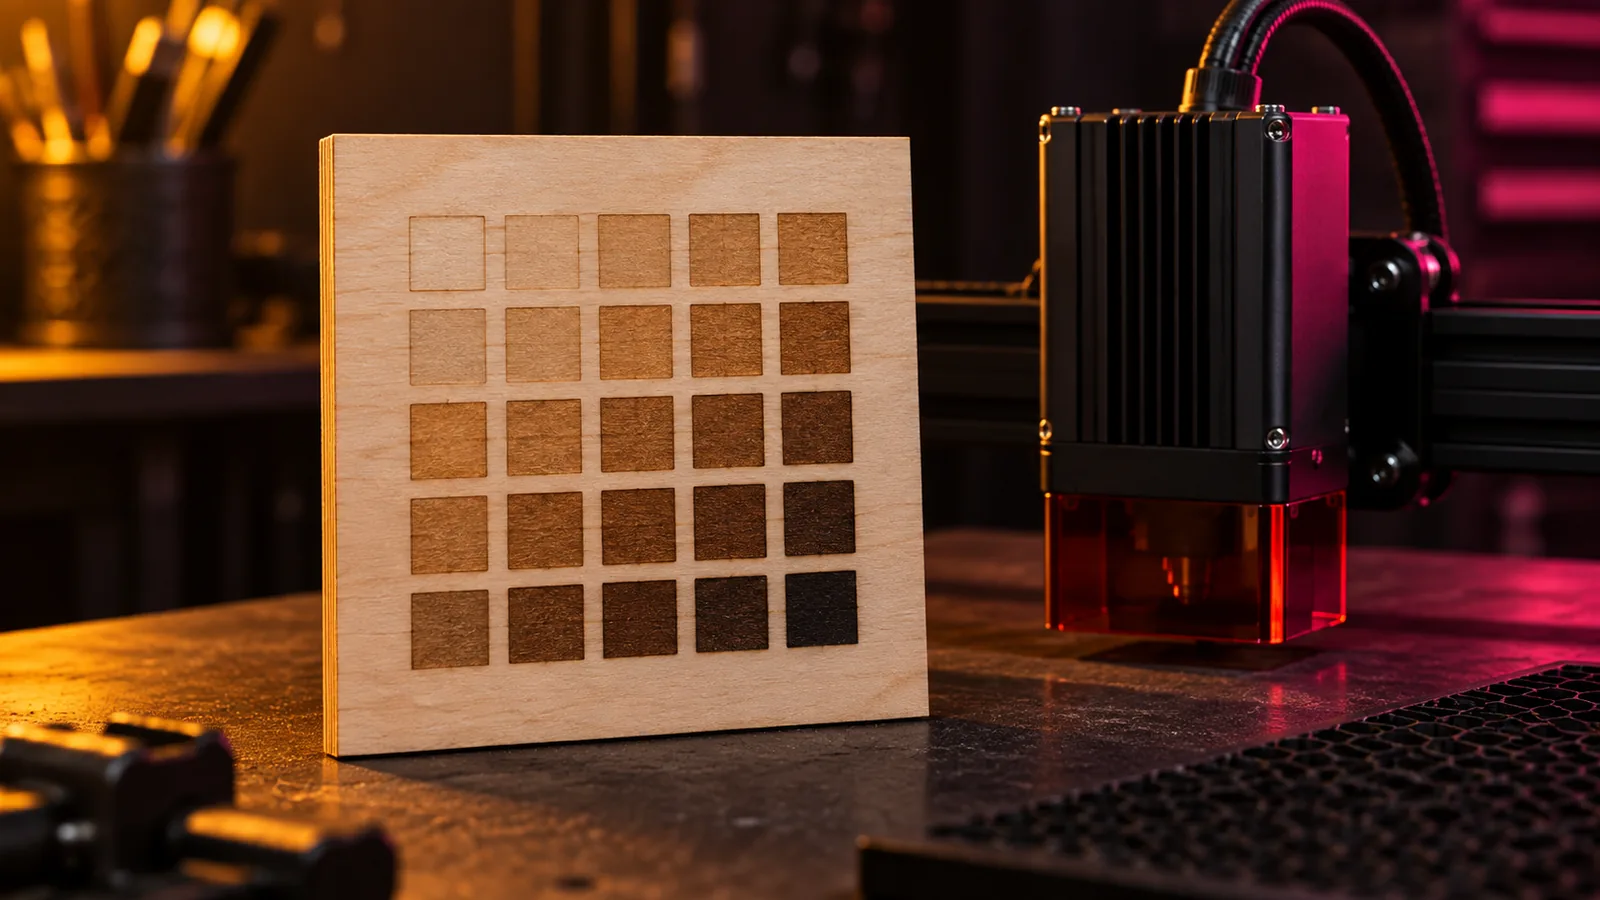
Focus the laser first: LightBurn recommends keeping it focused for every test. Then run a material test (Laser Tools, Material Test in LightBurn) on a scrap of the real material. LightBurn's coaster project suggests a grid from "10% to 100% power, and 2000 mm/minute to 8000 mm/minute" as a start. Pick the square that, in LightBurn's words, "engraves nice and dark but doesn't cut too deep".
On a CO2, LightBurn notes that dark engravings are harder than on a diode, and that CO2 users usually do better with slow speeds and low power.
Find your line interval
The line interval is the gap between scan lines. DPI is the same setting written another way: "DPI is 25.4 / Line Interval."
This is where more DPI fails. LightBurn: "If Line Interval is too low (and DPI too high), images will be very dark (as the lines overlap). Too high and the image will be too light." xTool warns that going denser than the photo's own pixels "can have a counterproductive effect". You want the interval where the lines just touch.
- Keep the speed and power you just found, and the laser focused.
- Run LightBurn's Interval Test (under Laser Tools) on the same scrap material. If you cannot see the lines well, engrave a gradient several times with different Line Interval values instead.
- On wood, turn the test so the scan lines run across the grain, not along it.
- Look with a strong magnifier. LightBurn: "You're looking for the value that creates lines that just touch (don't overlap, nor have a gap). Try values between 120 and 300 dpi". It notes you "will need a microscope or strong magnifying glass".
- Use that interval for every photo on that material.
| Line interval | DPI |
|---|---|
| 0.2 mm | 127 |
| 0.15 mm | 169 |
| 0.127 mm | 200 |
| 0.1 mm | 254 |
| 0.085 mm | 299 |
| 0.08 mm | 318 |
DPI here is 25.4 divided by the interval, rounded. In xTool's software, "100 linear density equals 254 DPI", so 100 lines per cm is a 0.1 mm interval. The xTool F1 and F1 Ultra set dot duration instead, which xTool says "usually falls between 100 and 500" microseconds.
A LightBurn forum answer describes the two ways it goes wrong: "Too large a distance gives brighter images with a hint of curtains". Too small a gap overlaps the lines and puts more energy into the same spot.
Last, set Dot Width Correction. LightBurn: "The ideal Dot Width Correction value is about half the total thickness of the laser's beam", and it must stay between 0 and your line interval. To test it, engrave a 50 percent grey rectangle in Ordered mode with bi-directional scanning off. It should give "a checkerboard pattern that is 50% engraved and 50% not". Then go back to Jarvis and turn bi-directional scanning on again.
Adjust the image
Only now touch the picture. In LightBurn, open Adjust Image with Alt+I (Option+I on a Mac) or by right-clicking the image. LightBurn's definitions:
- Gamma "adjusts mid-tone shading. Lower values make the mid-tones brighter, and higher values make them darker." 1.0 leaves it unchanged.
- Contrast "makes bright shades brighter, and dark shades darker."
- Brightness "makes all shades brighter or darker."
- Enhance sharpens edges (unsharp masking), with a radius and an amount.
LightBurn calls these "standard starting point settings" in its coaster project, which it made on slate:
| Setting | Value |
|---|---|
| Image mode | Stucki or Jarvis |
| DPI | 254 |
| Gamma | 0.800 |
| Contrast | +5 |
| Brightness | -5 |
| Enhance Radius | 5 |
| Enhance Amount | 150 |
| Negative Image | On, for slate |
Test on a small crop first. xTool suggests the eye area, because the eyes are the most detailed part of a portrait. The best single line on this from the LightBurn forum: "You literally have to fit the range of the photo within the materials response range." If the shadows turn into solid black or the highlights wash out, adjust gamma, contrast and brightness until the photo fits.
Starting settings by material
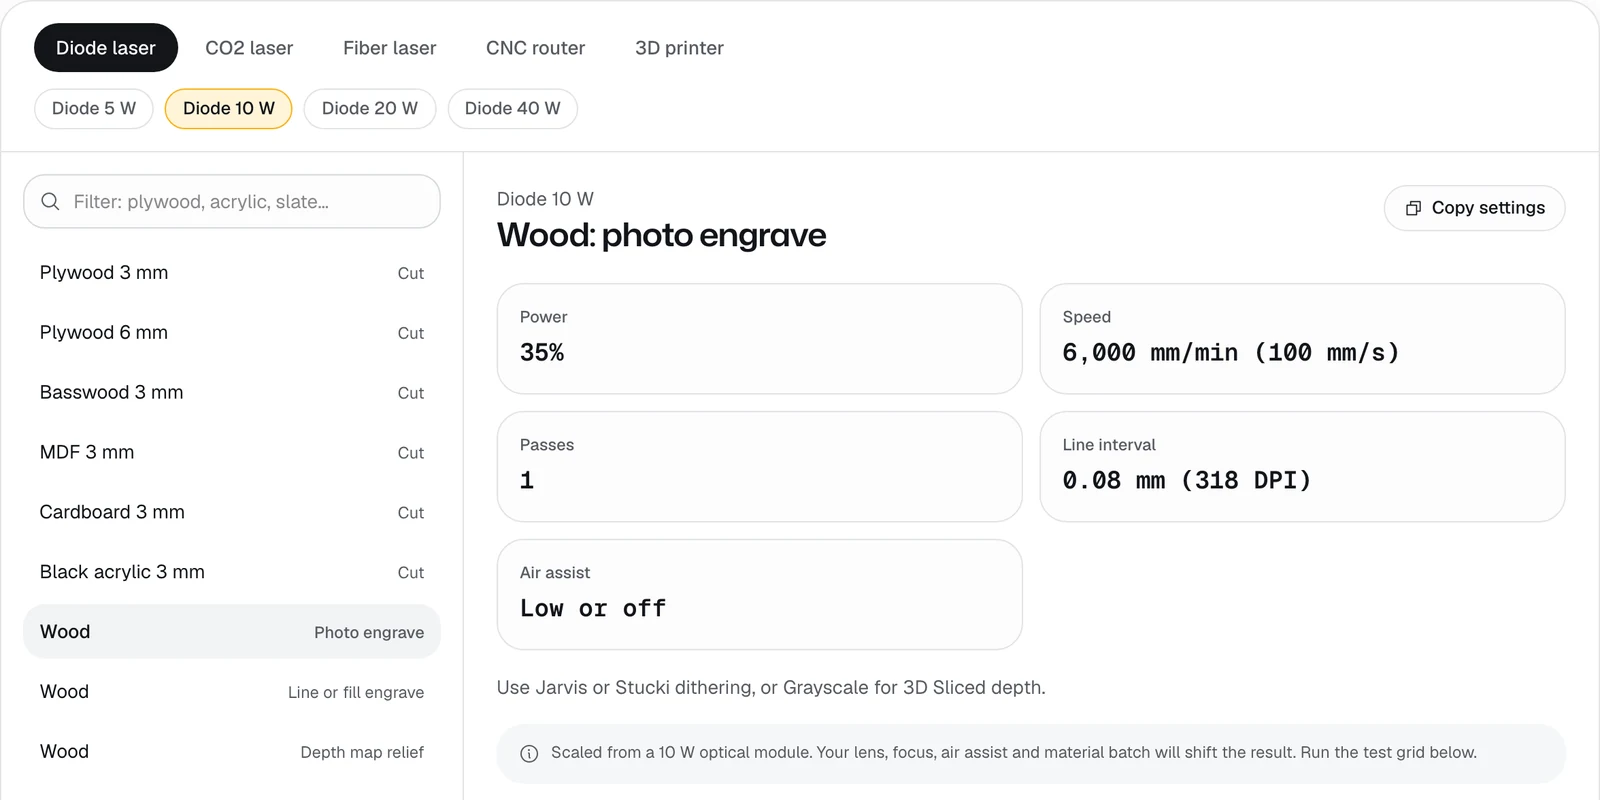
Depthue's free laser settings finder lists starting points by laser and material. Its page calls them "conservative starting points", and every lookup comes with a test grid. These are its photo rows and the rows for materials people engrave photos on:
| Laser | Material and job | Power | Speed | Line interval | Invert? |
|---|---|---|---|---|---|
| Diode 10 W | Wood, photo engrave | 35% | 6,000 mm/min | 0.08 mm (318 DPI) | No |
| Diode 10 W | Slate, photo engrave | 60% | 4,000 mm/min | 0.1 mm | Yes |
| Diode 10 W | Anodized aluminium, mark | 100% | 1,500 mm/min | 0.08 mm | Yes |
| CO2 40 W | Wood, engrave | 20 to 30% | 300 mm/s | 0.1 mm | No |
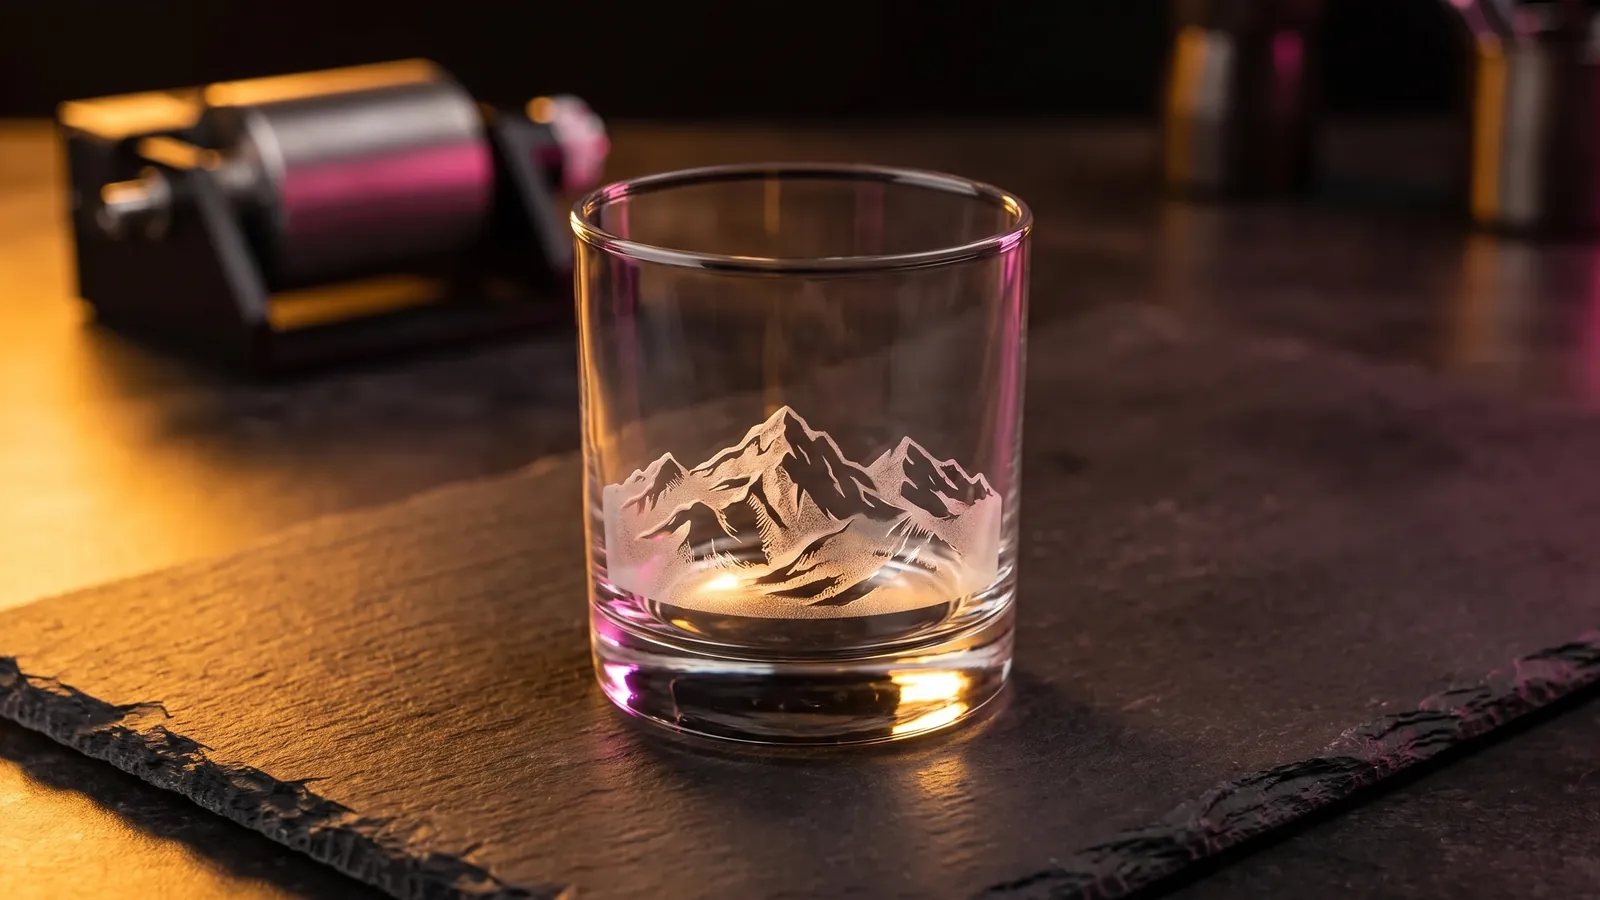
| CO2 40 W | Glass, engrave | 20% | 300 mm/s | 0.1 mm | Yes |
| CO2 40 W | Anodized aluminium, mark | 25 to 30% | 300 mm/s | 0.08 mm | Yes |
| Fiber 20 to 30 W | Anodized aluminium, white mark | 40 to 50% | 2,000 to 3,000 mm/s | 0.03 mm at 40 kHz | Yes |
The notes the finder adds: for wood photos, "Use Jarvis or Stucki dithering, or Grayscale for 3D Sliced depth." For slate, "Engraved slate turns light, so invert the photo." For anodized aluminium, the mark "Removes the dye, leaving bright metal." For glass on a CO2, "A layer of wet paper towel on the glass reduces chipping." It scales the diode rows for 5, 20 and 40 W modules, so pick your class rather than doing the maths.
The invert column follows one rule. xTool: "If the engraved color is darker than the material, we don't recommend using the Invert function." LightBurn's Negative Image is "useful for engraving slate or glass, where burned areas become lighter." Photos on glass have their own rules for dot spacing and chipping: see laser engraving glass. For cutting and other engraving jobs, see laser power and speed settings.
When the photo comes out wrong
LightBurn sums up the usual complaints: "Often images appear too dark, too light, or 'muddy' and lacking detail." Here is what causes each one:
| What you see | Likely cause | Fix |
|---|---|---|
| Too dark overall | Line interval too small, so lines overlap; or too much power | Raise the interval to where lines just touch, then rerun the material test |
| Too light, with faint stripes | Line interval too large | Lower the interval |
| Muddy face, no detail | Low contrast photo, or a tonal range the material cannot show | Raise contrast, adjust gamma, try Jarvis; test the eyes first |
| Muddy on a diode in Grayscale | Grayscale is harder to get right than dithering | Switch to Jarvis or Stucki |
| Darker at the edges, lighter in the middle | Overscanning off | Turn on Overscanning (DSP and galvo machines handle this themselves) |
| Doubled or blurry vertical edges | Bi-directional scanning out of step | Run LightBurn's Scanning Offset Adjustment |
| Slate or glass looks like a negative | Negative Image off | Turn on Negative Image |
| A file you dithered elsewhere comes out changed | LightBurn dithered it again | Turn on Pass-Through |
From shading to depth
Everything above shades a flat surface. A laser can also carve depth. On a CO2, LightBurn's Grayscale mode "can achieve variable depth (3D) engraving rather than shading". On a galvo laser, LightBurn's 3D Sliced mode engraves many passes from a depth map: "The darkest shades in your depth map will be engraved with the full Number of Passes", down to no passes for white. 3D Sliced is only for galvo lasers, which need LightBurn Pro.
That needs a depth map, not a photo. The free depth map generator makes one from a photo on your own device, with nothing uploaded. DepthGen Pro does it offline on your own computer, exports 8-bit and 16-bit PNG, and works with LightBurn's 3D Sliced mode. The Windows and Mac editions are sold separately, $49.99 each, once. It makes the depth map; LightBurn still runs the job. The settings for that route are in 3D laser engraving and 16-bit vs 8-bit depth maps in LightBurn.
Next step
Open the laser settings finder, pick your laser and material, and engrave its test grid on a scrap. Run the interval test on the same scrap. With those two numbers written down, every photo after the first is quicker. Choosing software first? See laser engraving software and what LightBurn costs.
Free tools for this job
Frequently asked questions
Can you laser engrave a photo?
Yes. A diode, CO2 or fiber laser shades a photo with dots, or with varying power, line by line. Which materials work depends on the laser: blue diodes give dark marks on wood, and fiber lasers mark metal but do not suit wood or glass.
What is the best image mode for engraving photos?
In LightBurn, start with Jarvis, which its docs call generally the best choice for photos, then try Stucki. In xTool Studio, xTool recommends Grayscale for blue diode lasers and Jarvis for infrared.
What DPI should I use to engrave a photo?
The DPI where your laser's lines just touch without overlapping, found with an interval test. LightBurn suggests trying 120 to 300 DPI, and its coaster project starts at 254 DPI.
Can you use a PNG file for laser engraving?
Yes. LightBurn imports PNG, JPG, BMP, GIF and TIFF, and xTool's Bitmap Engrave takes PNG, JPG or WEBP. A photo can only be engraved, never cut.
Should I invert a photo for laser engraving?
Invert it when the engraved mark is lighter than the material, as on slate, glass and anodized aluminium. On wood the burn is darker than the surface, so leave it as it is.
Why is my photo engraving too dark?
Usually the line interval is too small, so the lines overlap, or the power is too high for the speed. Raise the interval to where the lines just touch and run a material test again.
What are the best photos for laser engraving?
Sharp photos with clear contrast and a subject that fills the frame. xTool suggests at least 1000 by 1000 pixels, and LightBurn says images with sharp contours and contrast work best.
What is the best free software for laser engraving?
LaserGRBL is free and open source, for Windows and GRBL lasers. LightBurn has a 30 day trial with no restrictions; after that Core is $99 and Pro $199 as of November 2026.
What kind of laser is best for engraving photos?
LightBurn says blue diodes produce dark engravings that are great for photos, on dark materials such as wood and veg-tan leather, but cannot mark metal or glass. CO2 lasers also engrave glass, and fiber lasers suit most metals.
Sources
- LightBurn forum, Problem with Engraving photos (2026)
- LightBurn Documentation, Image Mode
- LightBurn Documentation, 5 Steps to Perfect Image Engraving
- LightBurn Documentation, Image Engraving on Coasters
- LightBurn Documentation, Adjust Image
- LightBurn Documentation, Shape Properties
- LightBurn Documentation, Scanning Offset Adjustment
- LightBurn Documentation, Creating and Importing Artwork
- LightBurn Documentation, Images vs Vectors
- LightBurn Documentation, Laser Types
- LightBurn Documentation, Galvo Specific Cut Settings (3D Sliced)
- LightBurn Documentation, 3D Sliced Image guide
- LightBurn, Download trial
- LightBurn, LightBurn Core License Key
- LightBurn, LightBurn Pro License Key
- LaserGRBL, home page
- xTool Support, Bitmap modes (article 1895)
- xTool Support, Bitmap modes in xTool Studio (article 2432)
- xTool Support, Bitmap engrave (article 1886)
- xTool Support, Invert (article 663)
- xTool Support, DPI (article 2424)
- xTool Support, Dot duration (article 2423)
- xTool Support, Engraving photos (article 2002)
- xTool blog, How to prepare a photo for laser engraving
- xTool blog, Fiber vs CO2 vs diode laser
- ImagR, FAQ
- PhotoEngraving.online, FAQ
- LightBurn forum, Question about photos/portraits (2026)
- LightBurn forum, Need Advice Laser Engraving Photo (2026)