
Free tool
Filament painting planner: a free HueForge-style preview
Choose your filaments, see how the stack will look, and get the exact Z height for every color change.
Runs in your browser. Nothing is uploaded.
How to use it
1Add an image
Illustrations and photos with clear light and dark areas work best. Brightness becomes height.
2Set your filaments
Choose colors you own and enter each one's TD (transmission distance). Auto-assign orders them dark to light and spreads the swaps.
3Check the simulated print
The preview blends each layer by TD. Adjust swap layers, total layers and the brightness curve until it looks right.
4Export and slice
Copy the swap list with layer numbers and Z heights, download the STL, and add color changes at those heights in your slicer.
How the simulation works
Each pixel's brightness sets how many layers tall that point is. The filaments are stacked from the bottom up, each starting at its swap layer. For every layer, the planner blends the layer's filament over the color beneath it, using the filament's TD: a stack exactly TD thick hides 95 percent of what is under it. The result is the color you should see at that point in the finished print.
Getting the preview to match the print
Accurate TD values matter more than anything else. Print a small test with your chosen filaments, compare it with the preview, and adjust TD until they match. Then save those numbers for next time.
When you print often, VoxelPrime plans colors around your filament inventory and guides every manual swap, for $8 once.
Questions
Is this a free HueForge alternative?
It is a free planner for HueForge-style filament paintings: it previews the color stack, lists swap heights and exports the STL. It is not affiliated with HueForge and does not include every HueForge feature.
What TD values should I use?
Use your filament's published TD, or measure it with a stepped test print. Black is often about 0.5 to 0.8 mm; whites and yellows are usually 2 to 6 mm.
Do I need an AMS?
No. Add manual color changes in your slicer and swap the spool when the printer pauses.
What layer height should I use?
0.08 mm with a 0.16 mm first layer is the common choice for filament painting.
Read next
HueForge and lithophanes
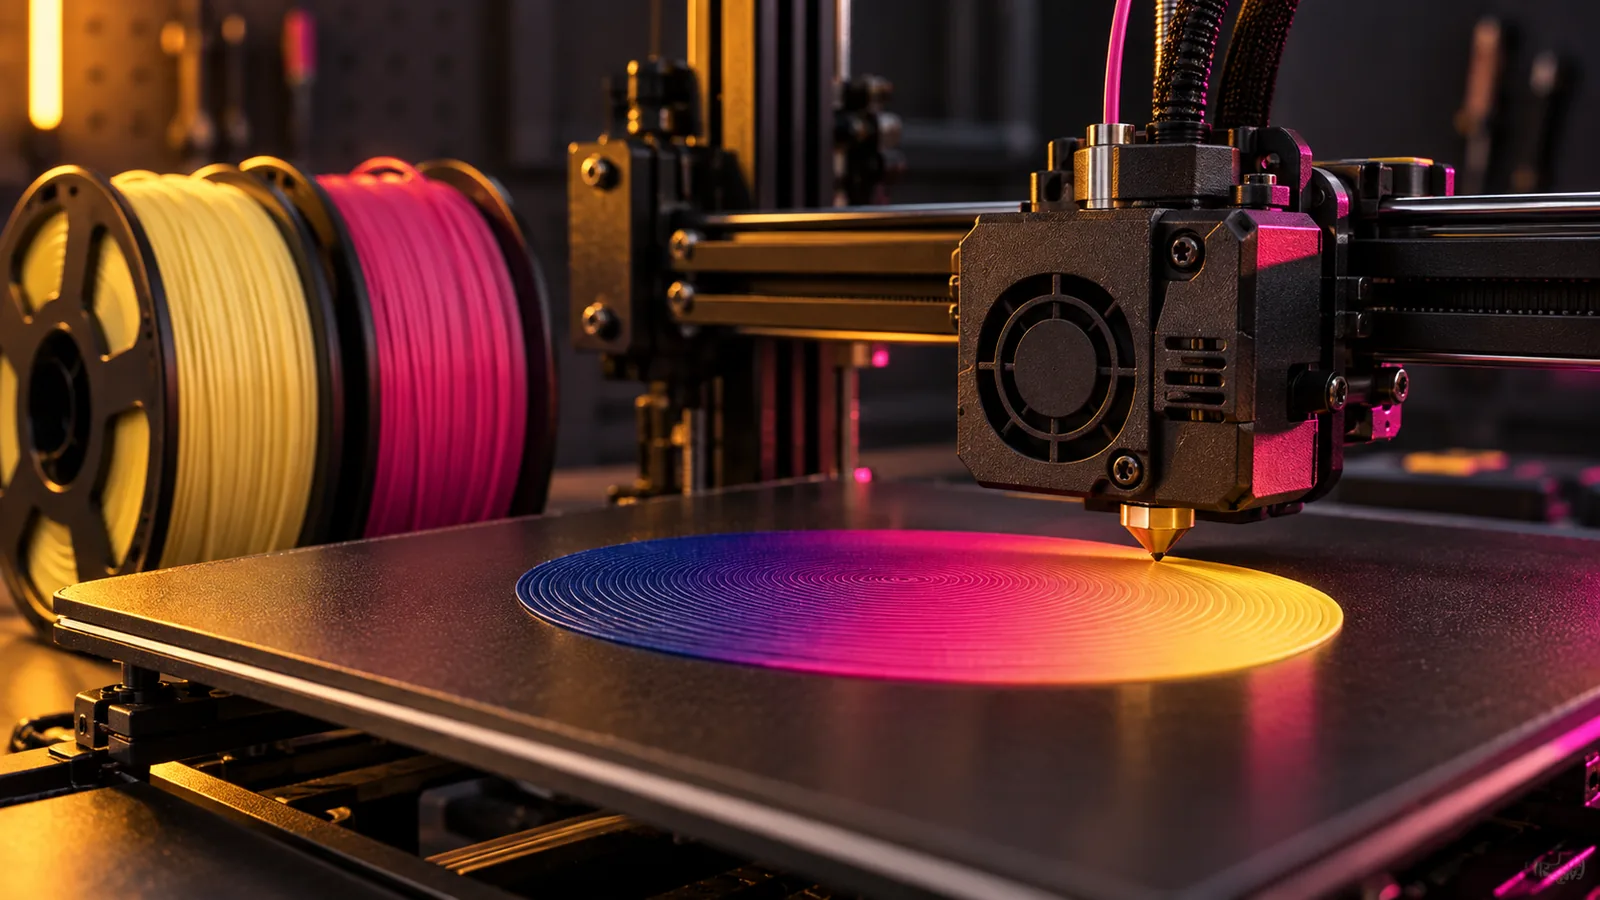
How to Plan Color Swap Heights for Filament Painting
Where to change filament in a HueForge-style painting: layer math, transmission distance, swap order, and adding color changes in Bambu Studio and OrcaSlicer.
September 21, 2026 2 min read
HueForge and lithophanes
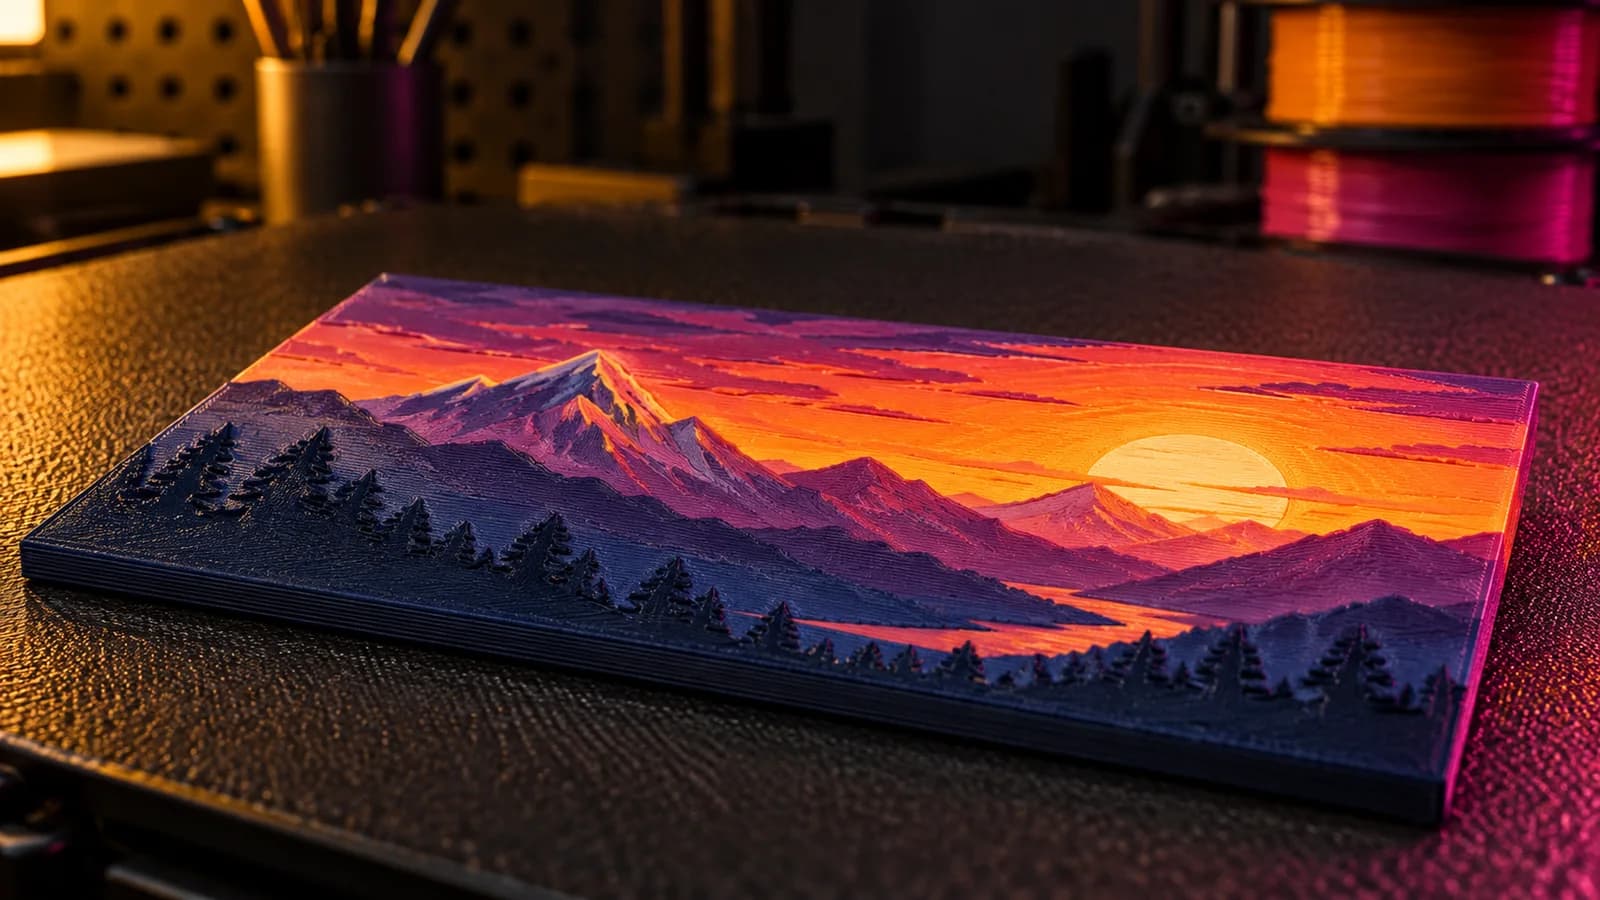
Filapaint and Other Free HueForge Alternatives: What Works in 2026
Free ways to make HueForge-style filament paintings: Filapaint in the browser, the Depthue filament painting planner, and when a paid tool is worth it.
September 21, 2026 3 min read
HueForge and lithophanes
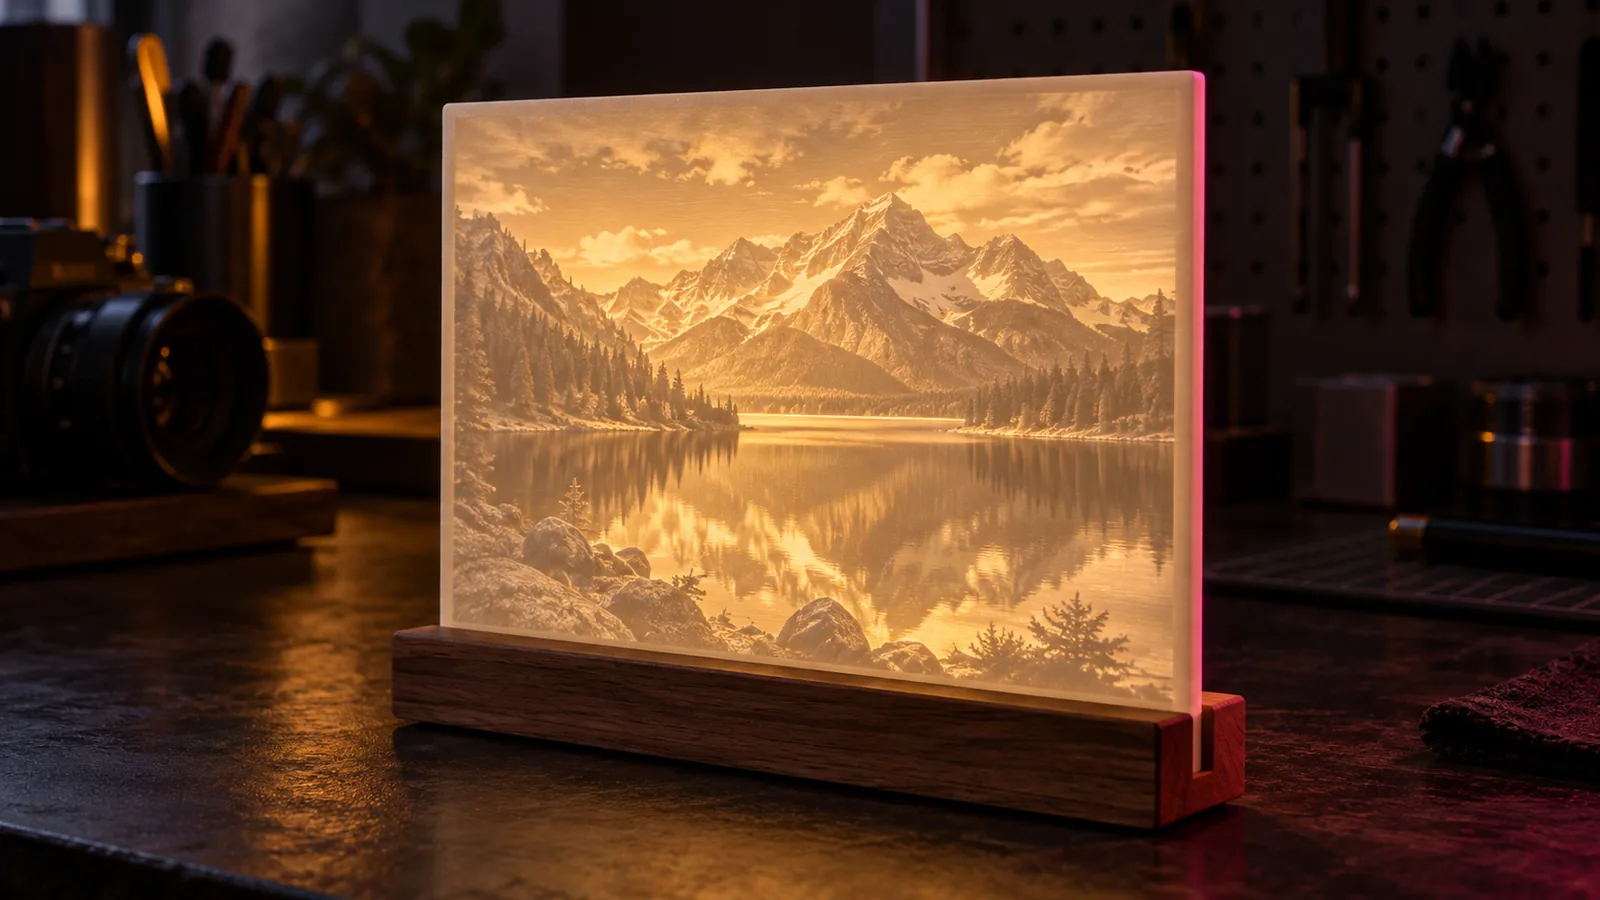
How to Make a Lithophane From a Photo (Settings That Work)
How to make a lithophane from a photo: image choice, thickness, size, flat or curved panels, slicer settings for white PLA, and fixing flat or dark prints.
September 21, 2026 2 min read