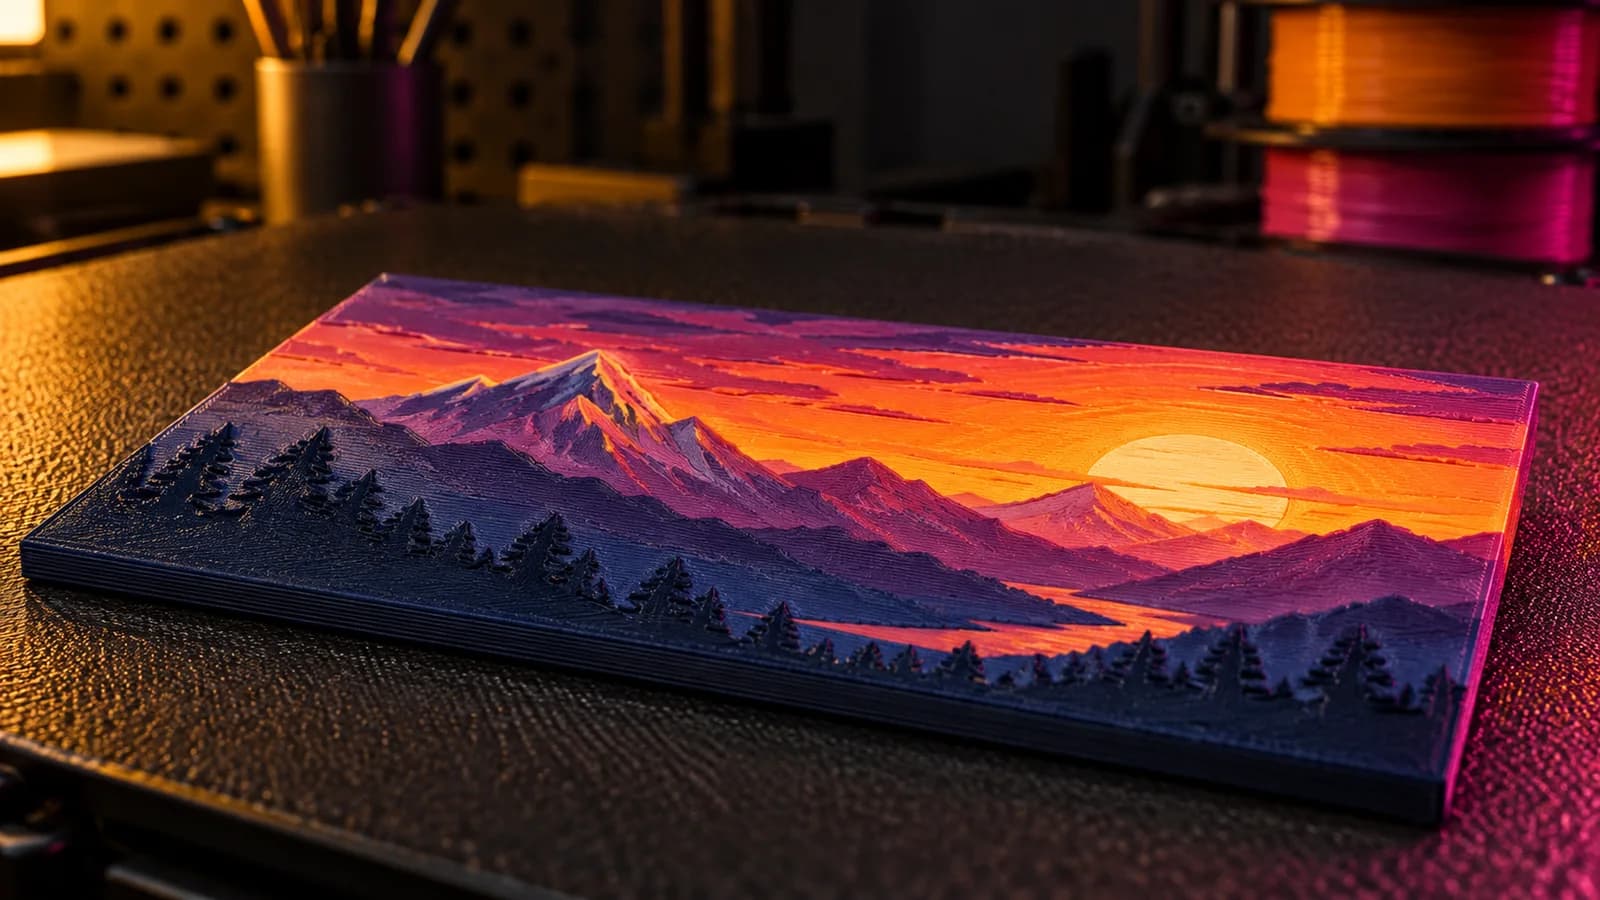
How to Plan Color Swap Heights for Filament Painting
Where to change filament in a HueForge-style painting: layer math, transmission distance, swap order, and adding color changes in Bambu Studio and OrcaSlicer.
By Depthue Lab2 min read

A filament painting succeeds or fails on one decision: the layers where you change color. Swap too early and a highlight turns muddy; swap too late and a whole region stays in the wrong color. The math is simple once you see it.
The layer math
Slicers number layers from 1 and report each layer's top Z height:
- Layer 1 ends at the first layer height.
- Every layer after adds one layer height.
Z of layer n = first layer + (n - 1) x layer height
| Layer | Z with 0.16 first layer, 0.08 layers |
|---|---|
| 1 | 0.16 mm |
| 5 | 0.48 mm |
| 10 | 0.88 mm |
| 20 | 1.68 mm |
| 30 | 2.48 mm |
When you add a color change at a layer in Bambu Studio, OrcaSlicer or PrusaSlicer, the new color starts on that layer.
Order: dark to light
Stack filaments from darkest at the bottom to lightest at the top. The image's brightness decides the height at each pixel, so bright areas grow tall enough to reach the light colors, while dark areas stop low and show the dark ones.
Transmission distance decides how many layers each color needs
Transmission distance (TD) is the thickness at which a filament hides what is under it. A low TD (black is often around 0.5 to 0.8 mm) covers in a few layers. A high TD (many yellows and whites are 3 mm or more) stays see-through for many layers, blending with the color below.
That is why swaps should not be evenly spaced by default. A translucent color placed over a strong one needs enough layers to show, and a dark color placed too high buries detail. Measure TD for your spools, or use published values, and preview before you print.
Plan it visually
The free filament painting planner does the arithmetic and the preview together. Pick your filaments and TD values, drop in an image, and it shows the stacked result and lists every swap with its layer number and Z height.
Adding the swaps in your slicer
- Import the STL and set layer height and first layer exactly as planned.
- Slice, then open the preview and drag the layer slider to the first swap's Z.
- Add a color change (a pause with M600 or the slicer's filament change) on that layer.
- Repeat for every swap, then check the layer list matches your plan.
- On a printer without an AMS, stay close: each swap pauses the print until you load the next spool.
Common problems
| Problem | Likely cause | Fix |
|---|---|---|
| Highlights look muddy | Light color starts too high or TD too high | Start it lower, or use a more opaque light color |
| Everything looks dark | Base too thick, or too few light layers | Reduce base layers, raise total height |
| Banding between colors | Swaps too far apart | Add an intermediate color |
| Preview and print disagree | TD values guessed | Measure TD for each spool |
When to automate it
Planning by hand teaches the technique. If you print these often, VoxelPrime plans colors around the filament you own and guides each manual swap, for $8 once.
Free tools for this job
Frequently asked questions
How do I calculate the Z height of a color change?
Z of layer n = first layer height + (n - 1) x layer height. With a 0.16 mm first layer and 0.08 mm layers, layer 10 ends at 0.16 + 9 x 0.08 = 0.88 mm.
What is M600?
M600 is the G-code command many printers use to pause for a filament change. Slicers insert it, or their own equivalent, when you add a color change on a layer.
Can I do filament painting without an AMS?
Yes. Add manual color changes in the slicer. The printer pauses at each one, you swap the spool, and it continues.
Why does my print look darker than the preview?
Usually the TD values are wrong for your filament, or the light behind the print is weaker than the preview assumed. Measure TD, and view the print against a bright window.