How to Make a Color Lithophane: 3 Methods Compared
How color lithophanes work and 3 ways to print one: CMYK filament, a color sheet behind white, or a filament painting. Tools, filament, settings, light.
By Depthue Lab10 min read
On this page (10 sections)
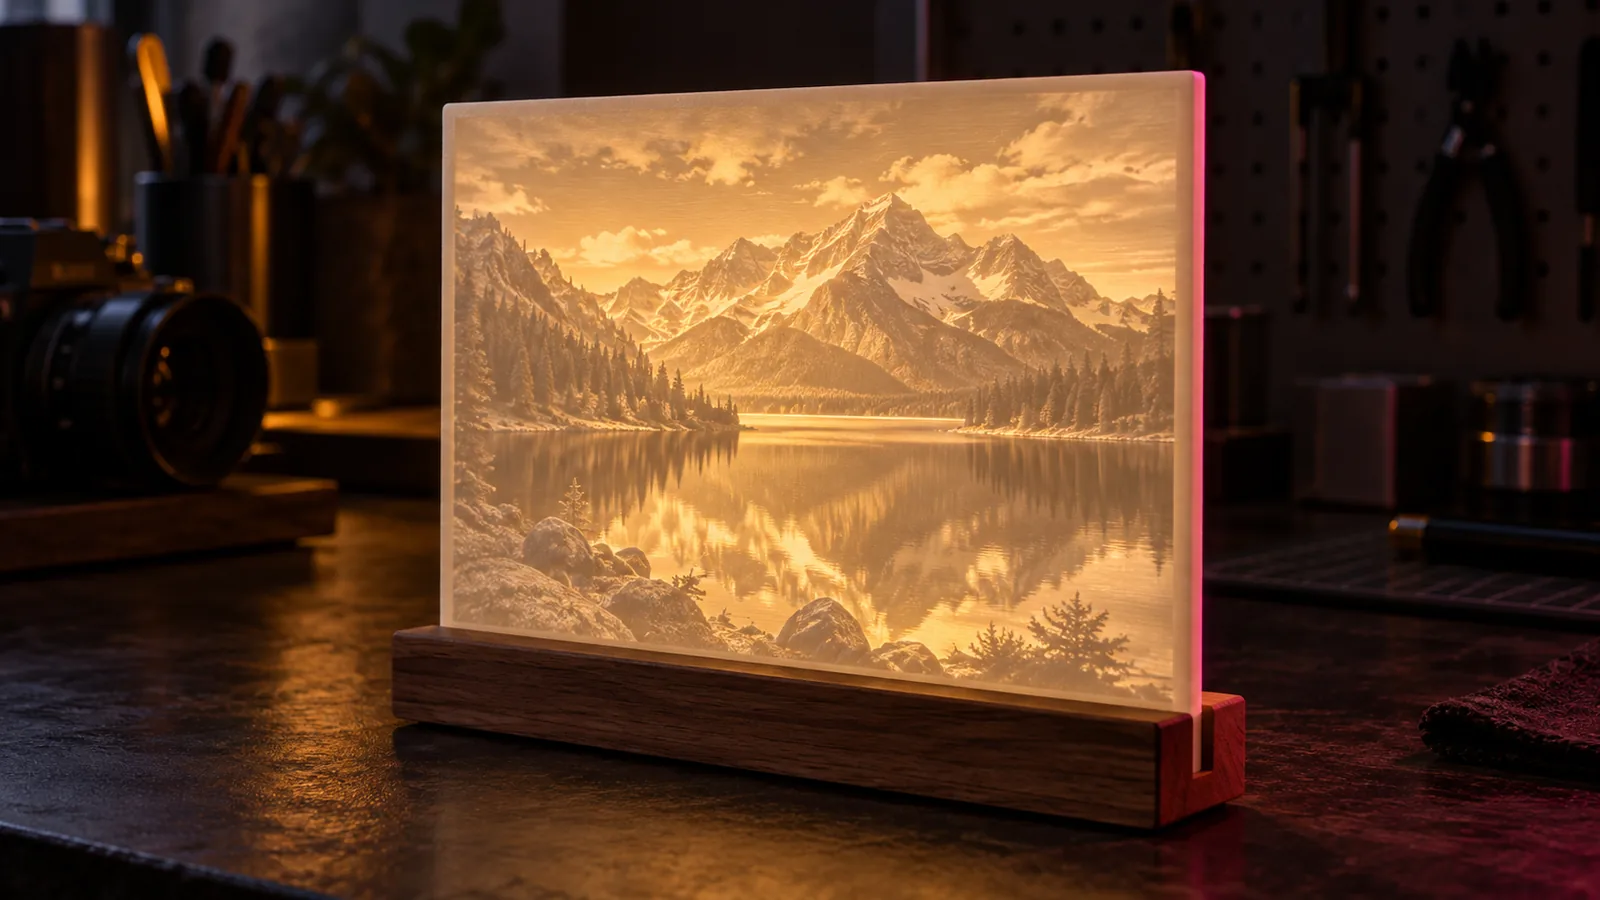
A color lithophane is a backlit 3D print that shows a photo in full color. The standard method prints thin cyan, magenta and yellow layers over a white lithophane: the white plastic's thickness sets brightness and the color layers filter the light like ink on a slide, which takes a printer that changes filament automatically. With a single extruder, glue a color print on transparent film behind a plain white lithophane instead.
If you have never printed a plain lithophane, start with how to make a lithophane. The photo, thickness and slicer basics all carry over.
How a color lithophane works
Light enters the back of the print and passes through two kinds of plastic:
- A white lithophane. Thick areas block light and thin areas pass it, exactly as in a plain lithophane. This layer supplies the darks, so there is no black filament.
- Thin cyan, magenta and yellow layers. Each one is a filter. Cyan absorbs red, magenta absorbs green and yellow absorbs blue, so where cyan and yellow overlap, only green gets through.
Because thickness now controls both brightness and color strength, small errors become color errors. QIDI's guide notes that a 0.02 mm Z wobble changes the perceived color of a region, and that a yellow with a higher transmission distance than your cyan shifts every green and orange. Bambu Lab notes that layer and resolution limits cause some color deviation from the original image, even with its own bundle.
The "CMYK" name is loose. Bambu Lab's CMYK Lithophane Bundle is cyan, magenta, yellow and white. The white thickness stands in for black.
Three ways to get color, compared
| CMYK multi-material | White lithophane plus color sheet | Filament painting | |
|---|---|---|---|
| How it looks | Color in the plastic, lit from behind | Color from a printed sheet, lit from behind | Color in room light, no backlight |
| Printer needed | AMS, MMU or tool changer | Any FDM printer, plus an inkjet or laser printer | Any FDM printer; manual swaps work |
| Filaments | 4: cyan, magenta, yellow, white | 1: white | Several, stacked dark to light |
| Difficulty | Medium to hard | Easy | Medium |
| Cost (October 2026) | $65.99 to $93.99 for a 4-color bundle | One spool of white PLA and transparency film | Spools you own; free planner |
1. CMYK multi-material color lithophanes
This is the method behind Bambu Lab's and LithophaneMaker.com's color tools. A full color image needs hundreds of filament changes at precise layers, so QIDI calls manual swaps "not realistic". Plan on an AMS, MMU or tool changer.
Results depend on your filament matching what the generator expects. LithophaneMaker.com warns that colors will not come out as expected with other filaments, and Bambu Lab tuned Make My Lithophane for its own bundle.
2. A white lithophane with a color sheet behind it
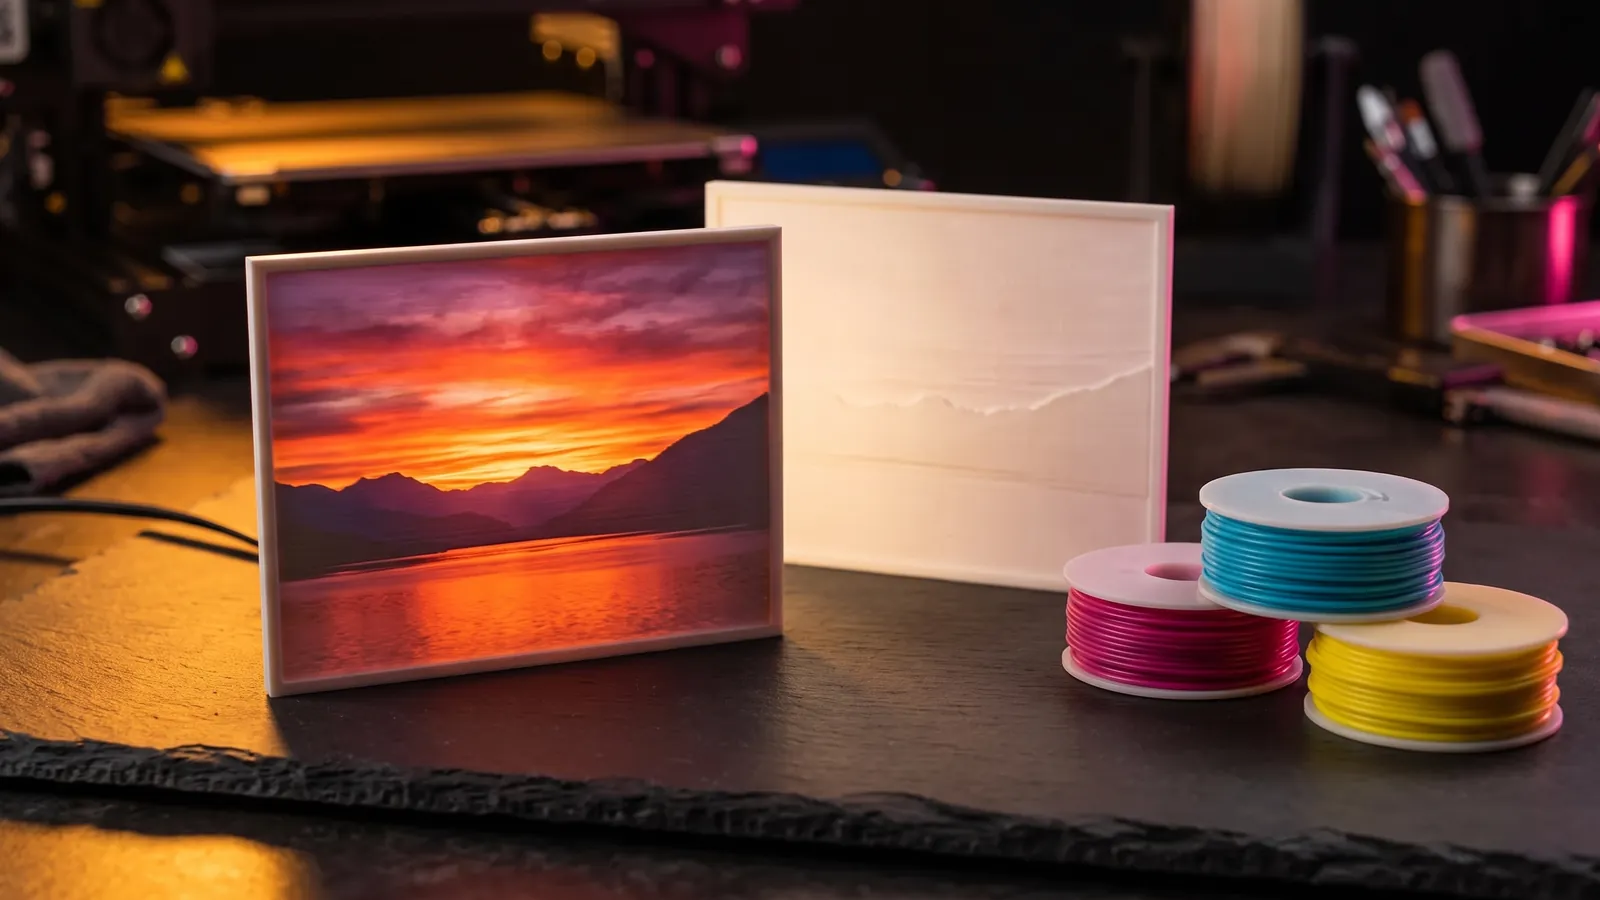
ItsLitho's color method needs one white filament and a sheet of transparent paper. The tool exports the lithophane STL plus a color image at the panel's exact size, with the brightness taken out. That step matters: the lithophane already carries the brightness, so the original photo behind it would add brightness a second time and throw the colors off. You print the sheet on an ordinary 2D printer and glue it to the back.
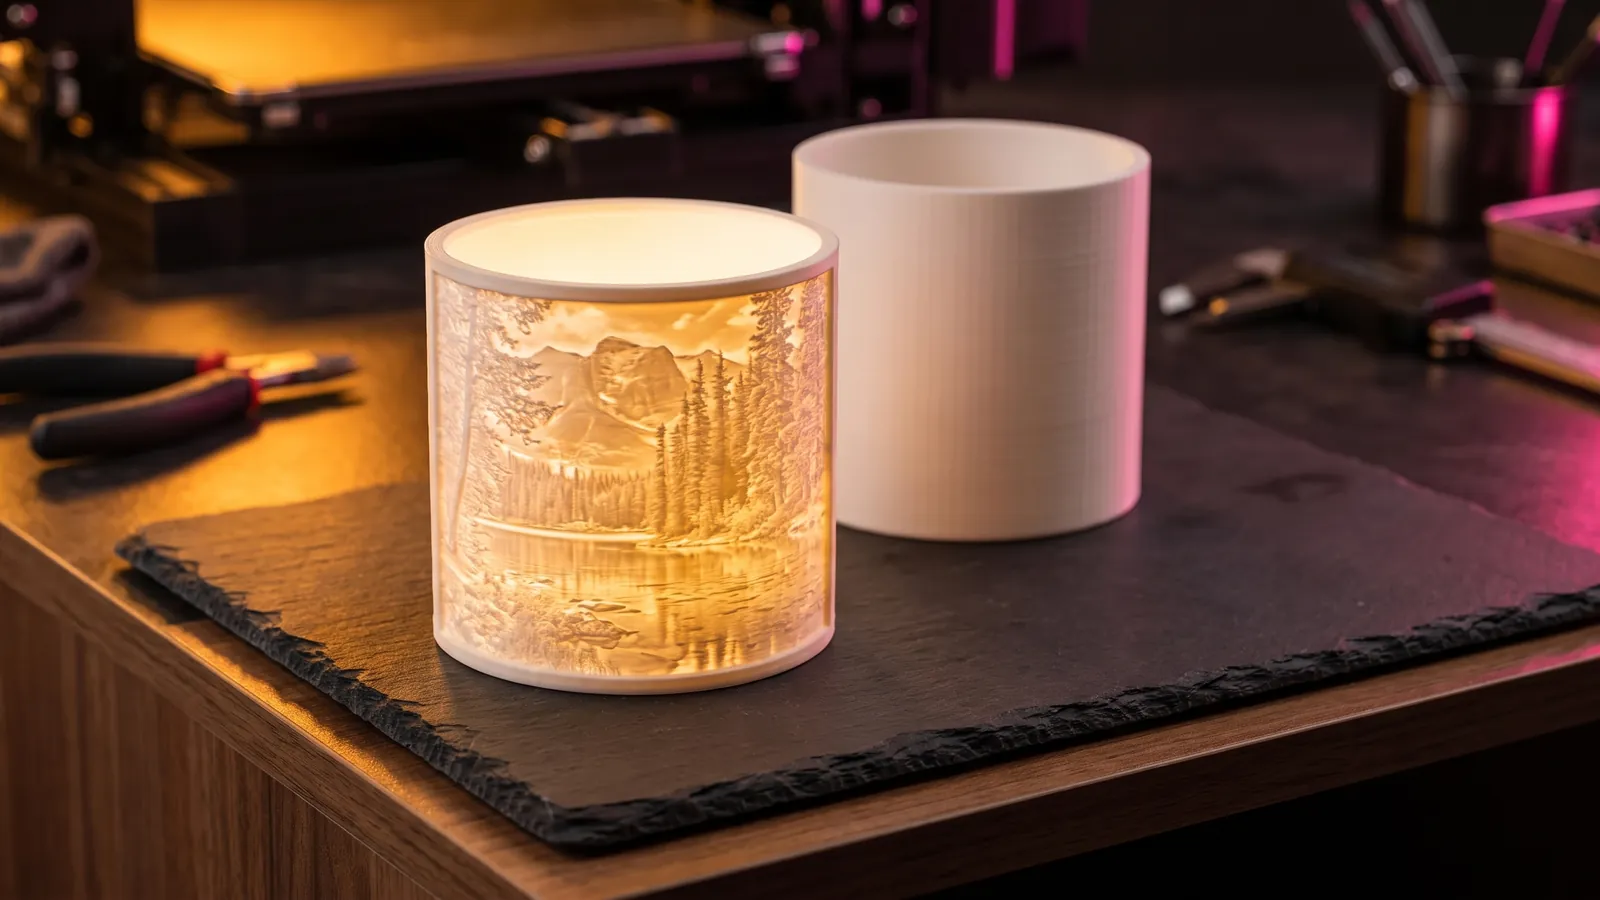
It works on flat, arc and cylinder shapes, not spheres, because a flat sheet cannot wrap a sphere. In a 2024 Bambu Lab forum thread, one maker printed an 18.5 by 10 cm panel this way in 4.5 hours on a 0.4 mm nozzle and doubted the CMYK route would match its colors. They estimated the CMYK version would need a 0.2 mm nozzle and at least 9 hours.
Painting the back by hand works for simple areas of flat color, such as a sky, but it cannot follow a photo's detail.
3. Filament paintings: front-lit, not lithophanes
A HueForge-style filament painting also stacks translucent colors, but you look at it in room light, not with a light behind it. The image's brightness sets the height, filaments stack dark to light, and each color starts at a planned layer. A single-extruder printer works: the slicer pauses and you swap the spool.
If you want a color picture for a wall rather than a lamp, this is the better method. Plan it in the free filament painting planner and read how to plan color swap heights. Our VoxelPrime plans these color reliefs around the filament you own for $8 once. It also makes white lithophanes, but it does not make CMYK color lithophanes.
Tools that make color lithophanes
| Tool | Method | What you get | Price (October 2026) |
|---|---|---|---|
| LithophaneMaker.com Color Lithophane Maker | CMYK | A zip of STL parts to assign to your filaments | Free; using it adds your email to its mailing list; Patreon optional |
| Bambu Lab Make My Lithophane (MakerLab, web and Bambu Handy) | CMYK or mono | A print-ready 3MF; color needs a Bambu printer with an AMS | Not listed |
| Lithophane Maker Desktop | CMYK, plus lamps, globes and light boxes | Not listed | $24.99 lifetime personal; selling prints needs a commercial licence ($199 lifetime or $69 a year). Windows only |
| ItsLitho | Color sheet behind white | STL plus two JPEGs at the panel's size | Free |
| Depthue image to STL | White lithophane only | Watertight STL, made in your browser | Free |
Bambu Lab opened Make My Lithophane as a beta in July 2024. Lithophane Maker Desktop is sold by American Filament, co-founded by LithophaneMaker.com's creator. Its personal licence does not allow selling what you print.
Step by step: the color sheet method (any printer)
This is the most accessible route that still looks good: one spool of white PLA, any FDM printer and a 2D printer.
- Choose the photo. A clear subject, good contrast, not too dark. ItsLitho suggests raising contrast first; even in color it brings out the darker parts.
- Make the white lithophane. If you want the color sheet generated for you, make the whole thing in ItsLitho and download the STL with both JPEGs. To keep the photo on your device, make the panel in our free tool instead: Lithophane mode, flat panel, 100 to 150 mm wide, 0.8 mm thinnest, 3 mm thickest. The tool shows the panel's exact width and height under Size.
- Make the color sheet. From ItsLitho, use the
ItsLithoColor_JPEG, the brightness-free version. ItsLitho also gives you the original asItsLithoNormal_; some resin printer users preferred it. For a panel made elsewhere, build the sheet yourself in Photoshop or another editor with a Luminosity blend mode: add a layer of flat mid gray above the photo and set it to Luminosity. That keeps the photo's hue and chroma and replaces its brightness with one even value. Then size the image to the panel's exact width and height. - Print the sheet at 100 percent. Use transparency film made for your printer type. Many programs scale an image to fit the page; ItsLitho's guide sets Paint's Page setup to Scaling "100% normal size". Measure one edge with a ruler before you cut.
- Print the lithophane. White PLA, a solid image area, 0.1 to 0.12 mm layers, standing upright along the Y axis with a brim. Settings are below.
- Fix the sheet to the back. Glue, spray adhesive or tape all work. Hold the panel against a window to line the sheet up with the relief before it sticks.
- Light it from behind with a diffuse daylight LED, as described under lighting.
Step by step: CMYK on an AMS, MMU or tool changer
Bambu Lab's wiki documents this route with LithophaneMaker.com's free color tool. The STL parts also load in other multi-material slicers.
- Upload a JPG to the Color Lithophane Maker. Tick Crop to set both width and height; Bambu uses 144 by 108 mm to fit its frame and backlight board.
- Enter the layer height you will slice with (close to 0.1 mm is recommended) and the first layer height (Bambu's guide uses 0.15 mm). Set Colored Resolution to 2 to 3 times your line width.
- Choose the palette for your filament set. Bambu's guide keeps the default with Bambu's bundle.
- Enter your email and click Create .stl. You get a zip of STL parts.
- Import the parts as one object with multiple parts, then give each part its filament by file name. Bambu's guide loads five files and uses PLA Basic Cyan, Magenta, Yellow and White.
- Slice with the same layer height and line width you entered. Bambu's settings: 0.2 mm nozzle (recommended), 0.15 mm first layer, 3 top and 3 bottom shell layers, 100 percent rectilinear infill. Expect slicing to take a while.
- Load the spools in the order your slicer lists them. A mismatched AMS order prints the wrong colors.
On a Bambu printer with an AMS, Make My Lithophane replaces steps 1 to 6. Pick the colorful framed type, adjust the image, choose your printer and nozzle, and download a 3MF that needs no further setup.
Which filament to use
For a white lithophane: white PLA. ItsLitho finds white and silver or grey filaments work best, and Bambu's mono lithophanes use PLA Basic Jade White. American Filament's starting thicknesses vary by tone: 0.7 to 0.9 mm thinnest and 2.8 to 3.1 mm thickest for Classic White, 0.6 to 0.7 mm and 2.6 to 2.8 mm for Crisp Gray.
For a CMYK lithophane: a matched set.
| Set | Colors | Price (October 2026) | Calibrated for |
|---|---|---|---|
| Bambu Lab PLA CMYK Lithophane Bundle | PLA Basic Cyan #0086D6, Magenta #EC008C, Yellow #F4EE2A, White #FFFFFF; 4 x 1 kg | $65.99 | Make My Lithophane, AMS |
| American Filament CMYK Bundle | Four colors on 1 kg AMS-compatible spools | $93.99 | Lithophane Maker Desktop |
| LithophaneMaker.com palettes | eSun Warm White, Purple/Magenta, HATCHBOX Yellow, AIO Cyan; a TruBlend set; Printed Solid CMYK | Not listed | The free web color tool |
QIDI's rule: buy all four from one brand and one product family, because mixing brands is the most common cause of wrong colors with correct settings. Other filament can work if you correct the image. One forum maker printing another brand through Bambu's tool lowered the photo's red values by about 20 and raised blue by 50.
Print settings
| Setting | CMYK color lithophane | White panel for a color sheet |
|---|---|---|
| Nozzle | 0.2 mm recommended, 0.4 mm works | 0.4 mm |
| Layer height | 0.08 to 0.12 mm | 0.1 to 0.12 mm |
| First layer | 0.15 mm (Bambu's guide) | 0.2 mm |
| Image area | 100 percent rectilinear infill | Solid: see below |
| Bed, PLA | 45 to 50 °C (Bambu) | Your filament's usual |
| Speed | Not listed | 30 to 45 mm/s, slower is sharper |
| Orientation | As the generator lays it out | Upright along the Y axis, 10 to 20 mm brim |
QIDI's guide treats 0.08 to 0.1 mm as the standard for photographic color, because steps between color gradients show at 0.12 mm and above. Before a long print, run a calibration piece in front of your actual light; American Filament and ItsLitho both suggest one to find your thickness range.
Do lithophanes need 100 percent infill?
The image area must be solid, but 100 percent infill is only one way to get there. Bambu's CMYK guide uses 100 percent rectilinear infill. ItsLitho prints at 99 percent to save time, or sets 99 walls with 0 percent infill. American Filament tested 99 percent, 100 percent and thick walls, saw no difference, and now uses at least 7 walls with 10 to 15 percent infill, which only ends up in the frame.
Lighting: color temperature matters
A color lithophane is a filter. It can only show colors that are present in the light behind it.
- Use daylight white. QIDI recommends 5000 to 6500 K, a color rendering index (CRI) of 90 or more, and a diffused panel 20 to 40 mm behind the print. American Filament recommends a cool white backlight.
- Avoid warm white for color. Warm white LEDs are around 3000 K and "soft white" around 2700 K. QIDI notes that a 2700 K source adds a yellow-red bias that skews blues and greens toward olive. Keep warm light for plain white lithophane lamps.
- Match the light your photo was made for. Digital cameras and web graphics are normally designed for 6500 K, the sRGB white point. Light tables for viewing color slides are classified with daylight standards such as D50 (5000 K), so colors are not shifted toward red or blue.
- Diffuse it. A bare LED makes a hotspot with falloff toward the edges. For a washed-out print, QIDI's fix is a thicker or more opaque white and a diffused light that is not too bright or too close.
For framed panels, Bambu Lab's Lithophane LED Backlight Board Kit has 48 LEDs per board, 5 V USB power and long-press dimming, from $9.89 as of October 2026. Its color temperature is not listed.
Troubleshooting
| What you see | Likely cause | Fix |
|---|---|---|
| Every color is wrong | Spools loaded in a different order than the slicer expects | Match the AMS slots to the slicer's filament list |
| Greens or oranges are off | Filament differs from the generator's palette | Use the matched set, or correct the image's red and blue |
| Washed out, low contrast | White too translucent, or light too bright and close | Thicker or more opaque white; diffuse the light |
| Previous color muddies the highlights | Purge or flush volume too low | Raise it, at least 20 percent above default when changing to white |
| Visible bands between tones | Layers too thick, or Z wobble | Print at 0.08 to 0.1 mm; check the Z axis |
| Yellow cast, dull blues | Warm white light | Use a 5000 to 6500 K LED |
| Hazy color with tiny bubbles | Damp filament | Dry the spools |
| Color sheet looks dark and muddy | Original photo used as the sheet | Use a brightness-free sheet |
| Sheet does not line up | Printed scaled to fit the page | Print at 100 percent and measure |
Next step
Start with the color sheet version. It costs one spool and a sheet of film, and it shows whether your photo works in color before you commit to a 4 kg CMYK bundle and a long multi-material print. Make the white panel with the free lithophane maker, then build it into a lithophane lamp or light box.
Free tools for this job
Frequently asked questions
How do you make a color lithophane 3D print?
Generate CMYK files in a tool such as LithophaneMaker.com's Color Lithophane Maker or Bambu Lab's Make My Lithophane, load cyan, magenta, yellow and white filament in an AMS or MMU, and print at 0.08 to 0.12 mm layers. Without a multi-material printer, glue a color print on transparent film behind a white lithophane.
What is the best color filament for lithophanes?
White PLA for a plain lithophane or the color sheet method; ItsLitho finds white and silver or grey filaments work best. For CMYK, use the matched cyan, magenta, yellow and white set your generator is calibrated for, all from one brand, such as Bambu Lab's PLA CMYK Lithophane Bundle.
What color should I print a lithophane in?
White or a light gray. Bambu Lab's monochrome lithophanes use PLA Basic Jade White, and American Filament publishes separate starting thicknesses for its white, warm white, gray and sepia lithophane filaments.
Do lithophanes need 100% infill?
The image area must be solid, but 100 percent infill is only one way to get there. ItsLitho uses 99 percent, and American Filament saw no difference between 99 percent, 100 percent and at least 7 walls with 10 to 15 percent infill.
Can you print a color lithophane without an AMS?
Not the CMYK kind in practice: a full color image needs hundreds of filament changes. Print a white lithophane with a color sheet behind it instead, or make a front-lit filament painting with manual swaps.
Sources
- Bambu Lab Wiki, CMYK Lithophane Printing Guide
- Bambu Lab Store, PLA CMYK Lithophane Bundle
- Bambu Lab Store, Lithophane LED Backlight Board Kit
- Bambu Lab Community Forum, Join the Make My Lithophane Beta
- Bambu Lab Community Forum, Show your best lithophanes, standard or colour
- LithophaneMaker.com, Color Lithophane Maker
- LithophaneMaker.com, Terms of use
- American Filament, CMYK PLA Color Lithophane Filament Bundle
- American Filament, Lithophane Maker Desktop
- American Filament, Beginner's Guide to Printing Lithophanes
- ItsLitho, How to make a 3D printed color lithophane
- ItsLitho, Slicer settings for lithophanes
- QIDI Tech, The Mechanics of Multi-Material Color Lithophane Printing (July 2026)
- Wikipedia, Subtractive color
- Wikipedia, Color temperature
- Wikipedia, Blend modes