
Free tool
Laser, CNC and 3D printer settings by material
Pick your machine and material. Get a starting point and a test grid to dial it in.
Runs in your browser. Nothing is uploaded.
How to use it
1Pick your machine
Diode, CO2 or fiber laser, CNC router or FDM printer, then the power class.
2Find your material
Filter by material or job to see starting power, speed, passes, interval and notes.
3Plan a test grid
Set a power and speed range; the grid shows every combination and its relative energy.
4Run it in LightBurn
Copy the grid for LightBurn's Material Test, run it on scrap, and keep the settings from the best cell.
Using a test grid
A test grid is the fastest way to real settings: one run on the exact sheet you will use, with power rising across the columns and speed across the rows. Pick the lightest cell that gives the result you want, which keeps jobs fast and eases wear on the laser. More in laser power and speed settings.
Questions
Are these settings exact?
No. They are conservative starting points. Lens, focus, air assist, module age and the material batch all change the result, which is why the tool includes a test grid.
Why do diode settings change with power class?
Cutting speed scales roughly with optical power, and engraving power percentages drop as the module gets stronger. The diode values are scaled from a 10 W module and labelled as approximate.
What should I never laser?
PVC, vinyl, chrome-tanned leather and unknown plastics. They release toxic or corrosive fumes.
Read next
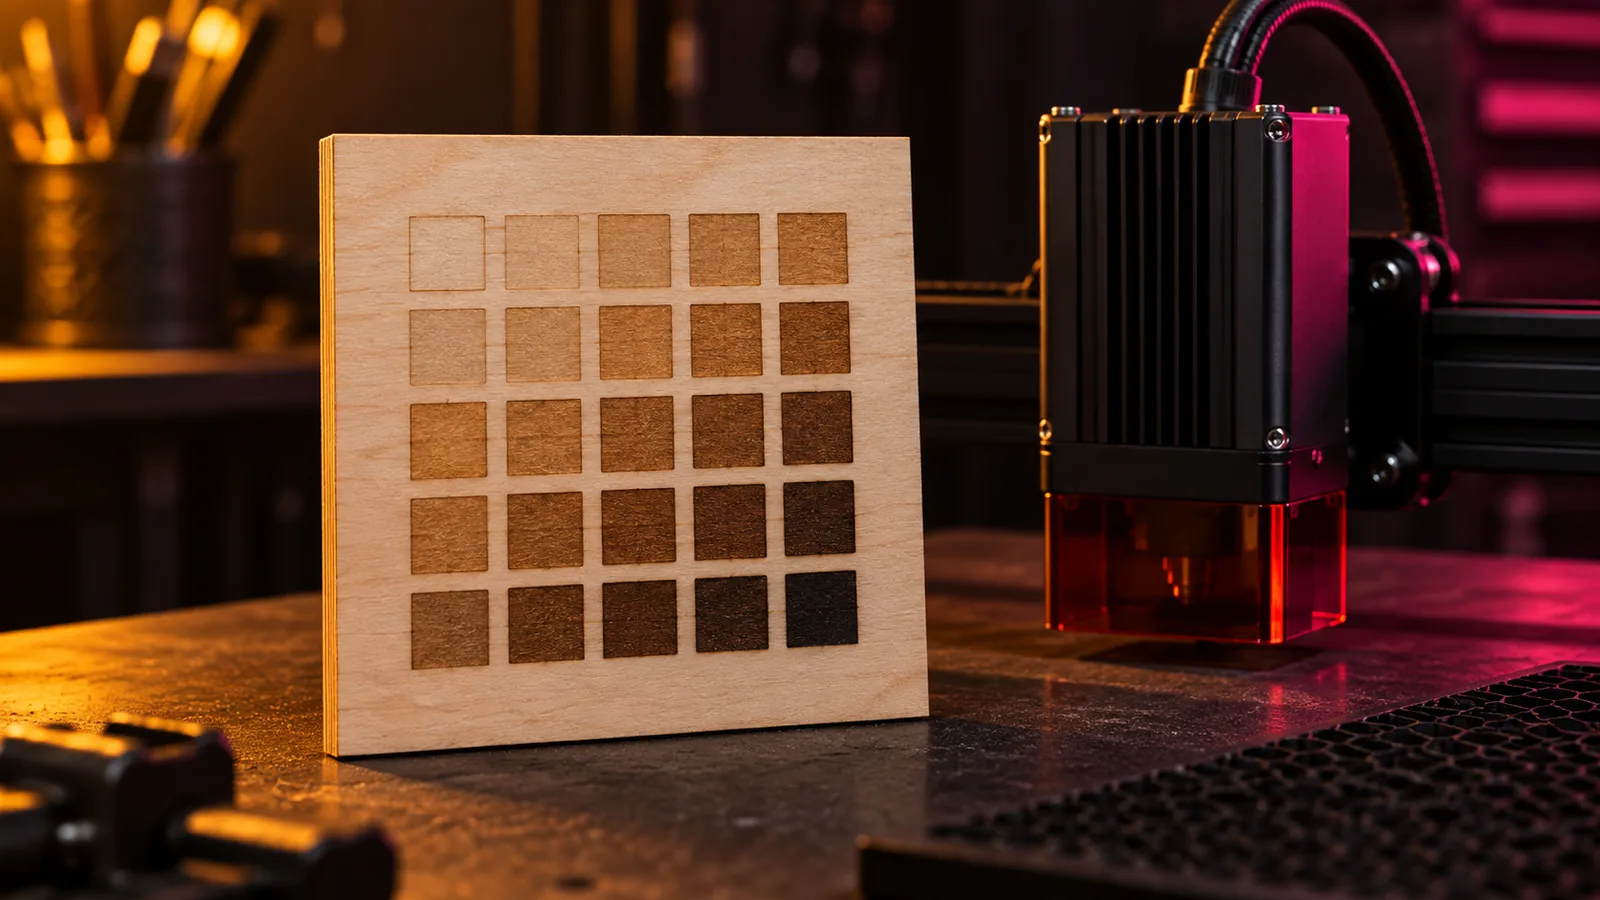
Laser and CNC
Laser Power and Speed Settings by Material: A Starting-Point Guide
Starting power and speed settings for diode, CO2 and fiber lasers on wood, MDF, acrylic, leather, slate and metal, and the test grid that dials them in.
September 21, 2026 2 min read
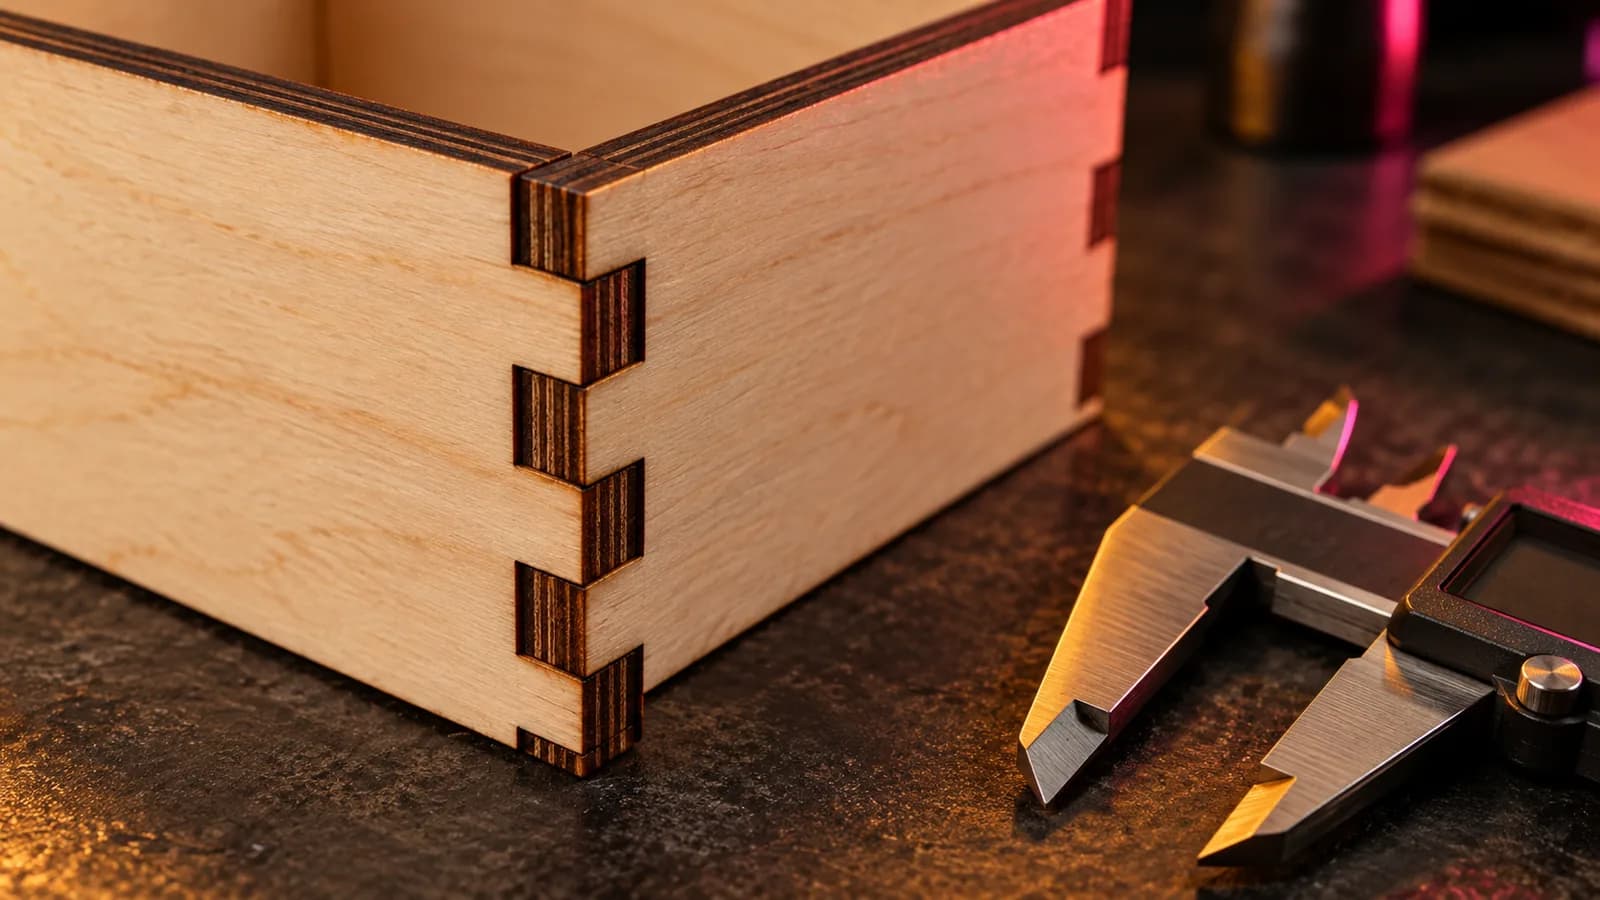
Laser and CNC
Laser Kerf Explained: Measure It and Set the Offset in LightBurn
What laser kerf is, why press-fit joints come out loose, how to measure kerf with one test cut, and how to set the kerf offset in LightBurn.
September 21, 2026 2 min read
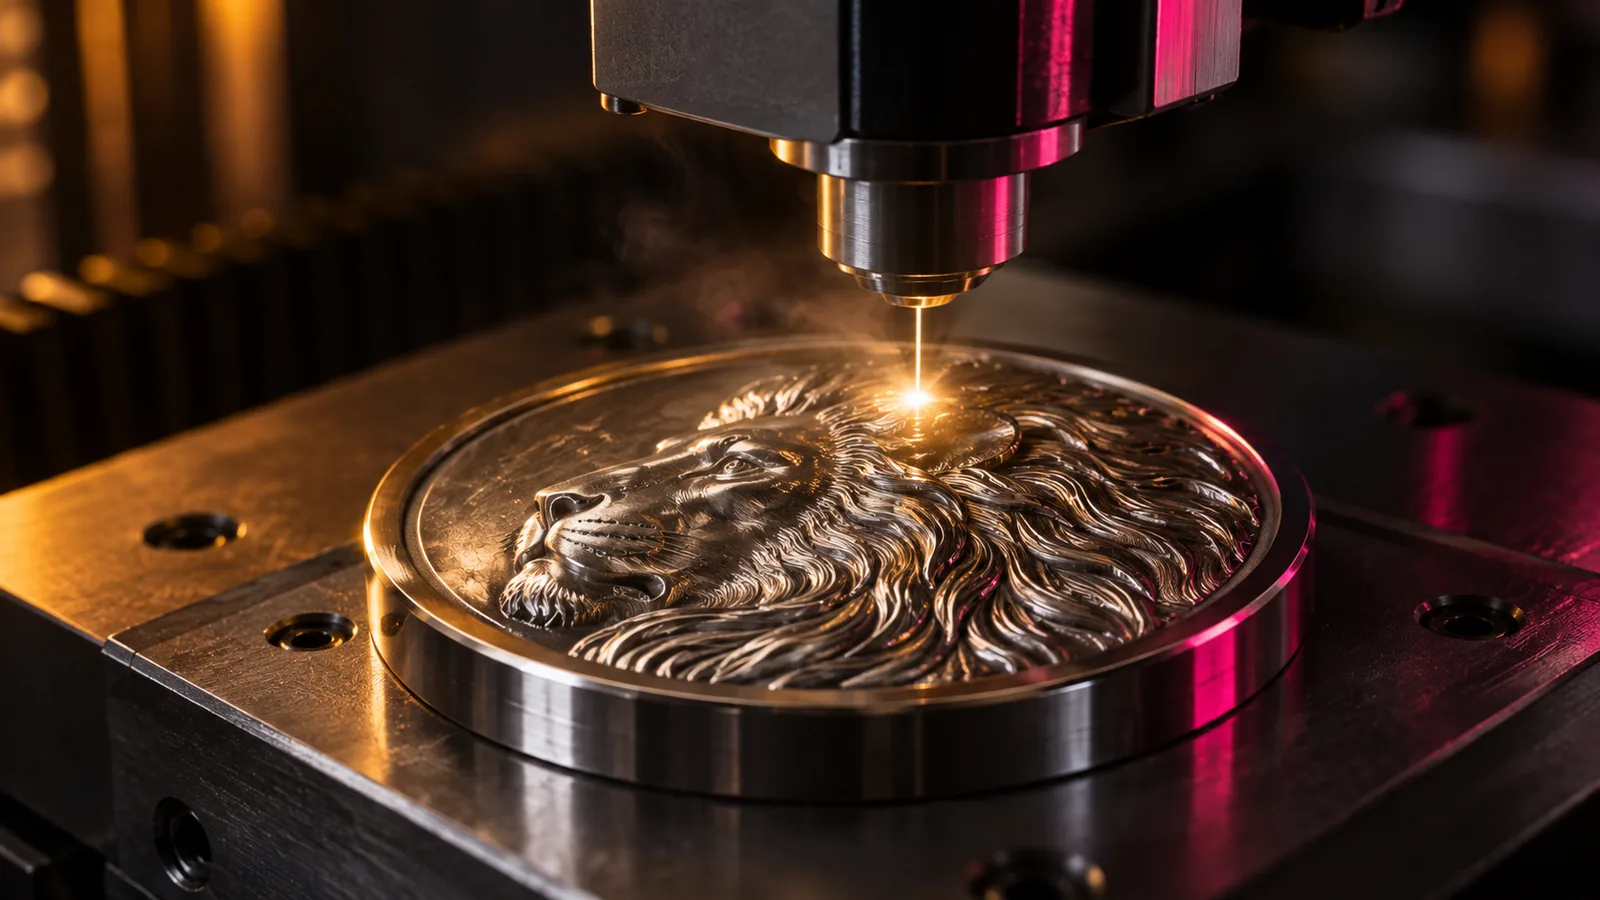
Depth maps
16-Bit vs 8-Bit Depth Maps for LightBurn 3D Sliced Engraving
When a 16-bit depth map improves a LightBurn 3D Sliced engraving, when 8-bit is enough, how passes relate to gray levels, and how to check a file's bit depth.
September 21, 2026 3 min read