Laser Kerf Explained: Measure It and Set the Offset in LightBurn
What laser kerf is, why press-fit joints come out loose, how to measure kerf with one test cut, and how to set the kerf offset in LightBurn.
By Depthue Lab2 min read
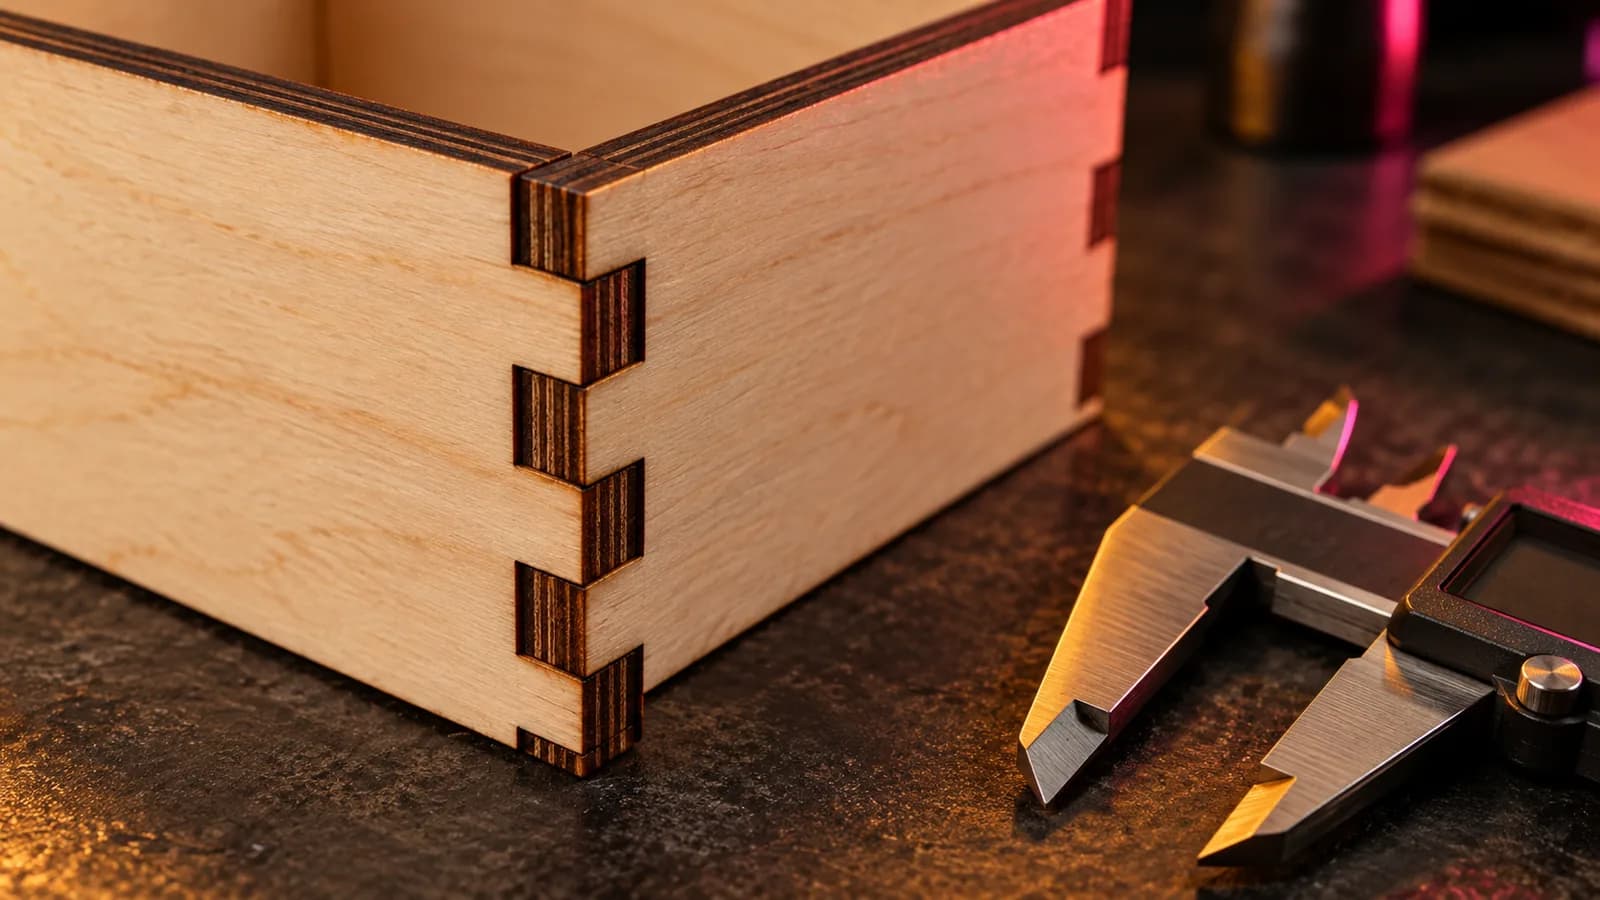
Download a free box file, cut it, and the pieces rattle. The design is right; the file does not know about kerf, the strip of material your laser burns away along every line.
What kerf is
A laser follows the center of each line in your file, and the beam has width. It removes about half its width on each side of the line, so:
- Parts come out smaller than drawn by one kerf width.
- Holes and slots come out larger by one kerf width.
On a joint, both errors add up. A tab drawn at 3 mm into a slot drawn at 3 mm fits with a gap of about two kerf widths. On a diode or CO2 laser, kerf is usually 0.1 to 0.3 mm, which is plenty to turn a press fit into a loose one.
Measure your kerf in two minutes
- Draw a 20 mm square and, separately, a 20 mm square hole in a piece of scrap.
- Cut both in the material and thickness you will use, with your normal cut settings.
- Measure the square piece and the hole with digital calipers, across the flats.
- Kerf from the piece = 20 minus the piece. Kerf from the hole = the hole minus 20. Average the two.
Averaging the piece and the hole cancels most caliper and taper error. Or let the calculator do it, including several test pieces:
Setting the offset in LightBurn
LightBurn can compensate for kerf per layer. Open the cut layer's settings, enable Kerf offset and enter half the kerf. LightBurn moves outer paths outward and inner paths inward by that amount, so parts and holes both come out at their drawn size.
Do not compensate twice. If your box generator already adjusted the file for kerf, leave LightBurn's offset off.
Sizing joints yourself
If you draw joints by hand, compensate in the design:
- Slot width to draw: material thickness, plus the clearance you want, minus the kerf.
- Press fit: about 0.05 mm of interference.
- Snug fit: zero clearance.
- Sliding fit: about 0.1 mm of clearance.
Measure the sheet. Plywood and MDF sold as 3 mm are often 2.7 to 3.2 mm.
Why kerf changes
Kerf is not a property of the machine alone. It changes with material (acrylic melts, plywood chars), thickness (thicker material tapers more), focus, power, speed and air assist. Measure once per material and keep a note next to your settings.
Quick fixes
| Symptom | Fix |
|---|---|
| Joints are loose | Increase kerf offset or narrow the slots |
| Joints need a hammer | Reduce offset; check the sheet thickness |
| Tight at the top, loose at the bottom | Focus deeper into the material |
| Offset seems ignored | Check it is enabled on the cut layer, not the engrave layer |
Free tools for this job
Frequently asked questions
What is kerf on a laser cutter?
Kerf is the width of the cut, the material removed by the beam. Because the beam cuts on the design line, a part comes out smaller than drawn and a hole comes out larger by the kerf width.
What value do I enter for kerf offset in LightBurn?
Half of the measured kerf. If a 20 mm square measures 19.84 mm, the kerf is about 0.16 mm and the offset is 0.08 mm.
Does kerf change with material?
Yes. Kerf depends on the material, its thickness, focus, power, speed and air assist. Measure again for every new material or thickness.
Why is my kerf wider at the bottom of the cut?
The beam is focused to a point and spreads above and below it. Focusing about a third of the way into thick material evens out the taper.