
Depthue Studio
STL to depth map: a 16-bit height map from any 3D model
Depthue Studio turns any 3D model into a depth map: a 16-bit grayscale PNG of the selected object seen from above, where white is the highest point and black the lowest. Open an STL, OBJ, 3MF, GLB or PLY, set the width in pixels, and download a height map for LightBurn 3D Sliced, xTool, Aspire or any other height map tool.
Free in your browser, no card. Files stay on your device until you save to the cloud.
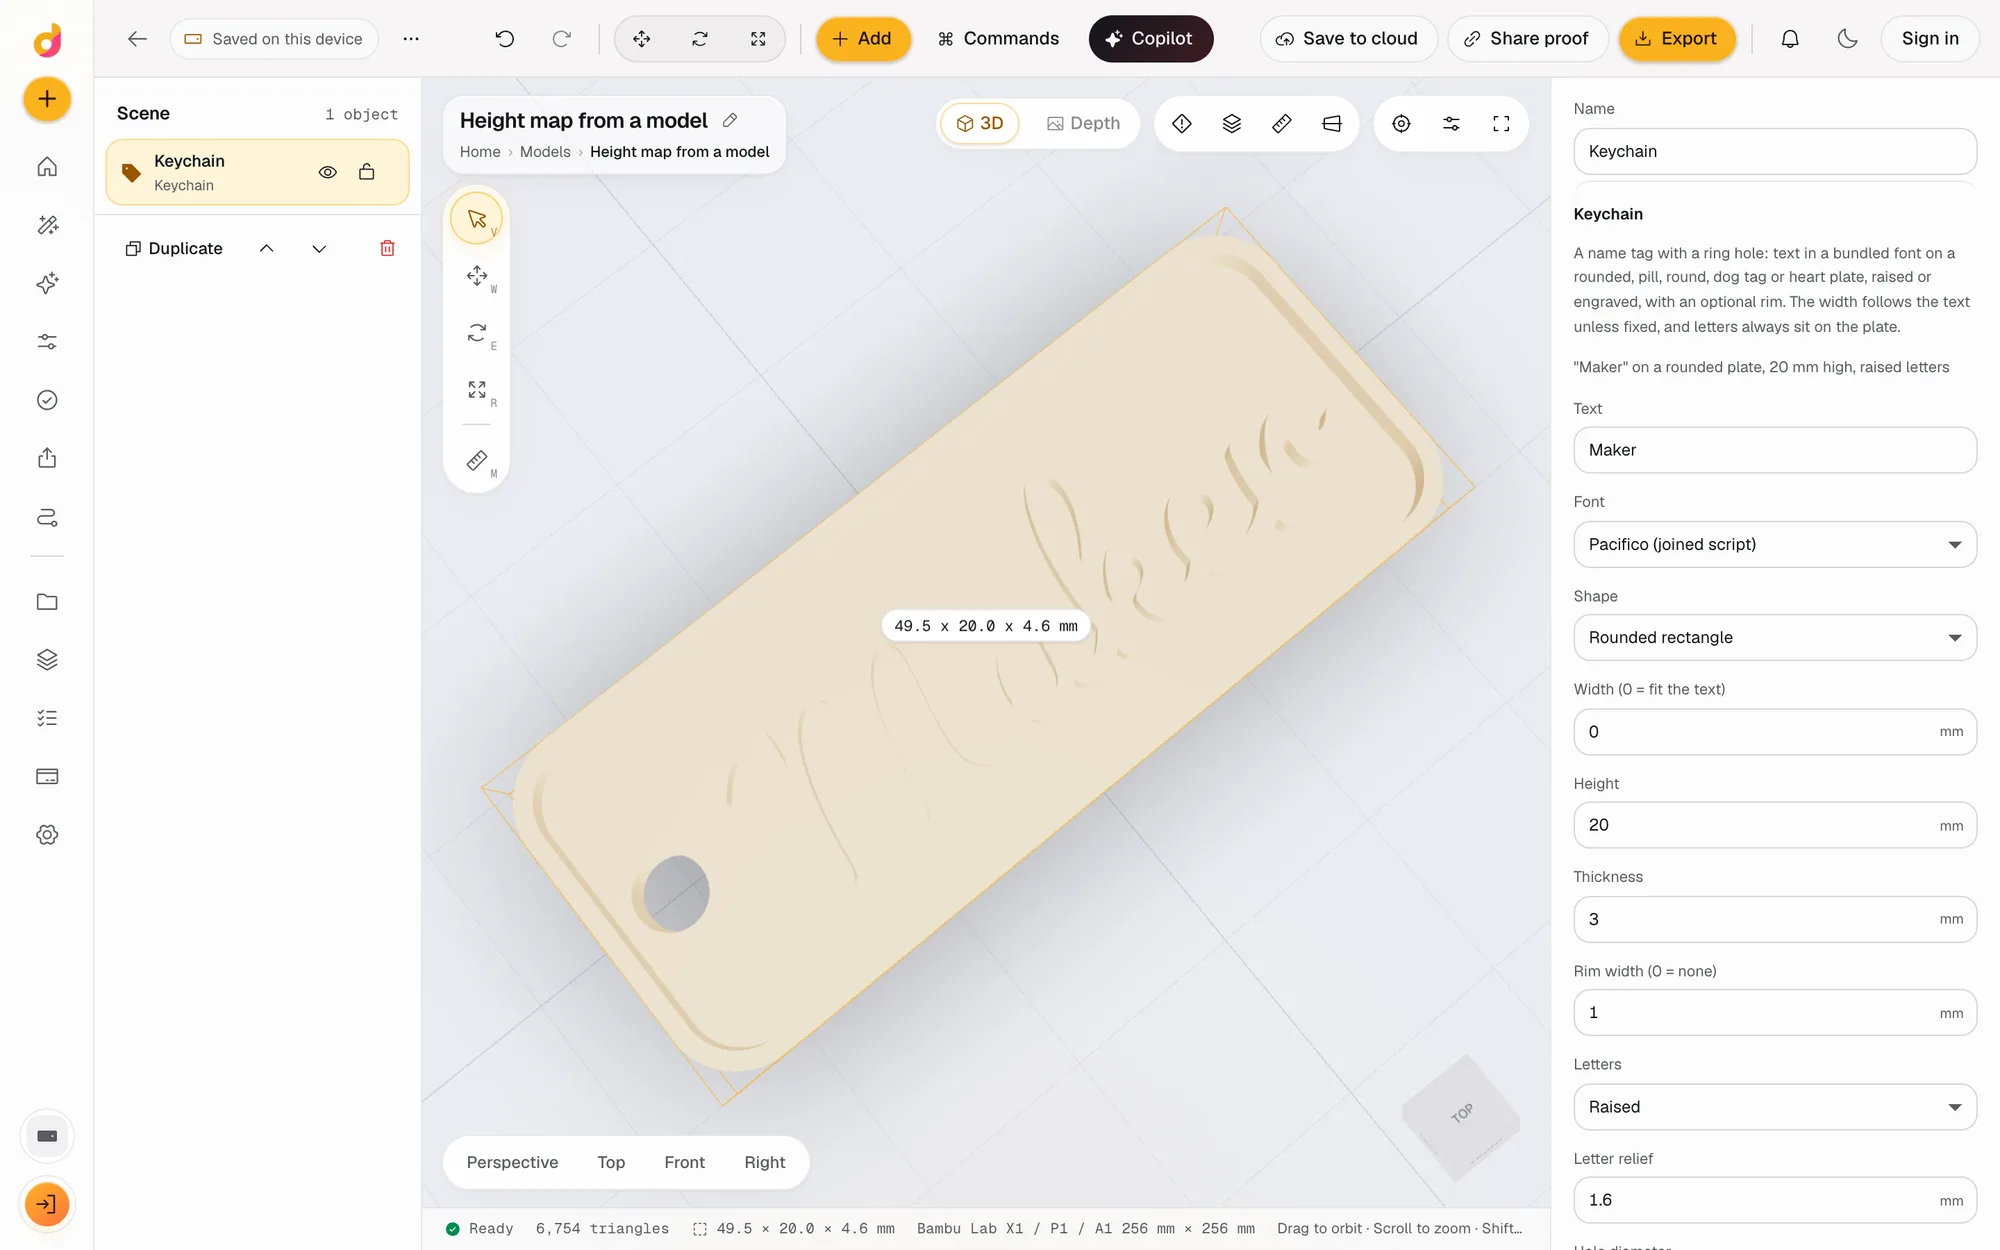
The short answer
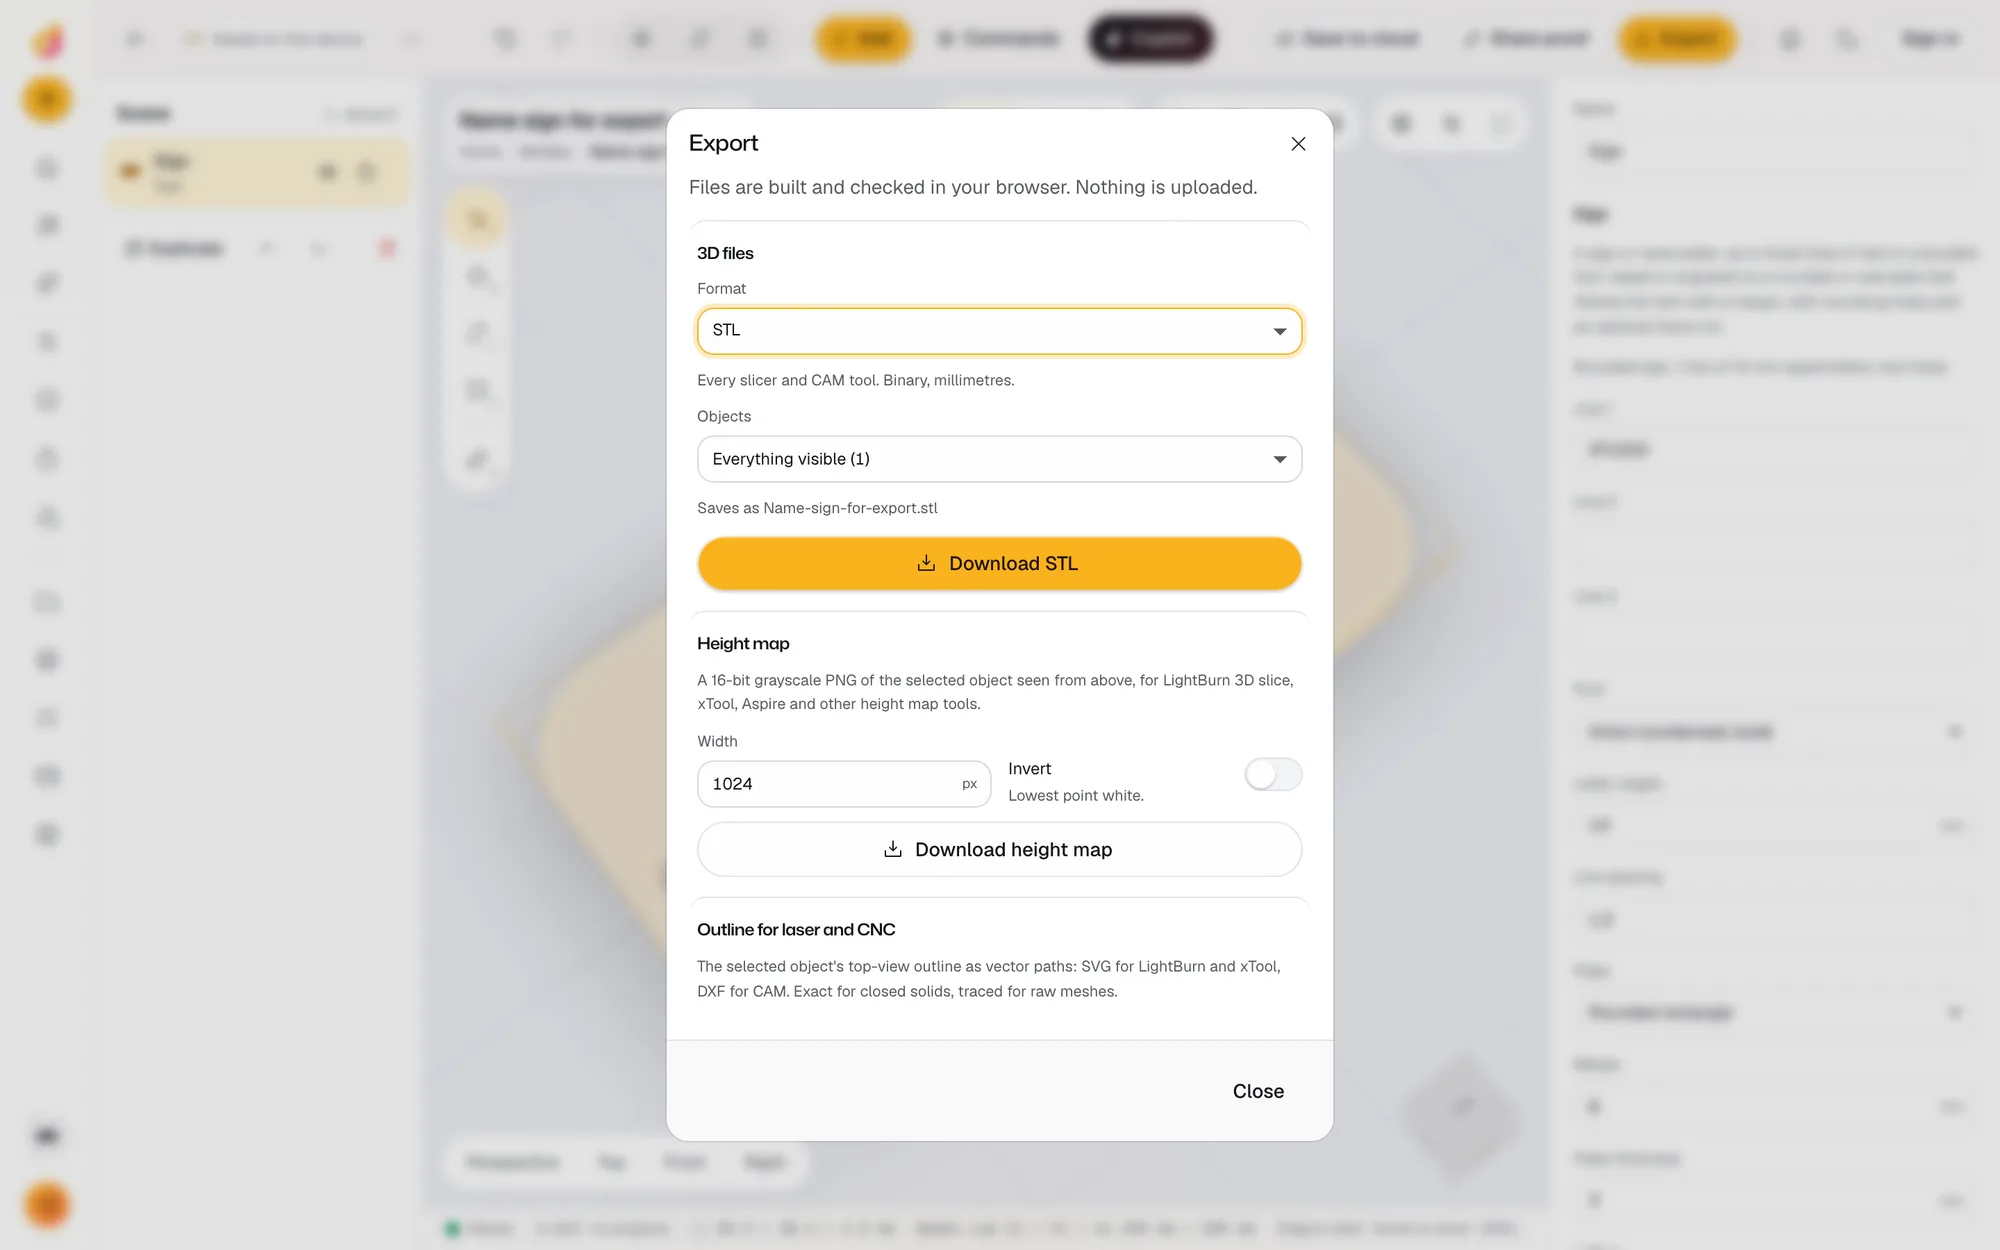
- Exports a 16-bit grayscale PNG of the selected object seen from above, 64 to 4,096 pixels wide; white is high and black is low, or inverted.
- 16 bits give 65,536 grey levels, so tall models keep smooth slopes where an 8-bit map would show steps.
- The same dialog exports the top-view outline as SVG for LightBurn and xTool or DXF (R12) for CAM.
- Output
- 16-bit grayscale PNG of the selected object, seen from above
- Width
- 64 to 4,096 px, default 1,024; height follows the model's proportions
- Polarity
- Highest point white, lowest point black; Invert swaps them
- Opens
- STL, OBJ, 3MF, GLB, glTF and PLY up to 120 MB, plus anything built in the Studio
- Outline
- Top-view outline as SVG for LightBurn and xTool or DXF (R12) for CAM; exact for closed solids, traced for raw meshes; optional holes and simplify in mm
- Also exports
- STL, 3MF, OBJ, GLB and PLY of the same model
How to convert an STL to a depth map
- 1
Open the model
Drop the STL, OBJ, 3MF, GLB or PLY on the plate, or make one with the parts, text or a scripted part.
- 2
Face it up
The height map looks straight down the Z axis, so rotate the model until the side to engrave or carve faces up.
- 3
Export the height map
Export, Height map. Set the width in pixels, turn on Invert if your tool wants the lowest point white, and download.
- 4
Size it in your software
Read the model's width and depth in mm from the footer and set the image to that size in LightBurn, xTool or your CAM software.
When you need a depth map from a model
Laser 3D engraving and many CNC relief workflows read a grayscale image, not a mesh: each pixel's brightness says how deep to burn or carve. If what you have is an STL, such as a coin design, a logo you modelled, a sculpted relief or a part you built in the Studio, you need it as a depth map first. Studio renders that map straight from the geometry, so heights are measured, not estimated from a picture.
If you are starting from a photo instead, use the free depth map generator, which estimates depth with AI in your browser.
What the file contains
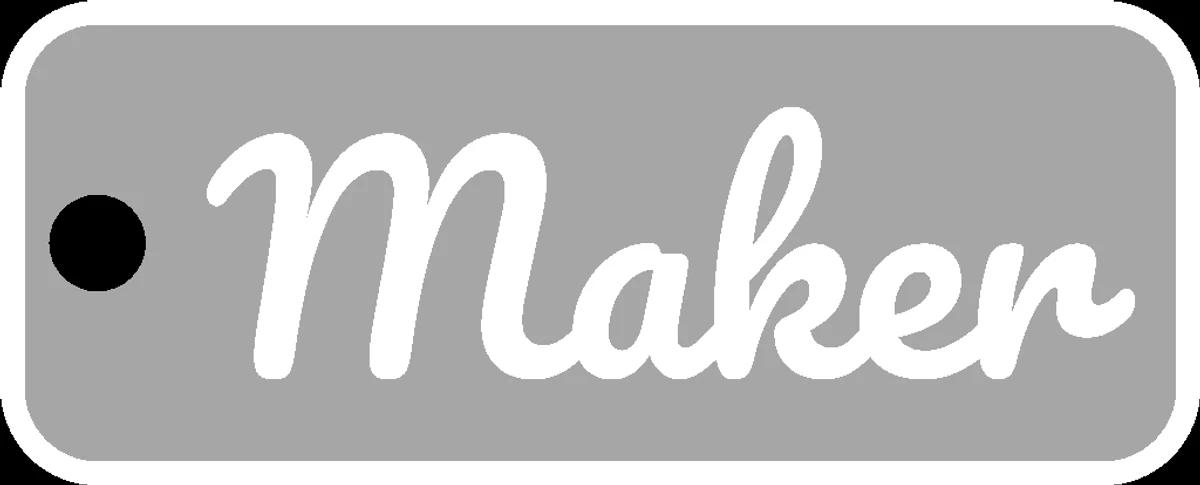
The PNG looks straight down the Z axis at the selected object. The highest point is pure white, the lowest pure black, and everything between is a linear grey. The image has the proportions of the model's footprint, so a 60 x 20 mm keychain at 1,024 px wide comes out about 1,024 x 341 px.
The PNG stores heights, not sizes. Note the width and depth in mm from the footer and set the image to that size when you place it in LightBurn, xTool Creative Space or your CAM software, then set the depth there.
Bit depth in practice
| Bit depth | Grey levels | Step on a 10 mm tall model |
|---|---|---|
| 8-bit | 256 | about 0.039 mm |
| 16-bit | 65,536 | about 0.00015 mm |
For shallow reliefs on a diode laser, 8 bits are often enough. For tall reliefs, galvo 3D engraving with many passes, or CNC finishing passes, 16 bits avoid visible terraces. Studio always exports 16 bits; this guide covers how LightBurn reads them.
Tips for a clean map
- Rotate the face you want to engrave so it points up. Anything hidden underneath is not in the map.
- Drop the model to the plate first, so the lowest point is the part's own base.
- Use Simplify on very heavy meshes to speed up the render; the map's precision comes from the pixel width, not the triangle count.
Questions
Can I convert an STL to a depth map?
Yes. Open the STL in Depthue Studio, rotate it so the side you want faces up, and use Export, Height map. You get a 16-bit grayscale PNG where brightness is height, ready for laser 3D engraving or CNC relief software.
Is a height map the same as a depth map?
For laser and CNC work, yes: both are grayscale images where brightness stands for height. Depth map usually means one estimated from a photo, height map one measured from a 3D model. Studio's export is measured from the mesh, so it is exact.
Which way round should the grays be for LightBurn?
Studio exports the highest point as white and the lowest as black, so the deepest burn lands on the lowest part. If your settings expect the opposite, turn on Invert before you download.
Why 16-bit instead of 8-bit?
An 8-bit PNG has 256 grey levels, so a 10 mm tall model steps about every 0.04 mm. 16 bits have 65,536 levels and keep slopes smooth. The guide to 16-bit and 8-bit depth maps in LightBurn covers when it matters.
Can I get an SVG or DXF instead?
Yes. The Outline section exports the model's top-view outline as an SVG for LightBurn and xTool or a DXF (R12) for CAM, with holes included or left out.
Does the model get uploaded?
No. The model opens, renders and exports in your browser, and no credits are used.
Also in Depthue Studio
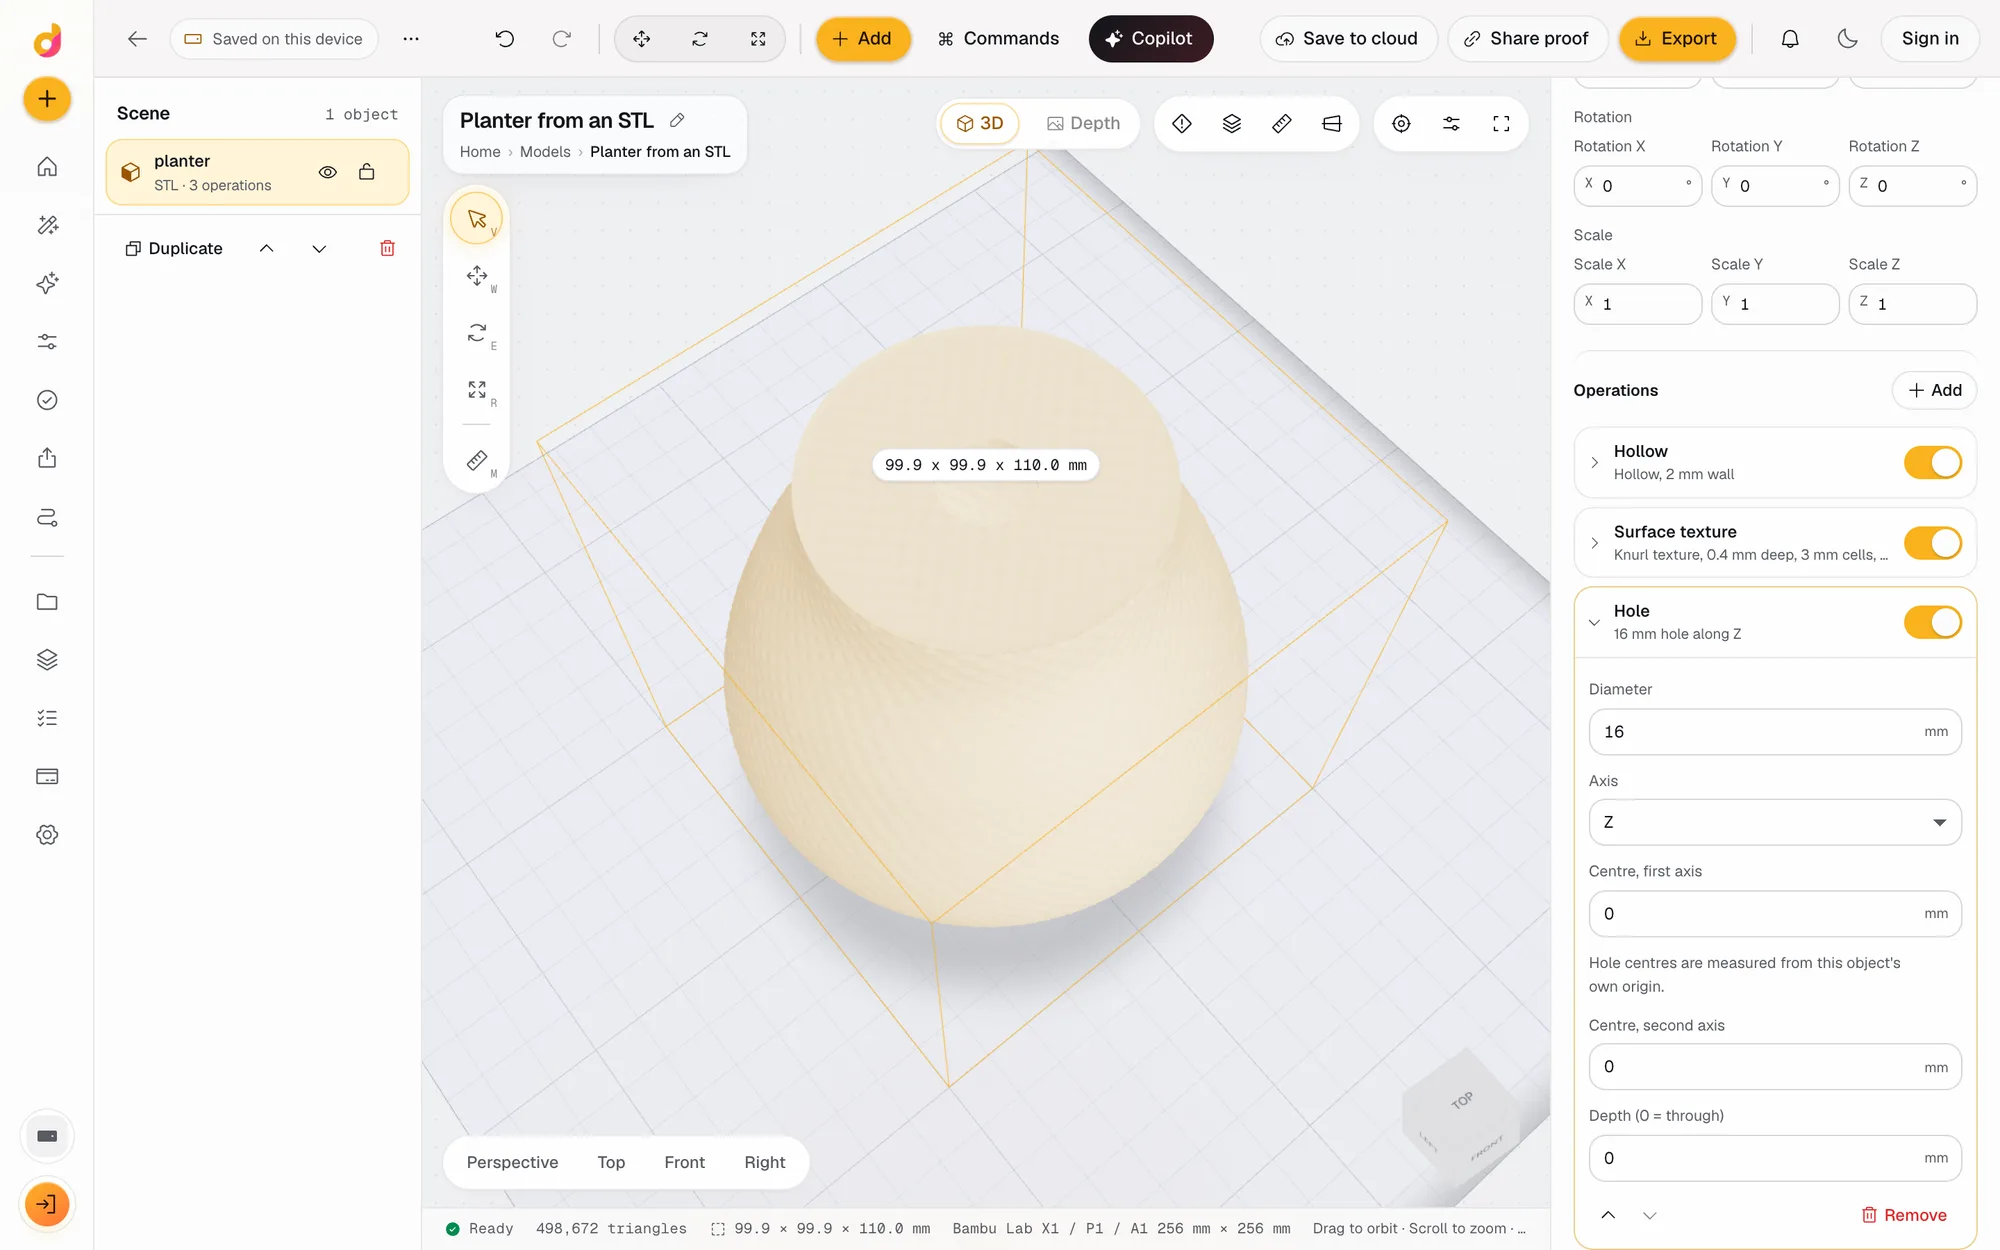 STL editorEdit STL files online: scale to exact millimetres, cut, hollow, combine, add text and holes, repair and simplify, then export STL or 3MF. Free, in your browser.See how it works
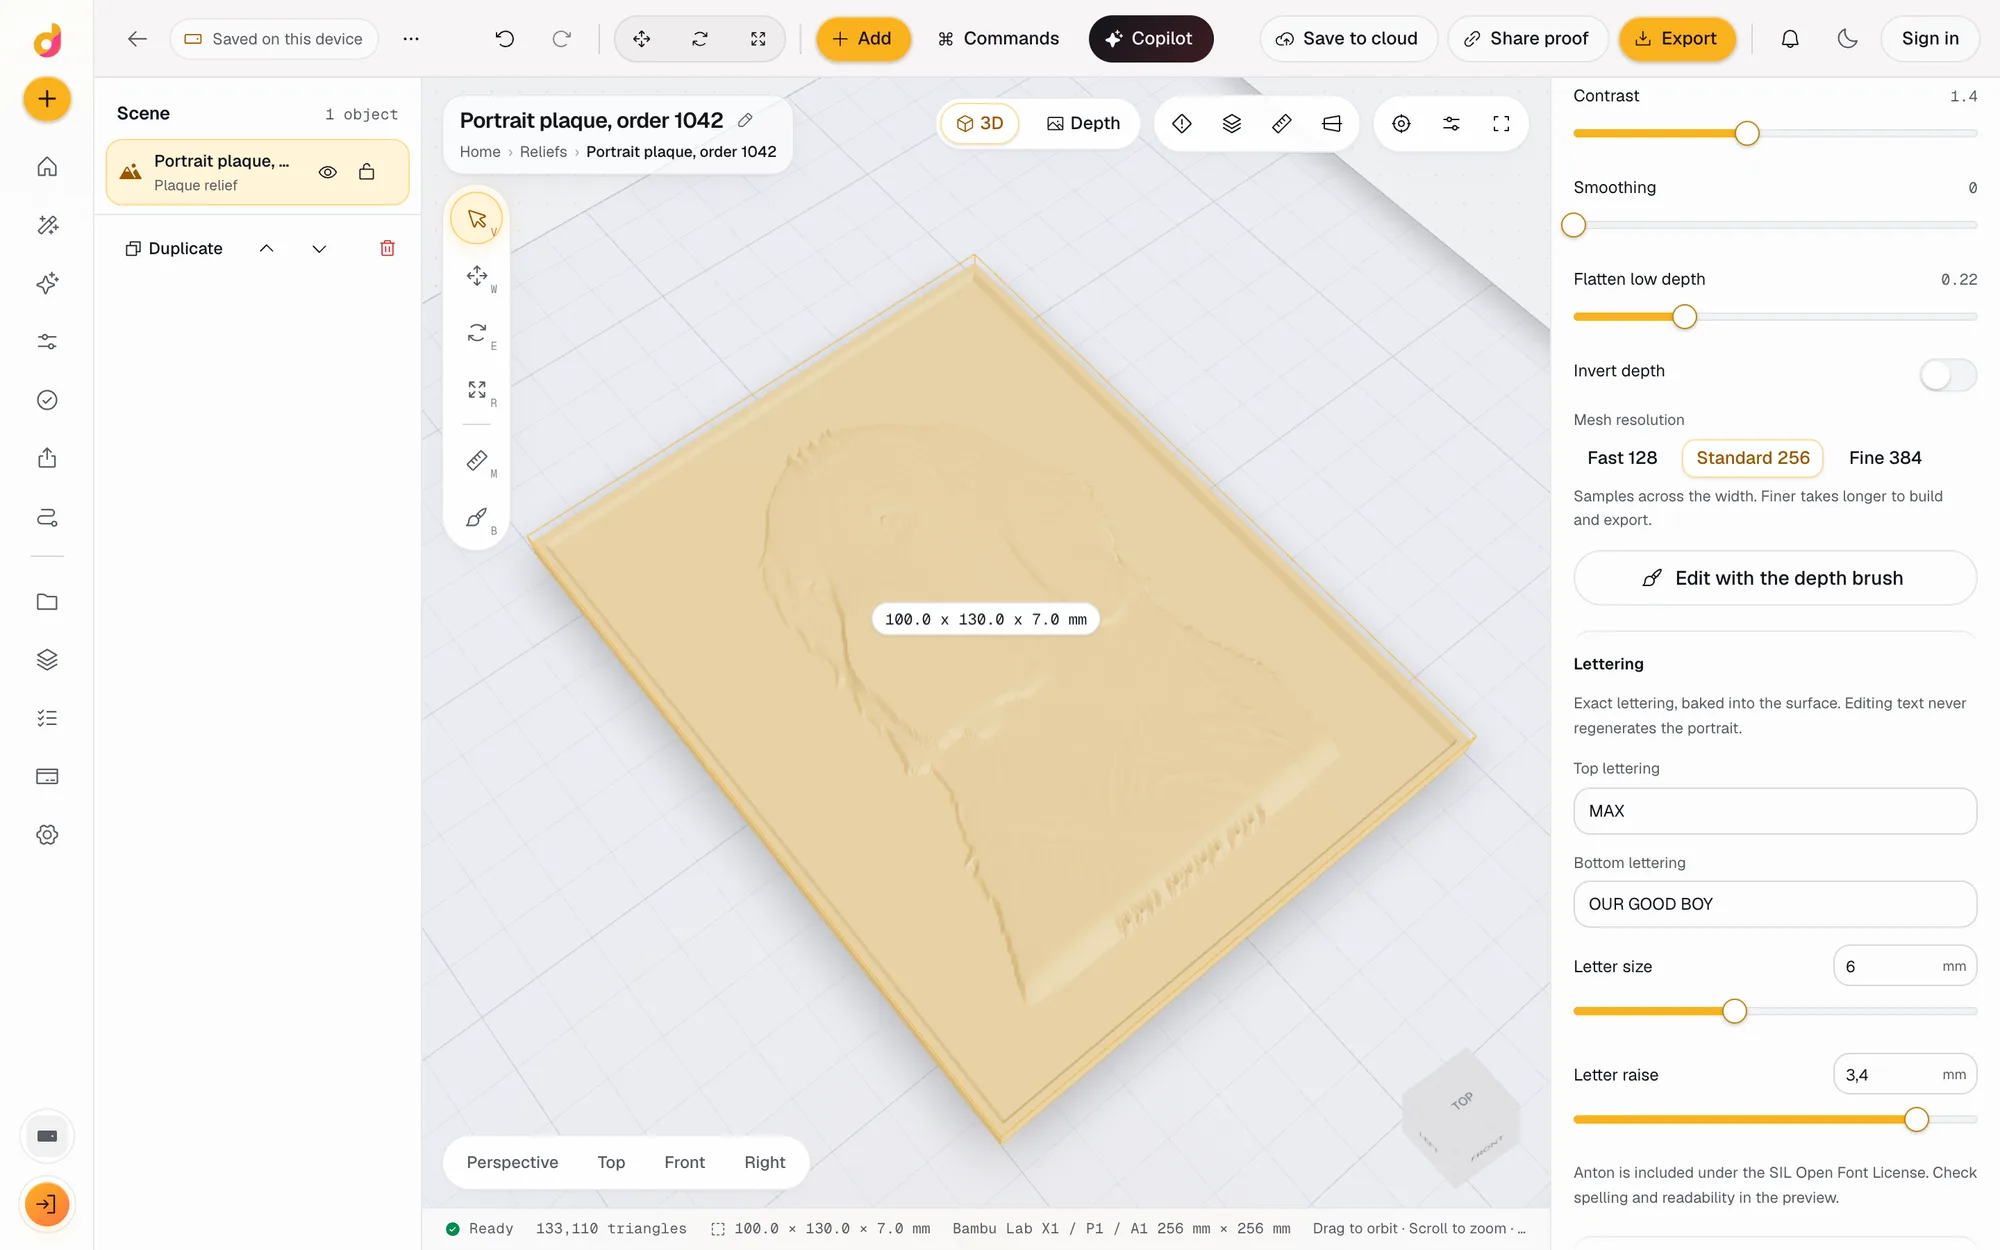 Bas relief generatorTurn a photo into a bas relief plaque, coin or lithophane in mm: depth on your device, exact lettering, depth brushes, then STL, OBJ and 16-bit PNG. Free.See how it works
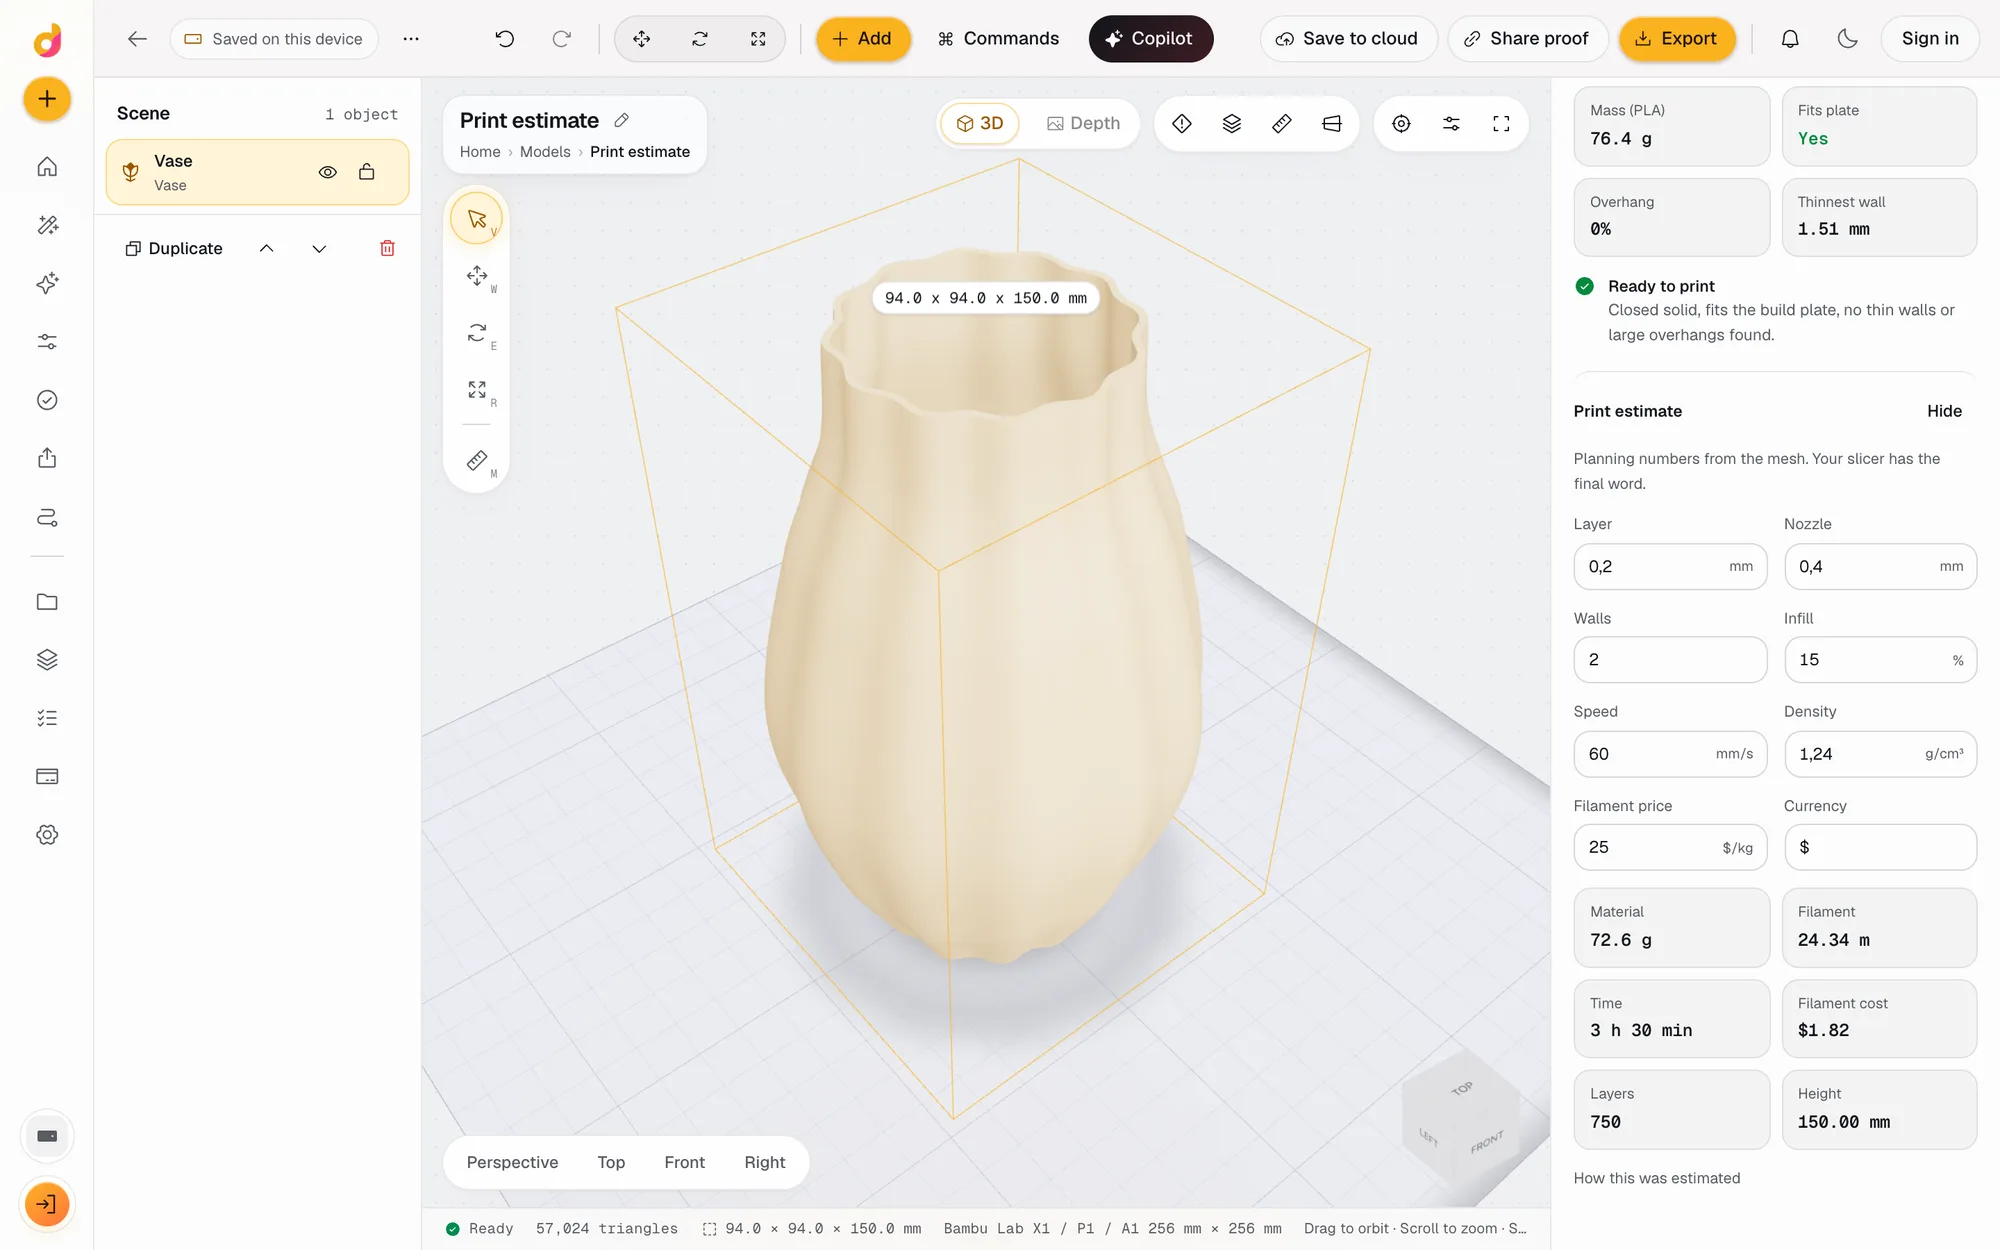 STL checkerCheck an STL before printing: closed solid, plate fit, overhangs, thin walls, volume, mass and a print estimate in grams, time and cost. Free, in your browser.See how it works
Read next
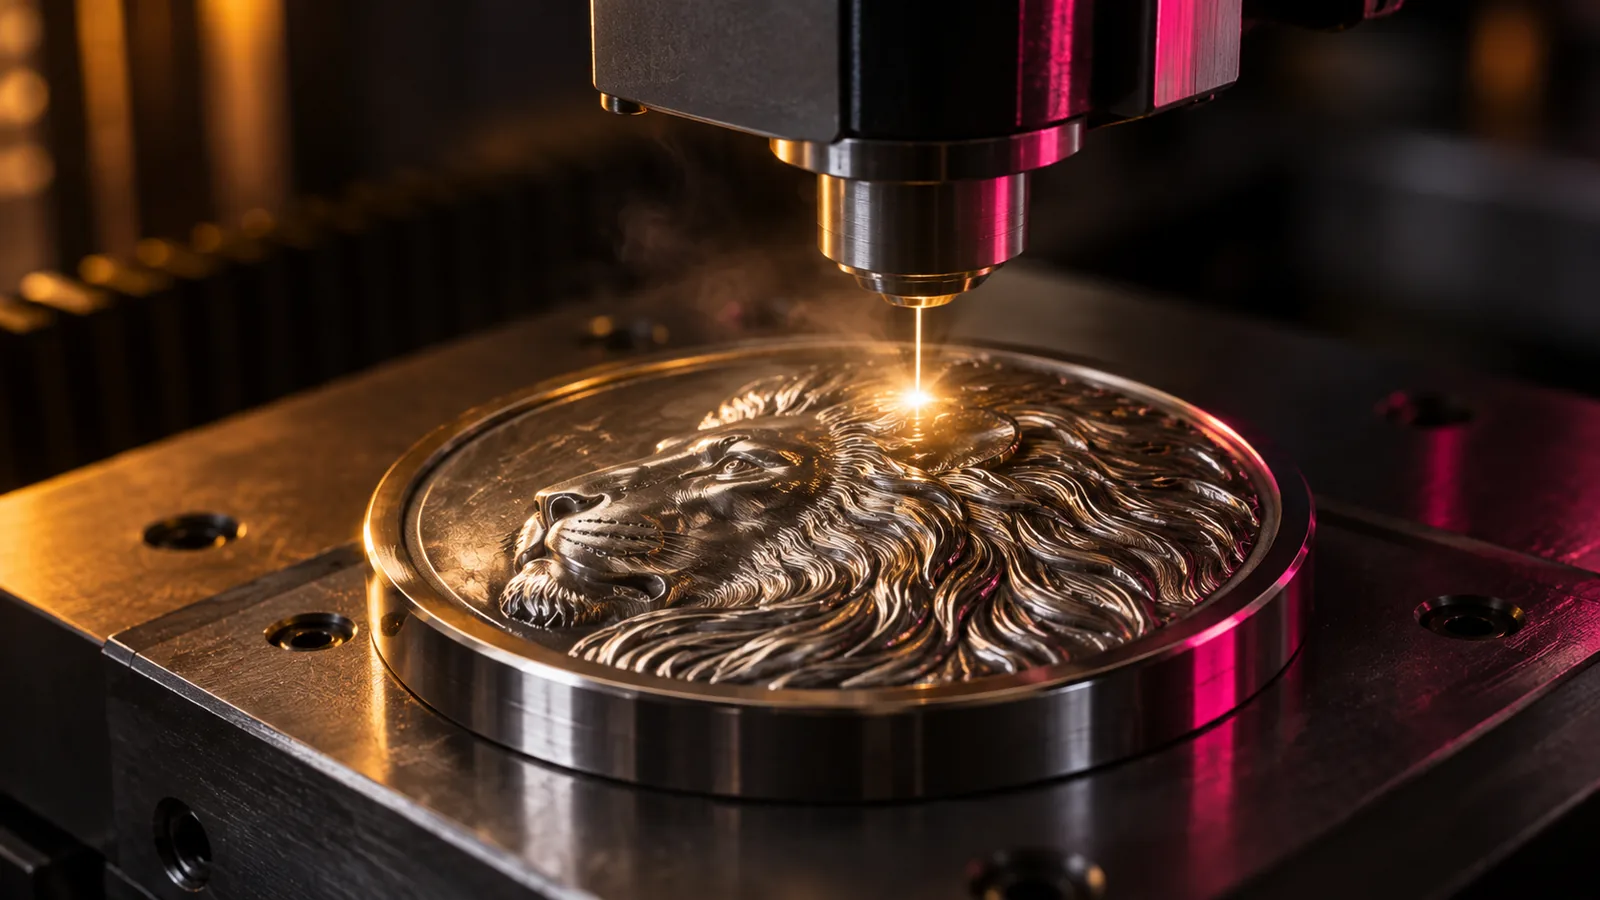
Depth maps
16-Bit vs 8-Bit Depth Maps for LightBurn 3D Sliced Engraving
When a 16-bit depth map improves a LightBurn 3D Sliced engraving, when 8-bit is enough, how passes relate to gray levels, and how to check a file's bit depth.
September 21, 2026 3 min read
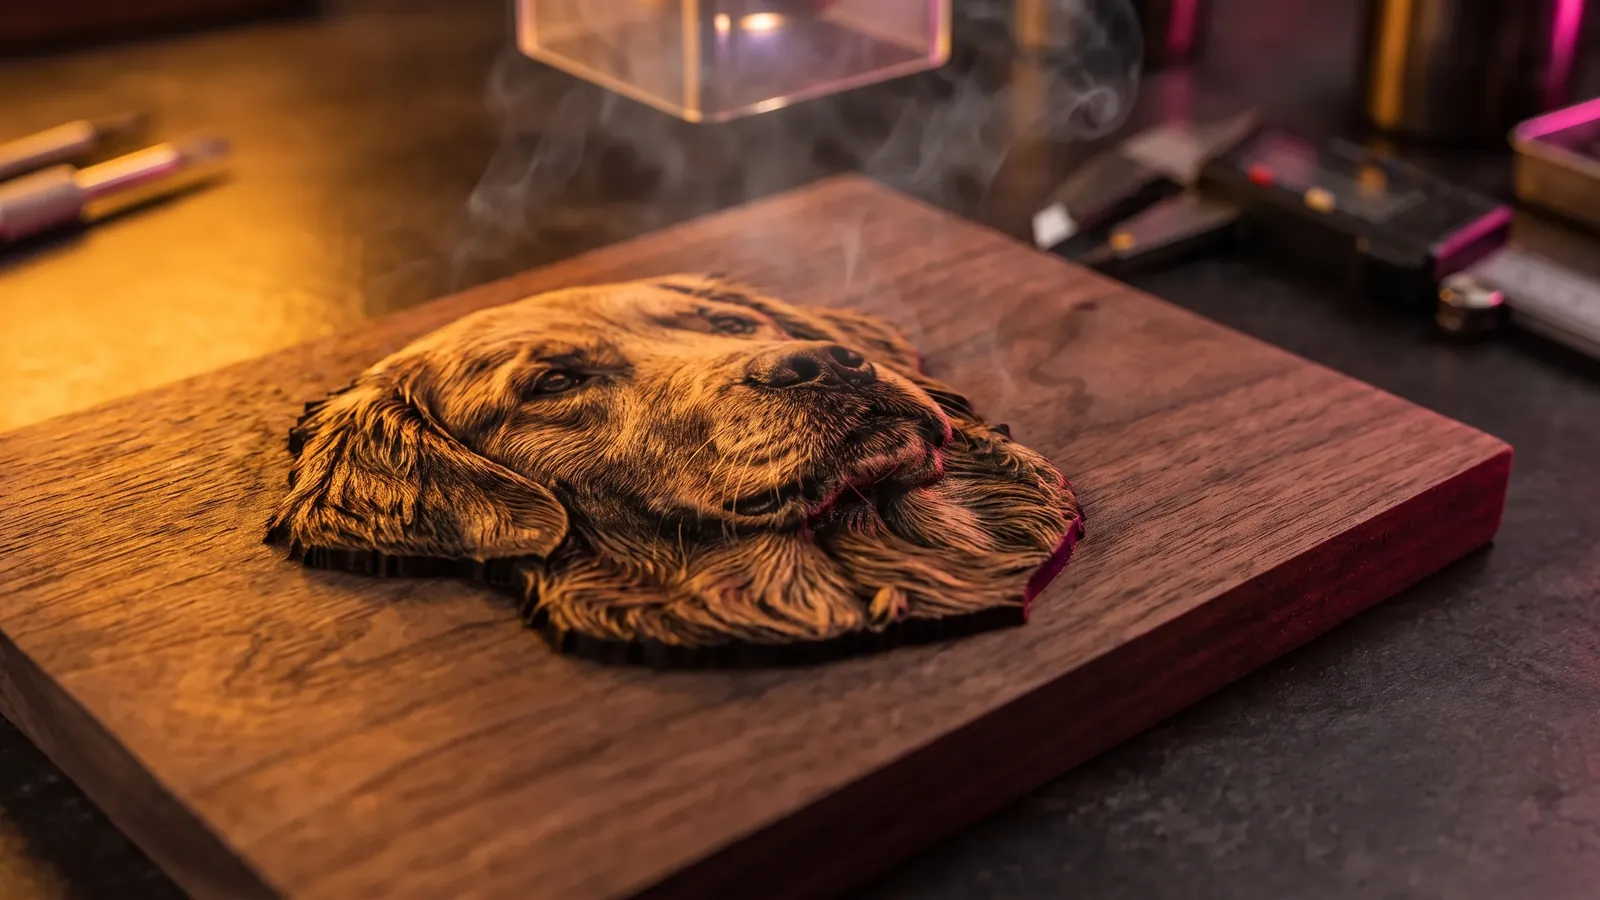
Depth maps
3D Laser Engraving: The 3 Types, the Machines and How to Do It
What 3D laser engraving means (relief, crystal or curved surfaces), how to engrave a depth map step by step, starting settings, software and machine prices.
October 8, 2026 10 min read
Laser and CNC
Depth Maps for CNC Relief Carving: From Photo to Toolpath
How to prepare a depth map for CNC relief carving: resolution, depth, background, PNG or STL, roughing and finishing tools, stepover and common mistakes.
October 2, 2026 3 min read
Make a depth map from a model.
It runs in your browser and the free plan needs no card. Paid plans from $5 a month add credits, storage and projects.