3D Laser Engraving: The 3 Types, the Machines and How to Do It
What 3D laser engraving means (relief, crystal or curved surfaces), how to engrave a depth map step by step, starting settings, software and machine prices.
By Depthue Lab10 min read
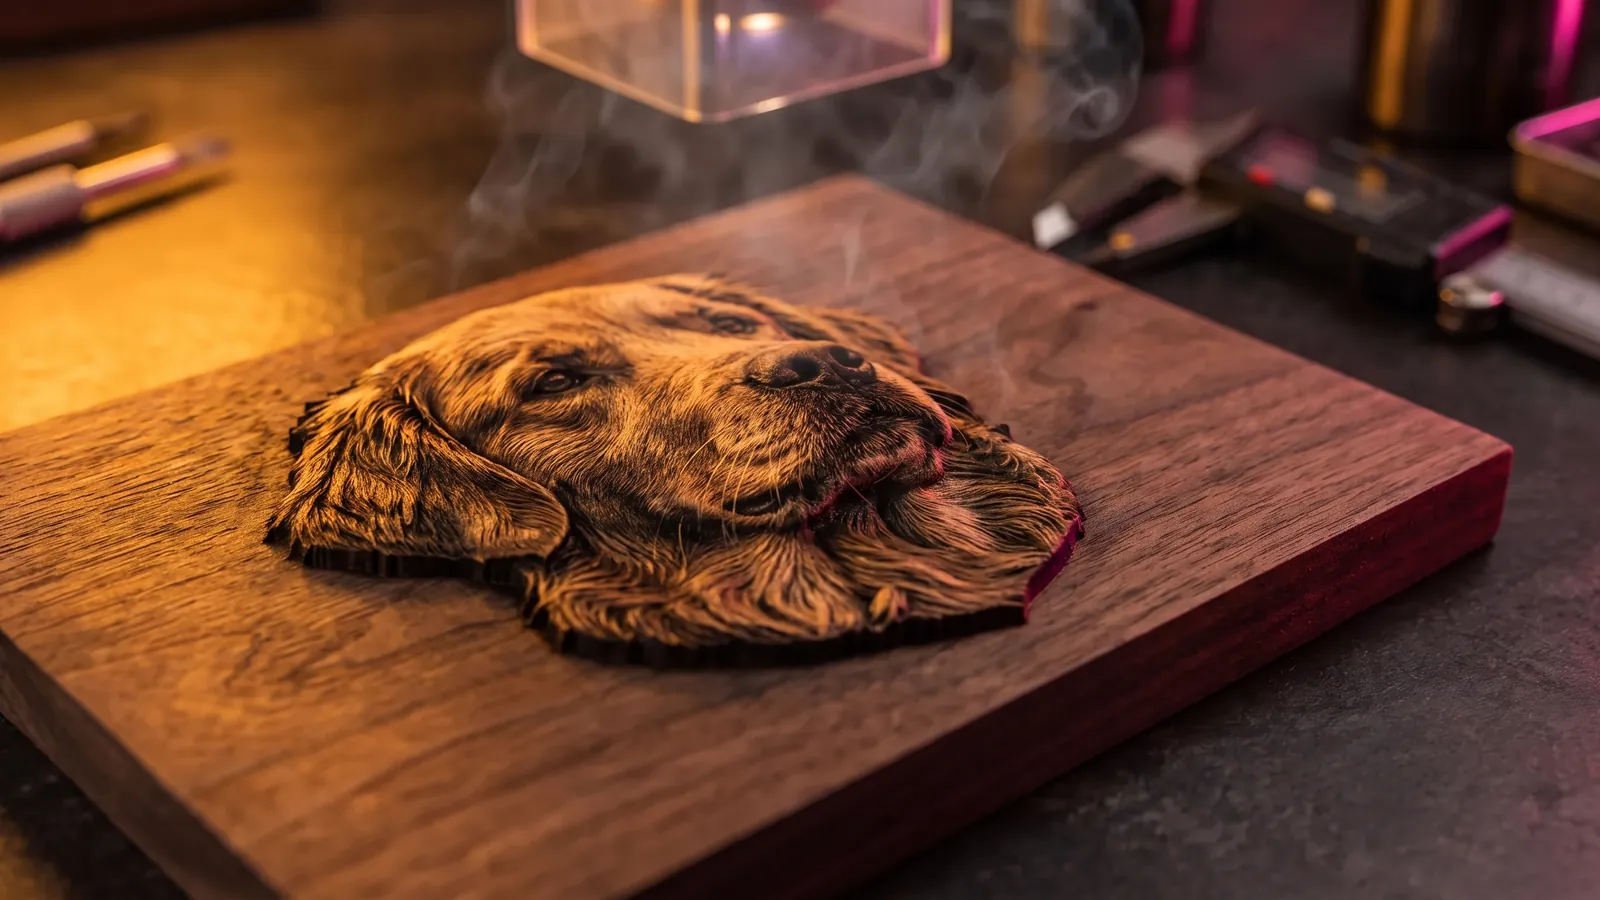
3D laser engraving means one of three jobs. Relief engraving uses a grayscale depth map to remove more material where the map is darker. Subsurface crystal engraving builds an image from tiny fractures inside a glass block. 3D surface marking keeps the beam in focus across a curved part. Only relief engraving is a home workshop job, and it comes down to a clean depth map, a material that carves well and enough passes.
The three kinds of 3D laser engraving
| Type | What the laser does | Machines | Input |
|---|---|---|---|
| Relief or depth engraving | Removes more material where a depth map is darker, leaving a carved relief | Diode or CO2 lasers in Grayscale mode; galvo lasers in 3D Sliced or STL relief modes | Grayscale depth map (PNG) or STL |
| Subsurface crystal engraving | Focuses inside a glass block and leaves a tiny point of fracture at each coordinate | Dedicated subsurface machines, or desktop UV lasers such as xTool's F2 Ultra UV | 3D model (STL or OBJ) turned into a point cloud |
| 3D surface marking | Keeps the beam in focus across a curved or uneven part while it marks | Galvo lasers with dynamic focus or camera height mapping; a rotary for cylinders | Ordinary 2D artwork |
Subsurface crystal engraving makes the "bubblegram" inside a souvenir glass block. Each point is a laser focused to high intensity at one spot, and a 5 cm cube typically takes tens of thousands of them. Many of these machines need expensive cooling, maintenance and calibration. Desktop versions now exist: xTool sells its F2 Ultra UV for 3D inner engraving, recommends K9 crystal, and works from STL or OBJ models. xTool also explains the choice of UV: CO2 light acts mainly on the surface and tends to frost or chip it. Engraving the outside of glass is a different job, covered in laser engraving glass.
3D surface marking is ordinary marking on a part that is not flat, such as a domed pendant or a curved tag. The 3D work happens inside the machine. EZCAD3, JCZ's galvo control software, lists dynamic focus and 3D curve marking. xTool's F1 Ultra uses its camera to adjust for thickness and surface irregularities, and needs the RA2 Pro rotary for cylinders.
The rest of this guide is about relief engraving: the one you can do with a home laser and a photo.
How a depth map turns into depth
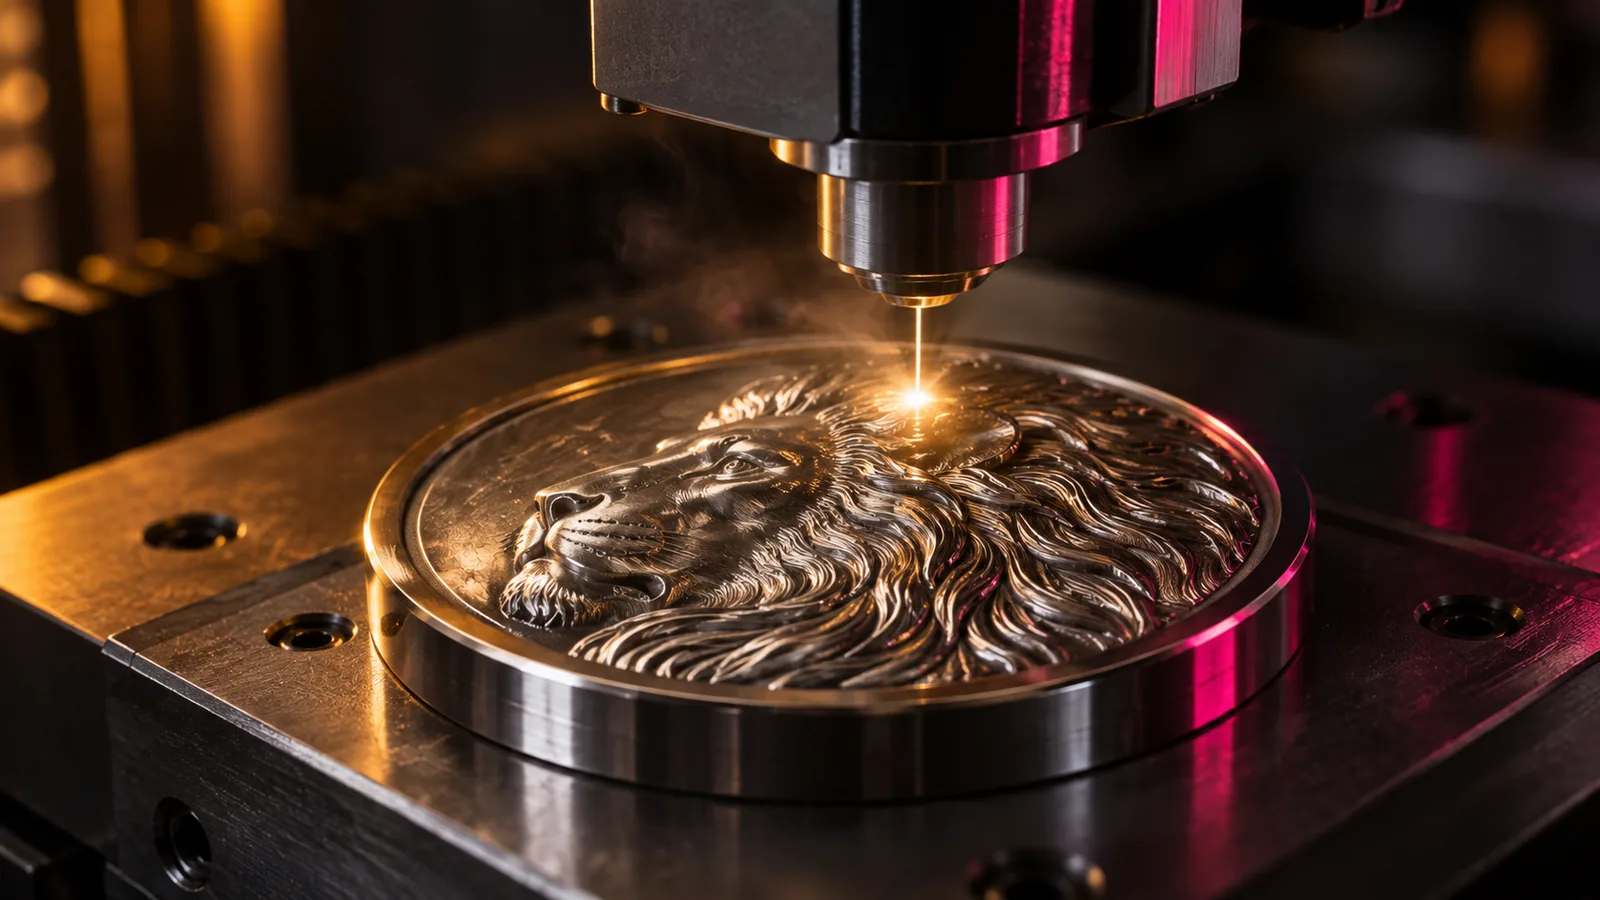
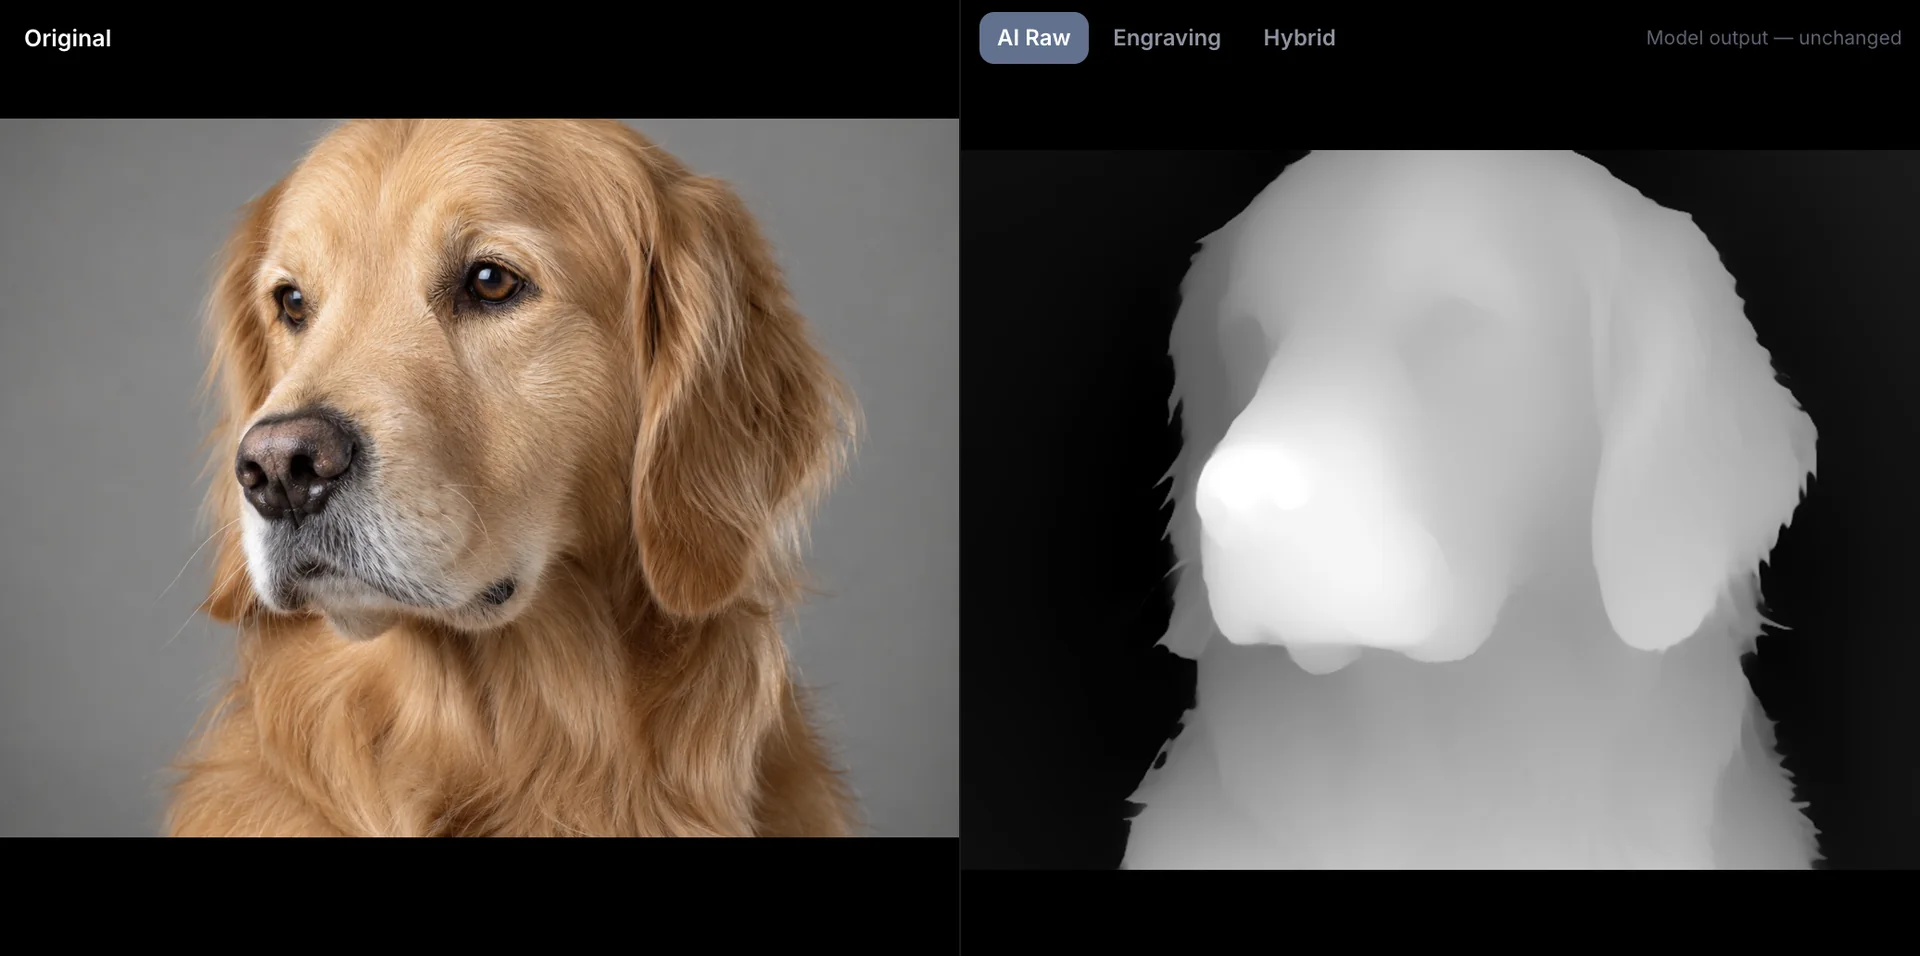
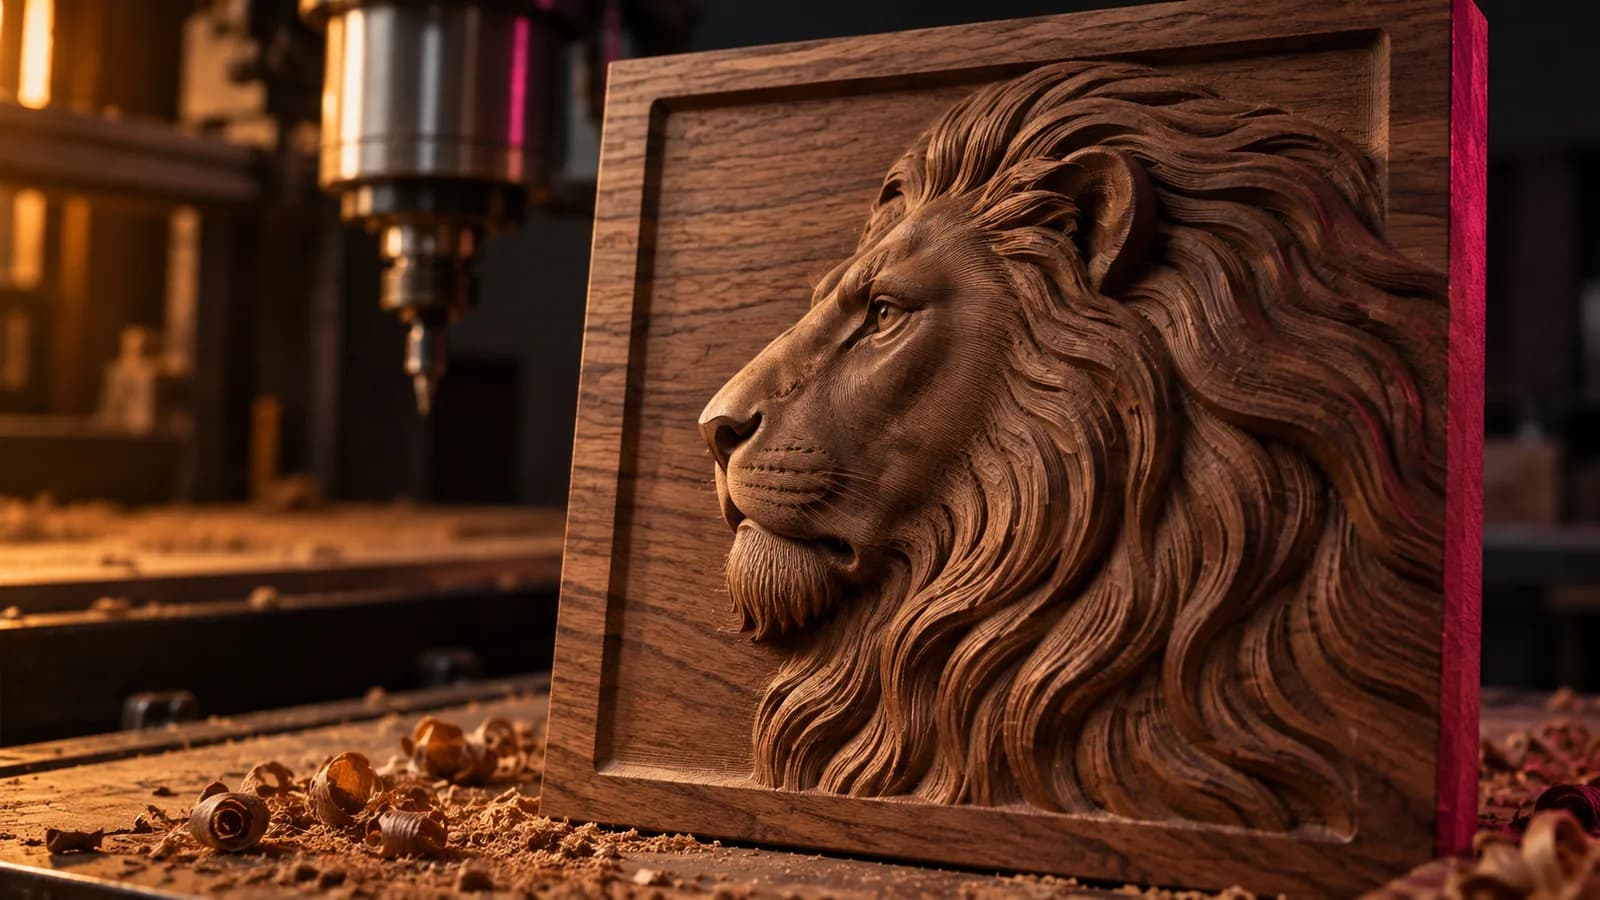
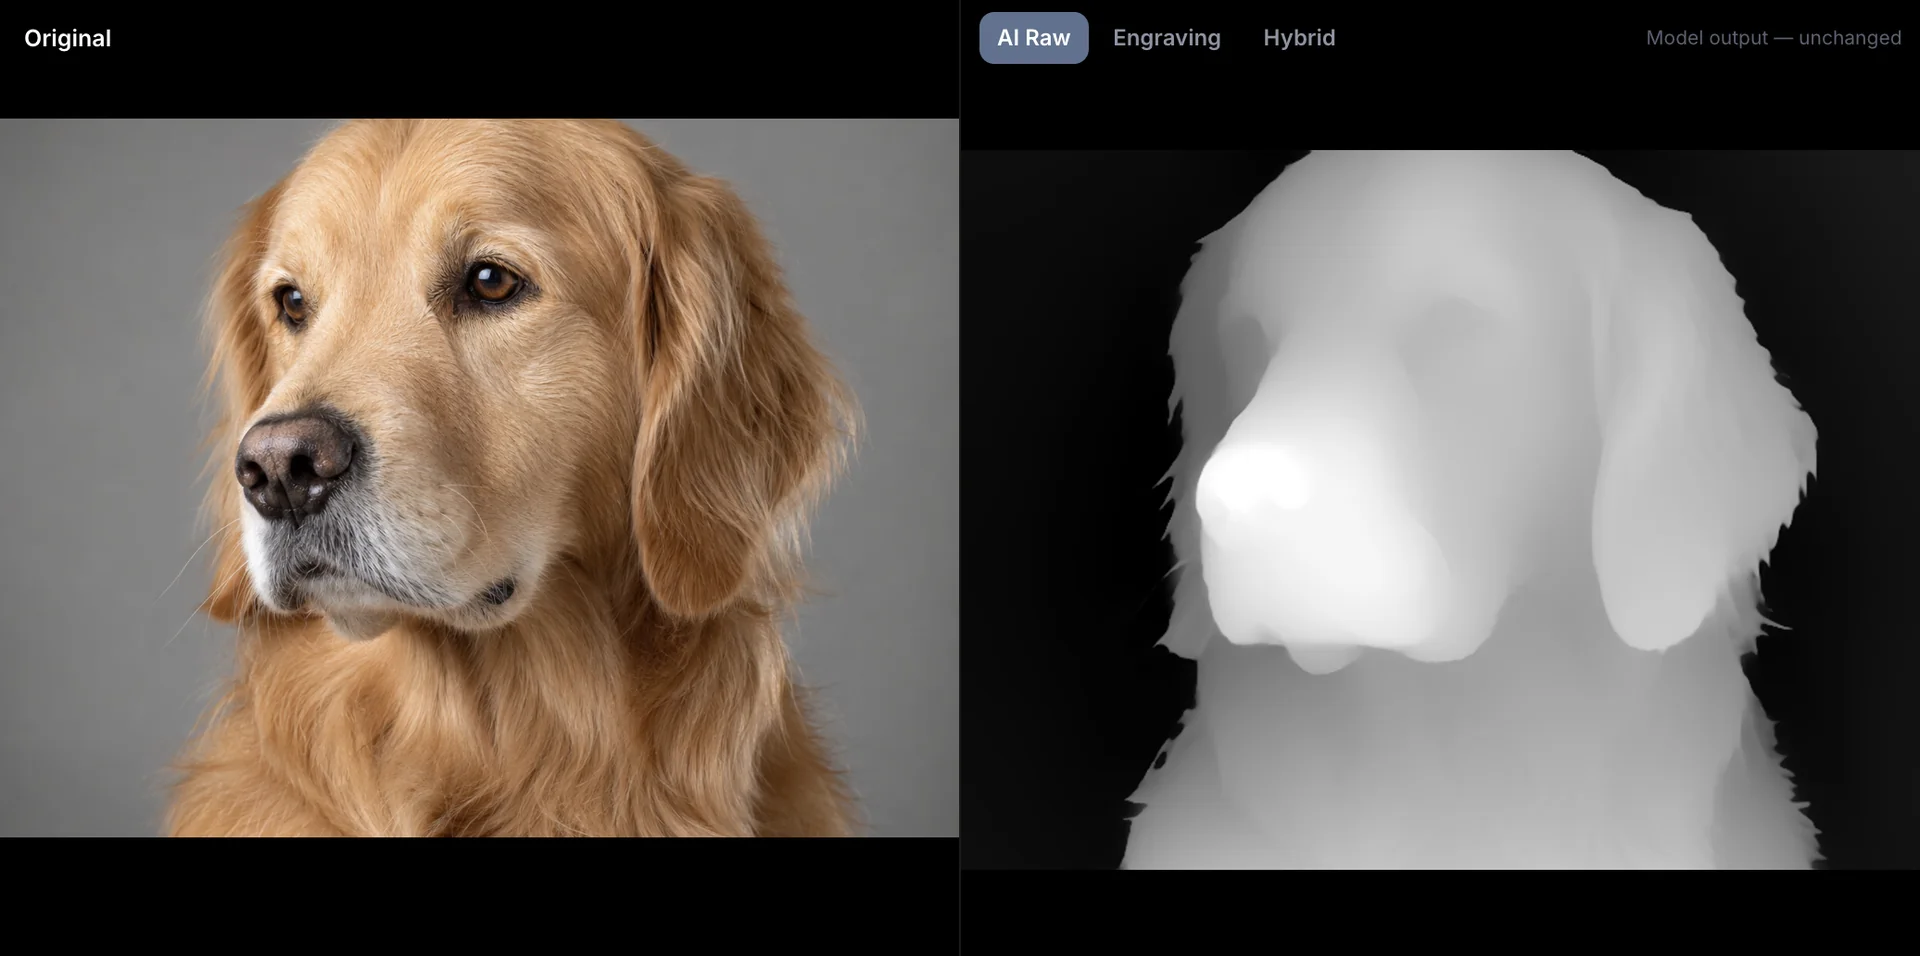
A depth map is a grayscale image where white is the highest point and black the lowest. Lasers remove more material where the image is darker, so white areas stay at the surface, black areas end up deepest, and the subject stands proud of an engraved background, like a bas-relief. For a recessed design, such as a seal stamp, invert the map. LightBurn calls this Negative Image.
Machines turn the map into depth in one of three ways:
- Grayscale mode, on diode and CO2 gantry lasers. LightBurn sets the power for every pixel, from Min Power on the lightest shades to Max Power on the darkest. Its docs note that on a CO2 laser, grayscale mode "can achieve variable depth (3D) engraving rather than shading", and that the images usually need to be made for it. xTool recommends grayscale mode for its blue diode lasers. LightBurn's Grayscale mode does not work on UV lasers.
- 3D Sliced mode, on galvo lasers. 3D Sliced engraving runs the image as a stack of passes. The darkest shades get every pass, lighter shades progressively fewer and pure white none, so depth builds up layer by layer. LightBurn offers it only on galvo lasers.
- STL relief modules, on some galvo software. These slice a 3D model instead of an image. EZCAD3 lists 2.5D and 3D processing with a slicing function and STL input, and ComMarker Studio's 3D Relief module imports an STL file and moves the laser along the Z axis to follow the model.
How to 3D laser engrave, step by step
1. Choose a material your laser can carve
| Material | Laser | What to expect |
|---|---|---|
| Hardwood with even grain | Diode or CO2 | The classic material for 3D engraving. Strong grain burns unevenly and shows through the relief |
| Slate | Diode, CO2 or fiber | Engraves lighter than its surface (LightBurn suggests Negative Image for slate photos), so the relief reads as tone as well as depth |
| Anodized aluminium | Diode and CO2 mark the anodized layer; fiber engraves the metal | Diode and CO2 cannot engrave bare aluminium without marking spray, so real depth needs fiber |
| Brass, stainless steel | Fiber galvo | Coins, medals and buckles. xTool puts the minimum for deep metal engraving at a 20 W fiber laser |
| Clear acrylic, mirror finishes | None | xTool lists both as poor choices for 3D engraving |
2. Make the depth map
The free generator below runs Depth Anything V2 in your browser and exports an 8-bit PNG for your laser software, or an STL relief. Nothing is uploaded.
What makes a map engrave well:
- One clear subject in soft light. Hard shadows read as holes.
- A pure black background. Raise the black point until the background is black, so it engraves as one flat floor.
- Enough pixels for your line interval. A 30 mm coin at a 0.03 mm interval needs 1,000 pixels across. So does a 100 mm plaque at 0.1 mm.
- A 3D check before you burn. Look at the relief preview for spikes, holes and a lumpy background.
The full method is in how to make a depth map from a photo, and the other free options are in free depth maps for laser engraving.
3. Pick 8-bit or 16-bit
An 8-bit PNG holds 256 gray levels. That is enough for Grayscale mode, where the laser's power steps and the material blur fine differences long before 256 levels run out, and for 3D Sliced jobs up to 256 passes. LightBurn 2.1 added 16-bit depth maps for 3D Sliced and recommends them above 256 passes, because with an 8-bit map, extra passes add depth but no precision. LightBurn calls 500 to 1,000 passes a reasonable range where 16-bit still shows a difference. Converting an 8-bit file to 16-bit adds nothing: the extra levels have to come from the model that made the map. The full comparison is in 16-bit vs 8-bit depth maps for LightBurn.
The free generator exports 8-bit. If you need true 16-bit, or you have a stack of customer photos to process, our desktop app DepthGen Pro runs its AI models offline and exports 16-bit PNG, 32-bit EXR, STL and OBJ, with a batch queue. Its photometric relief engine is built for coins and medals, which general depth models read as flat discs.
4. Set up the job
- Import the PNG and set its size in millimetres.
- Choose the image mode: Grayscale on a diode or CO2 gantry laser, 3D Sliced on a galvo.
- Turn on Negative Image only if you want the design recessed.
- On a galvo, add a cleanup pass. LightBurn's cleanup sub-layer clears debris and improves the finish, and usually runs a tighter line interval, a higher frequency and a lower max power than the main passes.
- Set an Angle Increment so each pass scans at a new angle instead of repeating the same lines.
- Preview the job before you run it.
5. Dial in the settings
No published setting transfers exactly between machines. Use these for the shape of a starting point, then test on scrap.
Diode or CO2 gantry, Grayscale mode:
- Max Power sets how deep black goes. Min Power sets how deep white goes; keep it low enough that white leaves the surface untouched.
- Line interval: run LightBurn's interval test between 0.08 and 0.2 mm (120 to 300 DPI) and use the value where the lines just touch.
- Passes and speed: more passes and slower speeds go deeper, with more char. As xTool puts it, the more passes, the deeper the engraving.
- Test grid: start from your machine's material library, then run a power and speed grid with the planner in our laser settings tool. The logic is in laser power and speed settings.
Fiber galvo, 3D Sliced mode. Cloudray published two LightBurn 3D Sliced tests on brass with its GM-100 fiber laser:
| Setting | Brass coin | Brass belt buckle |
|---|---|---|
| Passes | 100 | 300 |
| Speed | 1,500 mm/s | 1,500 mm/s |
| Max / min power | 70% / 20% | 80% / 5% |
| Frequency | 80 kHz | 20 kHz |
| Q-pulse width | 200 ns | 200 ns |
| Line interval | 0.03 mm | 0.03 mm |
| Angle increment | Not listed | 17° |
| Cleanup | Every 5 passes: 2,000 mm/s, 20% power, 0.1 mm interval | After every pass: 1,500 mm/s, 25% power |
| Run time | 30 min | 4 h 38 min |
Cloudray does not state the GM-100's wattage in either test, so do not copy the power percentages. Copy the pattern: high speed, a fine interval, many passes and a cleanup layer. LightBurn adds two rules: with many passes you may need to lower the power so the job does not burn deeper than intended, and frequencies in the middle of your laser's range give the most even marking.
STL relief modules. ComMarker recommends starting its 3D Relief module at 40 layers and adjusting by material. Its table for the Omni series lists 256 layers for a 4 mm deep engraving in stone.
6. Plan for hours, then finish
Depth and runtime both grow with passes. xTool puts ordinary deep engraving at about 0.5 mm, and generally no more than a few millimetres. Cloudray's brass coin took 30 minutes at 100 passes and its belt buckle 4 hours 38 minutes at 300. xTool's own small coin test took 1 hour 58 minutes on its F2 Ultra and 5 hours 33 minutes on another fiber laser. Engrave a small patch first, measure the depth, then scale the pass count.
When it is done:
- Wood: brush the char out of the recesses before you seal it.
- Slate: wipe it clean. xTool says a sealant is optional.
- Stainless steel: xTool warns that deep engraving can damage the protective oxide layer and raise the risk of corrosion, and suggests plating or painting afterwards.
Can you laser engrave a 3D print?
You can mark one, but you will not get a clean relief, and the fumes need proper ventilation. Prusament's safety data sheet for its PLA gives a glass transition of 55 to 60 °C, a melting point of 150 to 180 °C and a decomposition temperature of 250 °C, and lists aldehydes and carbon monoxide among the hazardous decomposition products. A laser that carves runs far hotter than all of those, so edges melt and fumes build up. Bambu Lab, which sells 3D printers with laser modules, does not include any printing filament in its list of processable laser materials.
If you try it anyway, test on a scrap print, ventilate well and never laser a filament you cannot identify. If what you want is a 3D relief in plastic, print it: turn the same depth map into an STL with the image to STL tool.
3D laser engraving software
- LightBurn runs both methods: Grayscale mode on most lasers (not UV), and 3D Sliced with 16-bit maps on galvo lasers. Galvo lasers need LightBurn Pro ($199 with a year of updates, October 2026). Core ($99) runs GCode lasers such as GRBL diode machines only; the details are in what LightBurn costs. Version 2.1 also added EZCad3-based galvo support as a Labs feature.
- EZCAD3, JCZ's galvo control software, lists 2.5D and 3D processing, slicing, STL and DXF models, bitmap to relief and dynamic focus.
- Brand apps add their own modules. ComMarker Studio has a 3D Relief module for STL files and a 3D Glass module for STL, OBJ and GLB. xTool Studio prepares models for inner engraving on the F2 Ultra UV, and xTool Creative Space offers grayscale mode for diode engraving.
- Depth map software makes the input: the free depth map generator, our DepthGen Pro, or the others compared in the best depth map generators.
For everyday 2D work, the programs for each machine are compared in laser engraving software.
What a 3D laser engraving machine costs
| Machine | Laser | Best for | Price (October 2026) |
|---|---|---|---|
| xTool S1 | 20 W or 40 W diode, enclosed | Wood and slate relief in Grayscale mode | $1,299 (20 W) or $1,699 (40 W), basic bundle |
| ComMarker B4 | 20, 30 or 50 W fiber galvo | Metal relief in 3D Sliced with LightBurn | $1,399, $1,599 or $2,399 |
| xTool F1 Ultra | 20 W fiber and 20 W diode, galvo | Metal relief and curved parts | $2,999 |
| xTool F2 Ultra | 60 W MOPA fiber, optional 40 W diode | Faster, deeper metal relief | $4,299 (MOPA only) or $5,299 (both lasers) |
| xTool F2 Ultra UV | 5 W UV | 3D inner engraving in crystal | $4,299 |
These are the makers' US prices for the base machine. Budget for fume extraction too, and for an open galvo, an enclosure or safety glasses rated for its wavelength.
How to choose: for wood and slate, a diode or CO2 laser is enough. Coins, medals and metal portraits need a fiber galvo. Pictures inside glass need a subsurface machine.
Next step
Make a depth map from one good photo, cut a scrap of the exact material you plan to sell on, and engrave a small test patch at three pass counts. Measure the depth of each and write it down: that one test sets your passes and runtime for every job after it. The same map also carves on a router; see depth maps for CNC relief carving.
Free tools for this job
Frequently asked questions
How do I perform 3D laser engraving?
Make a grayscale depth map with a black background, import it into your laser software and engrave it in Grayscale mode on a diode or CO2 laser, or in 3D Sliced mode on a galvo laser. Run a test on scrap first to set power, speed and the number of passes.
Can you laser engrave on a 3D print?
You can mark one, but do not expect clean relief. Prusament's safety data sheet gives PLA a glass transition of 55 to 60 °C and a melting point of 150 to 180 °C, so edges melt, and its listed decomposition products include aldehydes and carbon monoxide. Ventilate well, or print the relief instead.
What is a good laser 3D engraving machine?
It depends on the material. An enclosed diode or CO2 laser handles relief in wood and slate. Metal relief, such as coins and medals, needs a fiber galvo laser; xTool puts the minimum for deep metal engraving at 20 W of fiber. Images inside glass need a subsurface machine such as xTool's F2 Ultra UV.
How much is a 3D laser engraving machine?
As of October 2026, xTool's S1 enclosed diode starts at $1,299, ComMarker's B4 fiber galvo costs $1,399 (20 W) to $2,399 (50 W), xTool's F1 Ultra fiber and diode laser costs $2,999, and xTool's F2 Ultra UV for crystal inner engraving starts at $4,299.
What software do I need for 3D laser engraving?
LightBurn covers both methods: Grayscale mode for gantry lasers and 3D Sliced for galvo lasers. Galvo lasers need LightBurn Pro at $199; Core at $99 runs GCode lasers only. Fiber galvos often ship with EZCAD, whose version 3 lists slicing from STL, and some brands have their own apps with STL relief modules.
Sources
- LightBurn Docs, 3D Sliced engravings
- LightBurn Docs, Image Mode
- LightBurn Docs, Galvo-specific cut settings
- LightBurn Docs, Perfect image engraving
- LightBurn, LightBurn 2.1 release notes
- LightBurn, LightBurn Pro license
- LightBurn, LightBurn Core license
- xTool, 3D Laser Engraving: Master How It's Done
- xTool, Deep Laser Engraving: How to Increase Laser Engraving Depth?
- xTool, Aluminum Laser Engraving: All You Need to Know
- xTool, How to Engrave a Slate Coaster
- xTool, The Smart Way to 3D Laser Engrave Crystal Bubblegrams
- xTool, AI 3D Model Generator for 3D Crystal Inner Engraving
- xTool, F2 Ultra UV 5W UV laser engraver
- xTool, F2 Ultra 60W MOPA and 40W diode laser engraver
- xTool, F1 Ultra 20W fiber and diode laser engraver
- xTool, S1 enclosed diode laser cutter
- ComMarker, B4 fiber laser engraver
- ComMarker Support, How to Perform 3D Relief Engraving
- ComMarker Support, How to Perform 3D Inner Engraving
- Cloudray, Brass Coin Deep Relief Engraving Test with GM-100 Fiber Laser
- Cloudray, Brass Belt Buckle Relief Engraving Test with GM-100 Fiber Laser
- Beijing JCZ, EZCAD3 laser marking control system
- Wikipedia, Laser engraving
- Wikipedia, Bubblegram
- Prusa Polymers, Prusament PLA safety data sheet
- Bambu Lab Wiki, Laser and Cutting Module processable materials list