How to Make a Depth Map From a Photo (AI and Manual Methods)
How to make a depth map from a photo for laser engraving, CNC and 3D printing: AI estimation, phone depth, hand painting, and checking it before you cut.
By Depthue Lab3 min read
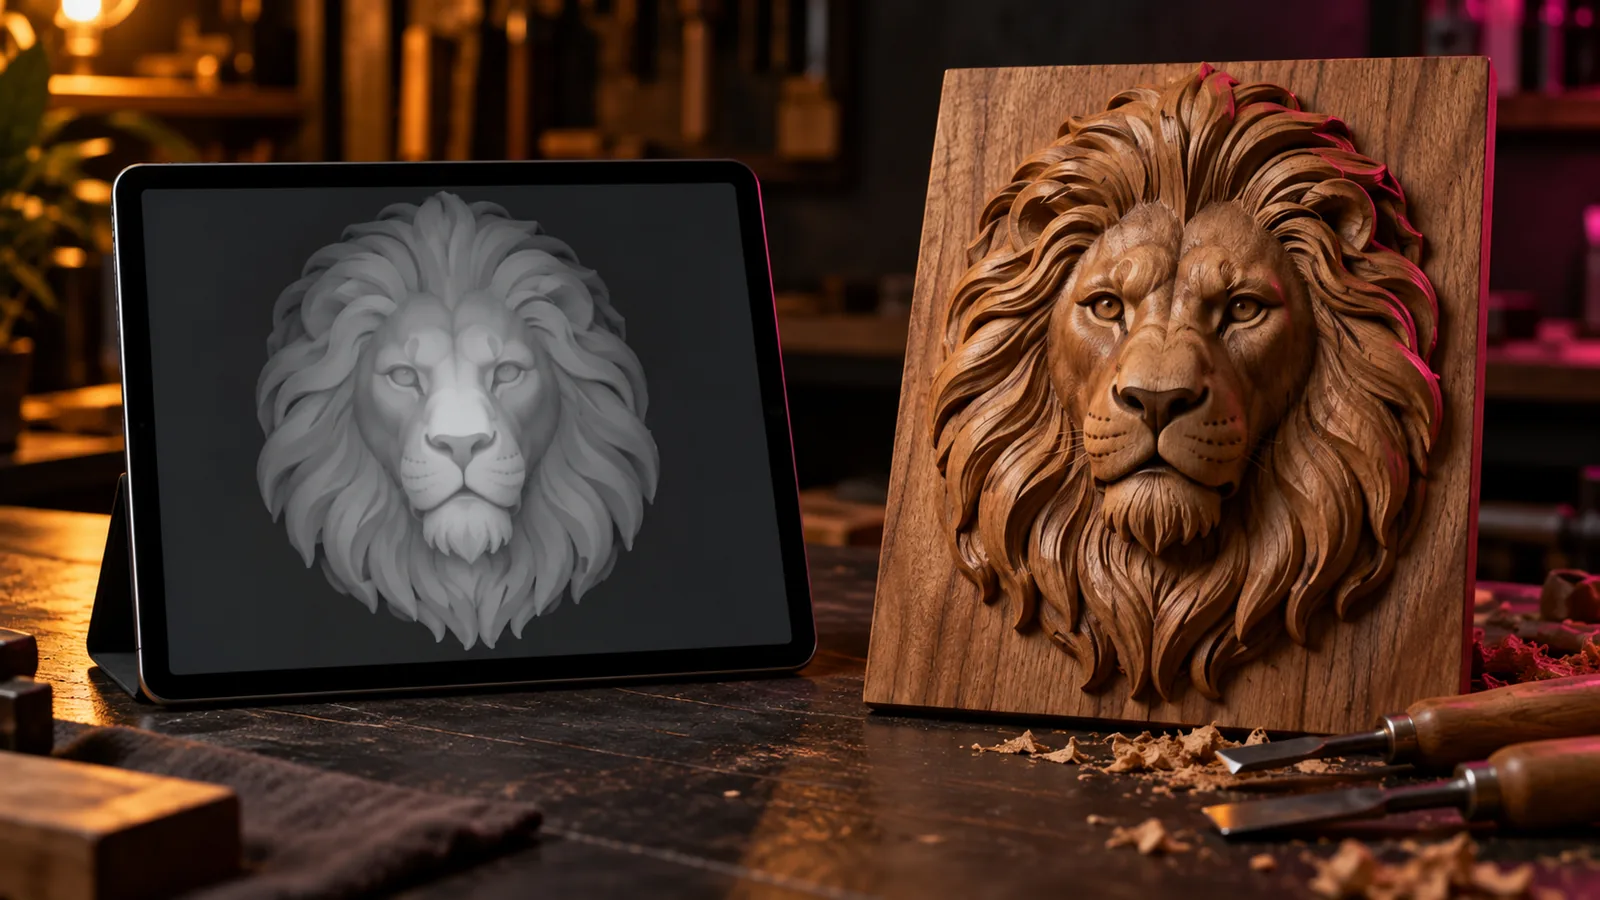
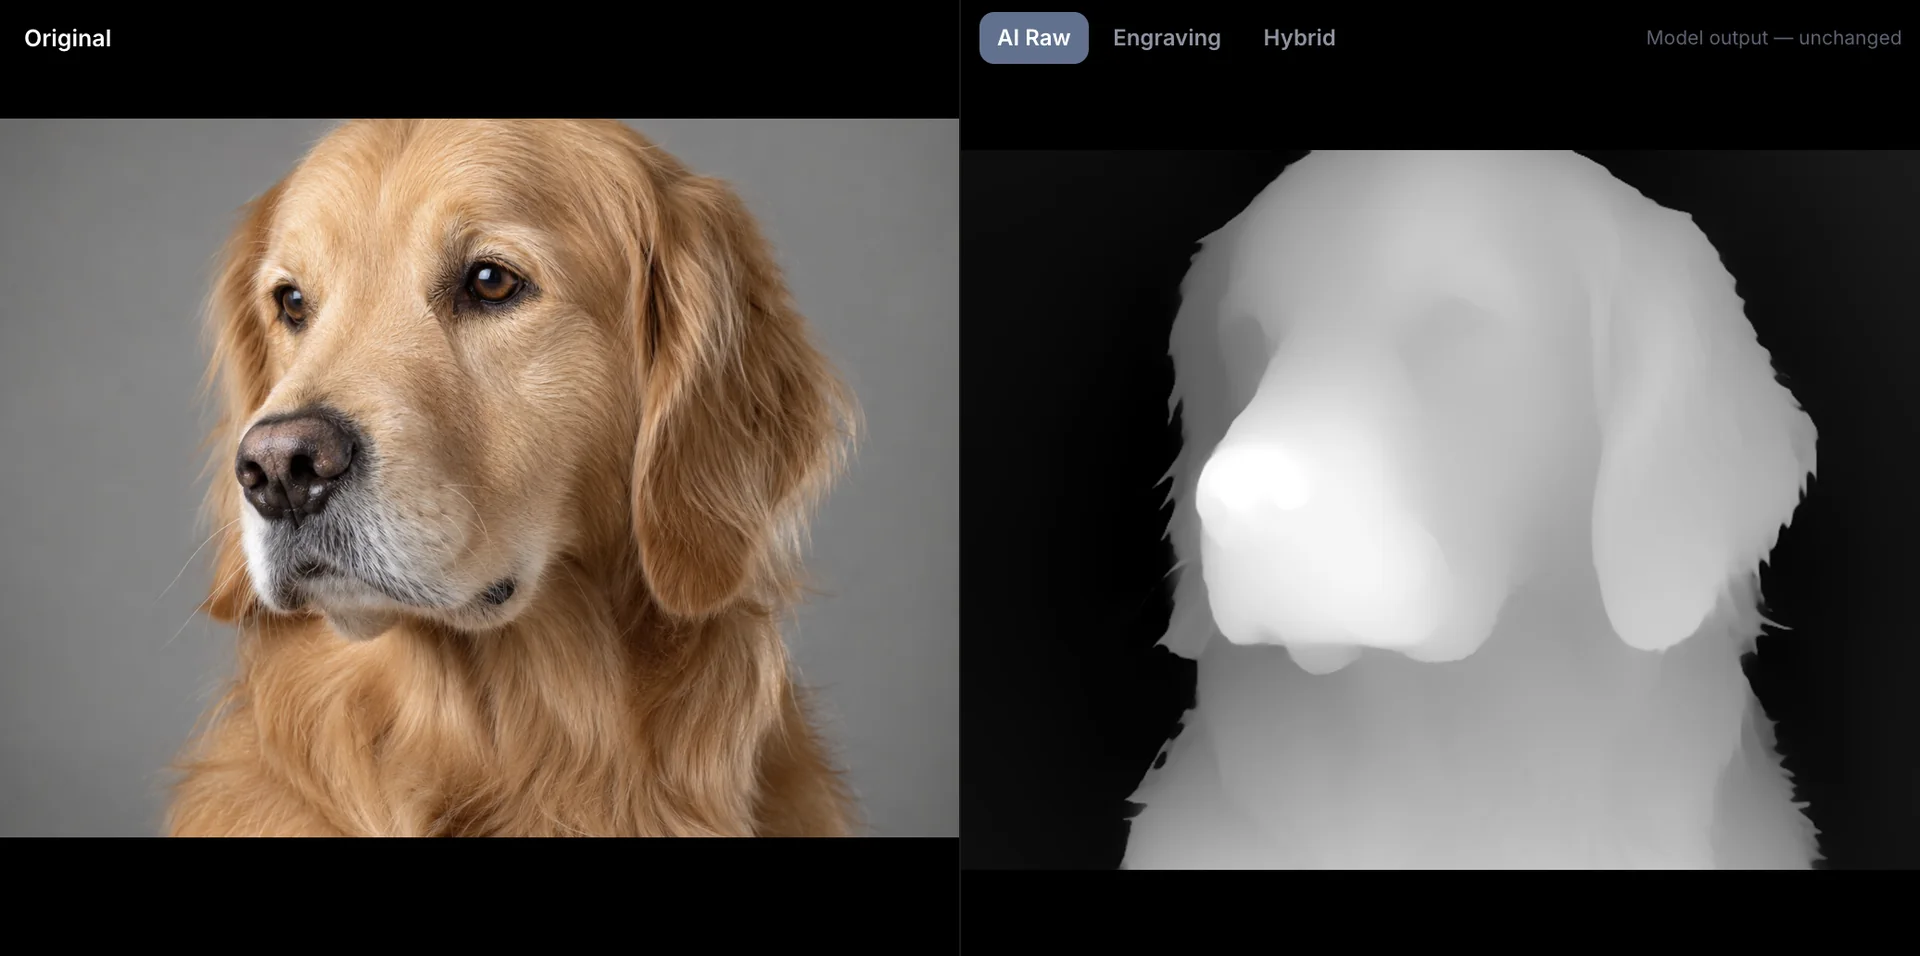
A depth map is a picture of distance. Every pixel is a shade of gray, white for the parts closest to the viewer and black for the parts farthest away. Laser software, CNC CAM and 3D printing slicers read those grays as heights, which is how a flat photograph becomes a carved or printed relief.
This guide covers four ways to make one, the one step most people skip, and the settings that decide whether the result carves cleanly.
Step 1: choose a photo that has depth to find
Depth models are good, but they cannot invent information the photo does not contain. The best inputs have:
- One clear subject. A face, a pet, a statue, a building. Crowds and clutter turn into bumpy terrain.
- Soft, even light. Hard shadows can be read as holes. Overcast daylight or a window is ideal.
- Separation from the background. A plain wall or a blurred background lets the model push the background back cleanly.
- Enough resolution. 1000 pixels across is plenty for most engravings. Upscaling a tiny image adds pixels, not detail.
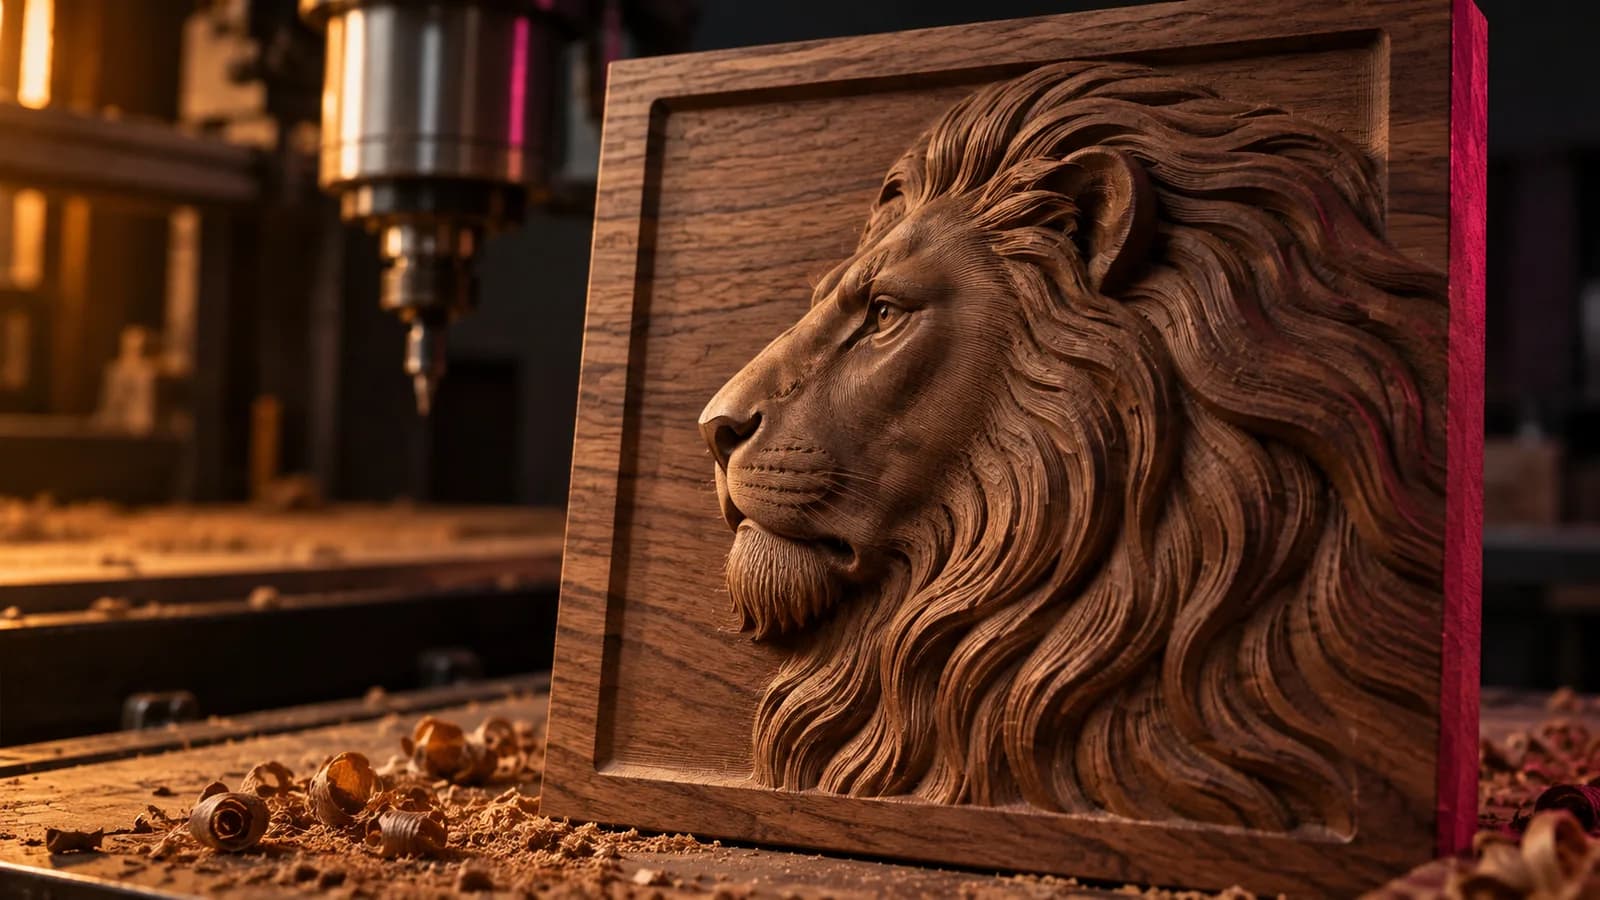
Lighting matters even more for the carve itself: a depth map carved from a flat-lit photo still looks sculpted, because the relief creates its own light and shadow on the material.
Step 2: generate the depth map
Method A: AI depth estimation (fastest, best for faces and animals)
Modern monocular depth models predict depth from a single image. Depth Anything V2 is the most widely used open model; Depth Anything V3 and Lotus 2 are newer alternatives with different strengths on geometry and fine structure.
You can run Depth Anything V2 for free in the Depthue depth map generator. It works in your browser, downloads the model once, and processes the image on your own device.
Method B: a desktop depth map app (best for repeat work)
Desktop apps run the same kind of model offline and add the tools you need for production: batch processing, a height brush, 16-bit export and watertight meshes. DepthGen Pro routes each image to the model that suits it and uses a separate photometric method for coins and medals, which general models flatten.
Method C: paint it by hand (best for text and simple shapes)
For a logo, a monogram or a geometric pattern, a hand-built map is often cleaner than AI:
- Create a grayscale document at the final print size.
- Fill the background black.
- Draw each shape as white or light gray, higher parts lighter.
- Use a Gaussian blur or a bevel to round the edges. A hard black-to-white step makes a vertical wall.
Method D: phone depth data or photogrammetry
Portrait-mode photos often carry a low-resolution depth layer, and photogrammetry apps can build a full 3D model from dozens of photos. Both are useful, but for a single relief engraving they are more work for a worse map than a good AI model.
Step 3: fix the map before you export
Almost every disappointing engraving comes from a map that was exported without being checked. Look for these four problems:
| Problem | What you see | Fix |
|---|---|---|
| Background is not flat | Gray haze or a slope behind the subject | Raise the black point or use a background cutoff |
| Too little contrast | The subject is all mid-gray | Lower the white point, adjust midtones |
| Smoothed-away detail | A face looks like soap | Add a little detail from the photo |
| Wrong polarity | The subject is carved in, not raised | Invert |
The generator above has a 3D relief view. Use it. Rotate the preview and look at the silhouette: if the nose, ears or edges look wrong in 3D, they will look wrong in wood.
Step 4: export for the machine
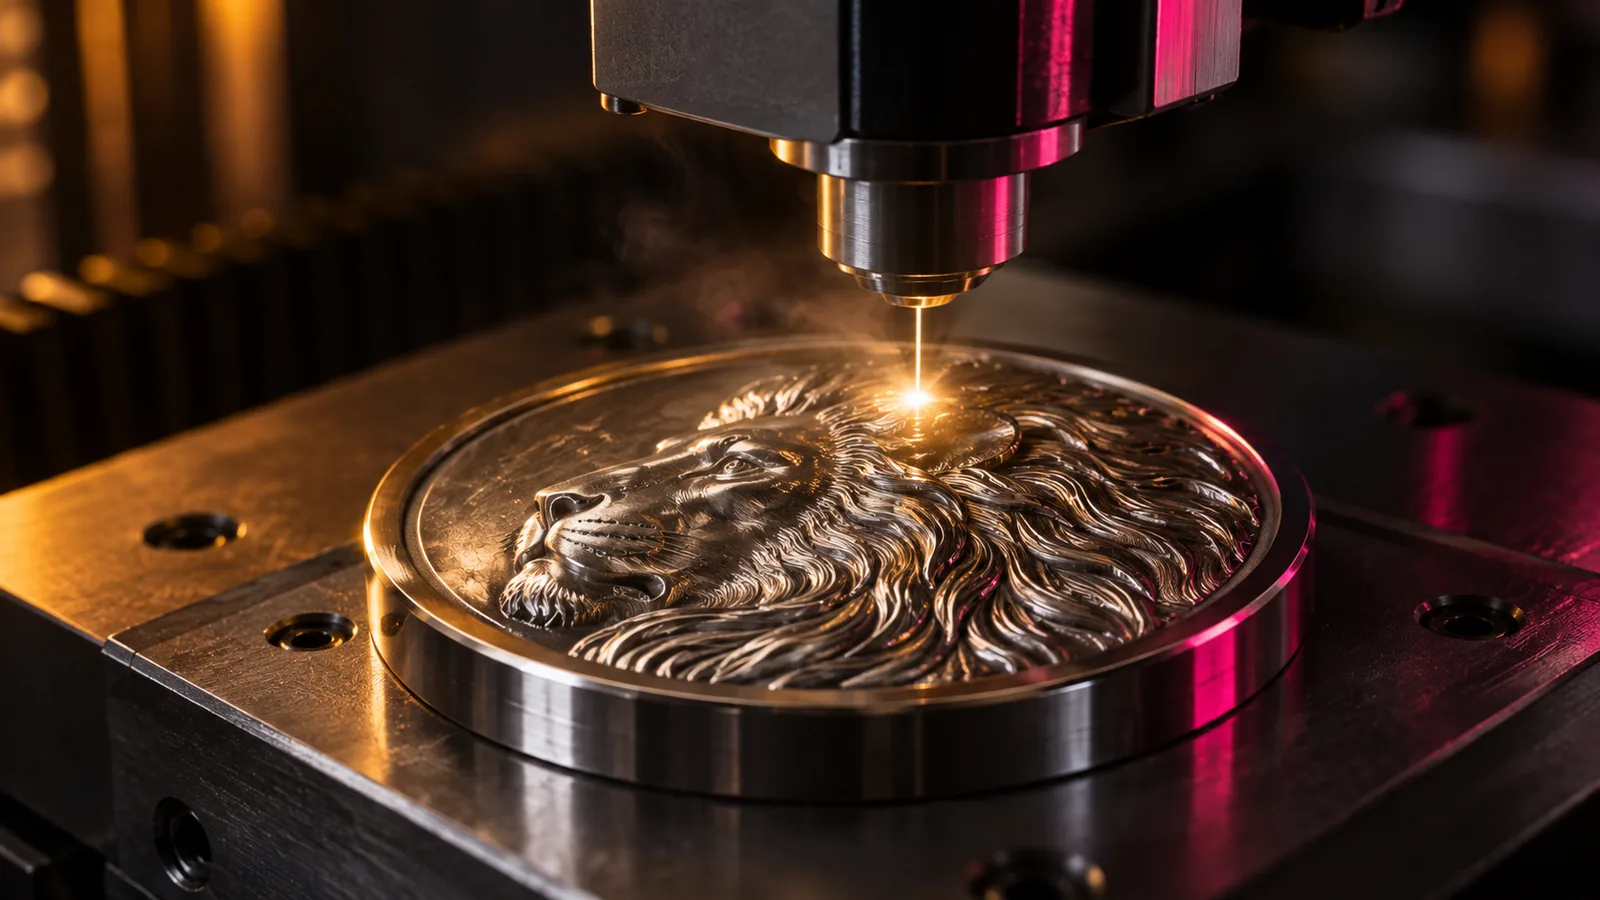
- Laser engraving: grayscale PNG. 8-bit is enough for most jobs. Read 8-bit vs 16-bit depth maps before choosing more than 256 passes in LightBurn.
- CNC relief carving: PNG or STL. See depth maps for CNC relief carving for sizing and toolpaths.
- 3D printing: STL with a solid base. The image to STL tool builds a watertight relief or lithophane from any depth map.
A quick checklist
- One subject, soft light, simple background
- Background pushed to black
- Subject uses the full range from dark to white
- Checked in 3D before export
- Exported at the resolution the job needs
Free tools for this job
Frequently asked questions
Can AI make a depth map from one photo?
Yes. Monocular depth estimation models such as Depth Anything V2, Depth Anything V3 and Lotus 2 predict relative depth from a single image. The result is relative, not measured in millimetres, so you set the physical height yourself when you export.
Can I make a depth map in Photoshop?
You can paint one by hand with gradients and soft brushes on a grayscale layer, and some versions include AI depth tools. Painting works for simple shapes and text, but it is slow for faces and animals, where an AI model is faster and more accurate.
Does my phone's portrait mode save a depth map?
Many phones store a depth or disparity map inside portrait photos. It is useful for background blur but is usually low resolution and noisy at the edges, so it rarely beats a dedicated model for carving.
What resolution should a depth map be?
Match the job. For laser engraving, aim for your line interval: a 100 mm engraving at 0.1 mm interval needs about 1000 pixels across. For CNC, the tool diameter limits detail more than the pixels do.