
Free tool
Image to STL: lithophane and relief maker
Photo or depth map in, watertight STL out. Lithophane or relief, sized in millimetres, ready for your slicer.
Runs in your browser. Nothing is uploaded.
How to use it
1Choose a mode
Lithophane for backlit photo prints, Relief for raised logos and art, or Depth map to use a grayscale height map as it is.
2Add an image
Drop a photo or a depth map. It is processed in your browser; nothing is uploaded.
3Set size and thickness
Set the width in millimetres, the thinnest and thickest points, a frame and the resolution. Lithophanes can be flat or curved.
4Download the STL
The STL is watertight with a solid base, ready for Bambu Studio, OrcaSlicer, PrusaSlicer or Cura.
Lithophane, relief or depth map?
| Mode | Dark areas | Bright areas | Use it for |
|---|---|---|---|
| Lithophane | Thick | Thin | Backlit photos, lamps, window pieces |
| Relief | Low | High | Logos, text, line art, signs |
| Depth map | Low | High | Depth maps from the depth map generator or DepthGen Pro |
Getting sharp results
Resolution is limited by your nozzle, not your image. A sample spacing of 0.2 to 0.3 mm matches a 0.4 mm nozzle; smaller spacing makes a heavier file without more visible detail. For lithophanes, brighten the photo's shadows a little before you start: very dark areas all print at maximum thickness and merge.
Questions
What settings should I use for a lithophane?
Start with 0.8 mm thinnest, 3 mm thickest, a 3 mm frame and 0.25 mm resolution for a 0.4 mm nozzle. Print in white PLA at 100 percent infill.
Can I make a curved lithophane?
Yes. Choose Curved and set the arc. The STL comes out standing upright, ready to print.
Can I turn a depth map into an STL?
Yes. Choose Depth map mode: white becomes the highest point and black the lowest.
Is the STL watertight?
Yes. Every export is a closed solid with side walls and a base, so slicers accept it without repair.
Read next
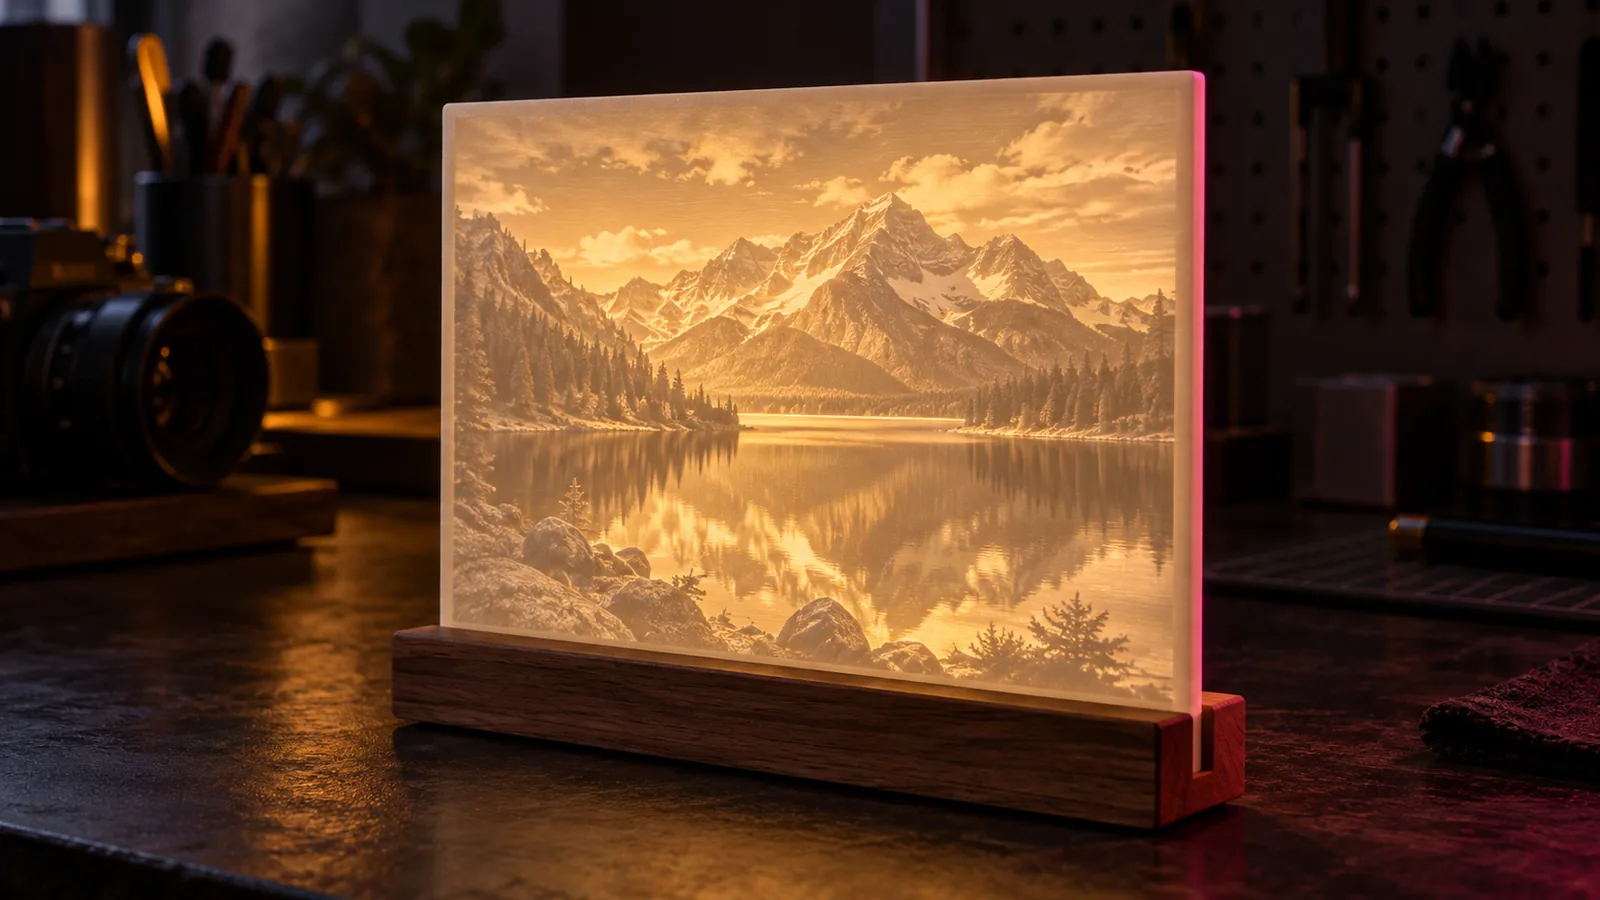
HueForge and lithophanes
How to Make a Lithophane From a Photo (Settings That Work)
How to make a lithophane from a photo: image choice, thickness, size, flat or curved panels, slicer settings for white PLA, and fixing flat or dark prints.
September 21, 2026 2 min read
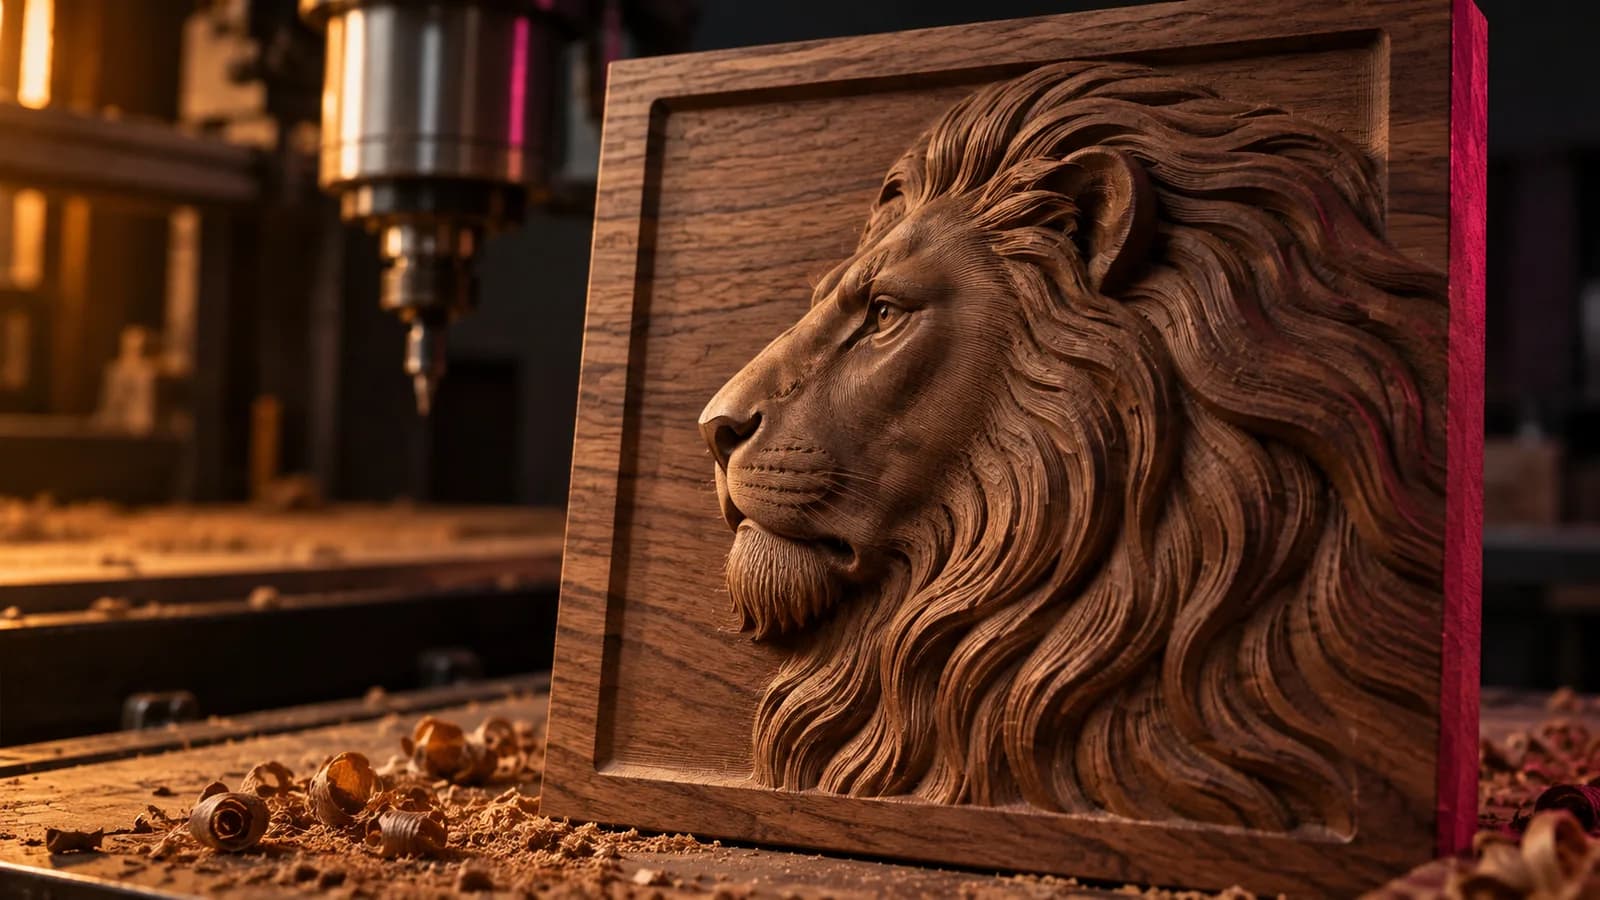
Laser and CNC
Depth Maps for CNC Relief Carving: From Photo to Toolpath
How to prepare a depth map for CNC relief carving: resolution, depth, background, PNG or STL, roughing and finishing tools, stepover and common mistakes.
September 21, 2026 3 min read
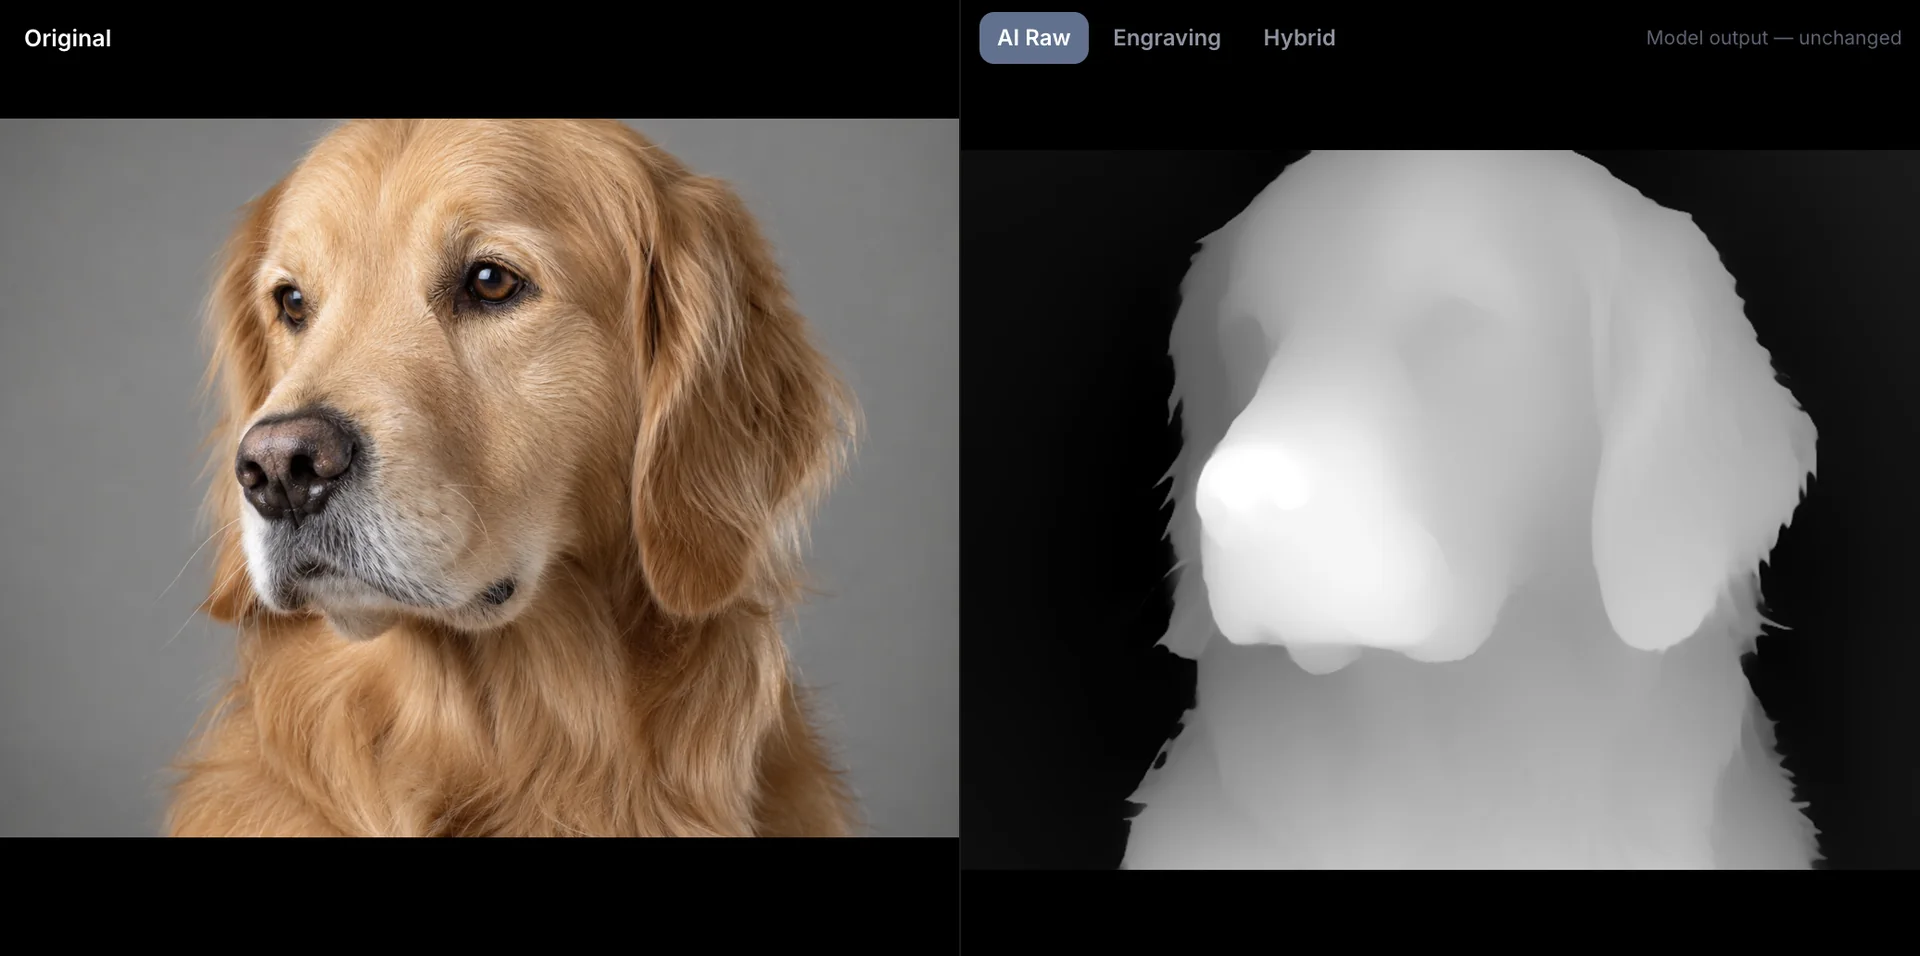
Depth maps
Free Depth Map Generator for Laser Engraving, CNC and 3D Printing
Three free ways to turn a photo into a depth map for laser engraving, CNC and 3D printing: an AI generator in your browser, a free Windows app, and more.
September 21, 2026 3 min read