
Free tool
QR code generator for laser engraving
Paste a link or Wi-Fi details. Get a vector QR code sized in millimetres that your laser engraves cleanly and phones scan.
Runs in your browser. Nothing is uploaded.
How to use it
1Type what it opens
A link, plain text, Wi-Fi login, contact card, email or phone number. The preview and the files update as you type.
2Pick the material
Wood and leather mark dark, so the modules are engraved. Slate, anodized aluminium, black acrylic and coated tumblers mark light, so the background is engraved instead.
3Set the size
Choose the width in millimetres and watch the module size. On wood, aim for at least 0.5 mm per module.
4Download and test
SVG and DXF open at real size. Fill the shape, engrave a test on scrap, scan it with two phones, then do the real piece.
To laser engrave a QR code that scans, make each module (the smallest square) clearly wider than your laser's line, keep a clear border of four modules around it, engrave it as one filled vector so the squares have crisp edges, and engrave the right part for your material: the modules on wood and leather, the background on materials that mark light. This generator does all four and exports SVG, DXF or PNG at real size.
Think in modules, not millimetres
A QR code's size is set by how much it holds. More data or more error correction means a higher version with more modules, so each module gets smaller at the same width. Denso Wave, the company that invented the QR code, specifies a margin of four modules on every side, called the quiet zone.
Sizes below were made with this tool at error correction M and include the quiet zone.
| What the code opens | Version | Modules across | Width at 0.5 mm per module |
|---|---|---|---|
| A short link (https://example.com) | 2 | 25 | 16.5 mm |
| A shop link with a path | 4 | 33 | 20.5 mm |
| A Wi-Fi login with a 12-character password | 4 | 33 | 20.5 mm |
| A contact card with name, phone, email and website | 8 | 49 | 28.5 mm |
The tool shows the version and the exact module size as you type. If modules drop below 0.4 mm it warns you, because most lasers blur neighbouring squares together at that size. Shorter links make smaller codes, so a short domain or a redirect from your own site is worth it for small tags.
Engrave the modules or the background
Phones read a QR code as dark squares on a light background. What your laser does to the material decides which part to engrave.
| Material | The laser mark looks | Engrave |
|---|---|---|
| Wood, plywood, leather, cardboard | Dark | The modules |
| Slate | Light grey | The background and quiet zone |
| Black anodized aluminium | Bright metal | The background and quiet zone |
| Black acrylic | Light, frosted | The background and quiet zone |
| Powder-coated tumbler | Bare, bright steel | The background and quiet zone |
Pick the material and the tool flips the job for you, so the finished piece still reads dark on light. The Invert the code switch is there if you want light modules on purpose, but some scanners refuse inverted codes.
Fill settings that keep the squares sharp
Every module that touches another is merged into one outline, so a fill has no seams or double-burned lines between squares. In LightBurn, put the code on a Fill layer and check these settings, quoted from LightBurn's documentation:
- Line Interval. "The ideal Line Interval will produce lines that just touch, without overlapping." Too wide and the squares look striped and scan poorly.
- Bi-directional fill engraves on both passes of the sweep, which is faster.
- Overscanning "adds extra moves to the beginning and end of each line to give the laser time to speed up before firing," which keeps the left and right edges of each module clean.
- Cross-hatch "will run a second engraving pass 90 degrees rotated from the first," which can even out the background on slate and anodized aluminium.
Starting power and speed for your machine and material are in the laser settings chart, with a test grid to dial them in. After import, check the width in the size boxes matches the size you set here.
LightBurn's own QR tool, or this one
LightBurn 2.x can make QR codes itself at Tools, Create Bar Code, with tabs for Wi-Fi and contact details and an error correction slider. If you only use LightBurn and engrave dark-marking wood, it is quick. This page is the better fit when you:
- engrave slate, anodized aluminium or tumblers and want the background engraved automatically
- use xTool Studio, Glowforge, a CAD program or a CNC router and need SVG or DXF at real size
- want the exact module size in millimetres before you commit
- want the same code as a 3D printed QR code plate
Test before the real piece
Engrave the code once on scrap of the same material. Scan it with two different phones, in the light where it will hang. Glossy finishes and bare metal can glare, so tilt the phone if a reflection hides the code. If it fails, make the code larger, raise the error correction one step, or tighten the line interval. The tumbler engraving guide and the glass engraving guide cover the materials that need extra care.
Questions
How can I create a QR code in LightBurn?
LightBurn 2.x has a built-in generator at Tools, Create Bar Code. It makes QR codes from raw text, Wi-Fi credentials or contact details and has an error correction slider. Use this page when you need the code in another program, as a reusable SVG or DXF, engraved the right way round on a light-marking material, or as a 3D printed plate.
How small can a laser engraved QR code be?
Size depends on the module, the smallest square, not on the whole code. A short link is 25 modules across plus a 4-module border on each side, so at 0.5 mm per module it is about 16.5 mm wide. Go smaller only after a test engraving scans reliably on your material.
Why won't my engraved QR code scan?
The usual causes are low contrast, modules that blur together because the code is too small, a missing quiet zone, or a light-marking material engraved the wrong way round. On slate, anodized aluminium and coated tumblers, engrave the background so the code still reads dark on light.
Do I need an inverted QR code for slate or black anodized aluminium?
No. Engrave the background and quiet zone instead of the modules and the finished code has normal polarity. Some phone cameras read inverted codes, but not every scanner does, so normal polarity is the safer choice.
Which error correction level should I use?
M (15%) is the usual choice. Q (25%) and H (30%) survive scratches, wear and uneven marks better but need more modules, so each module gets smaller at the same size. L packs the most data and suits clean, protected surfaces.
Can I engrave a Wi-Fi QR code?
Yes. Choose Wi-Fi, enter the network name and password, and the code uses the standard WIFI: format phone cameras use to offer joining the network. The password stays on this page and is never saved or sent.
Is anything I type uploaded?
No. The code is generated in your browser. Links, contact details and Wi-Fi passwords never leave your device.
Read next
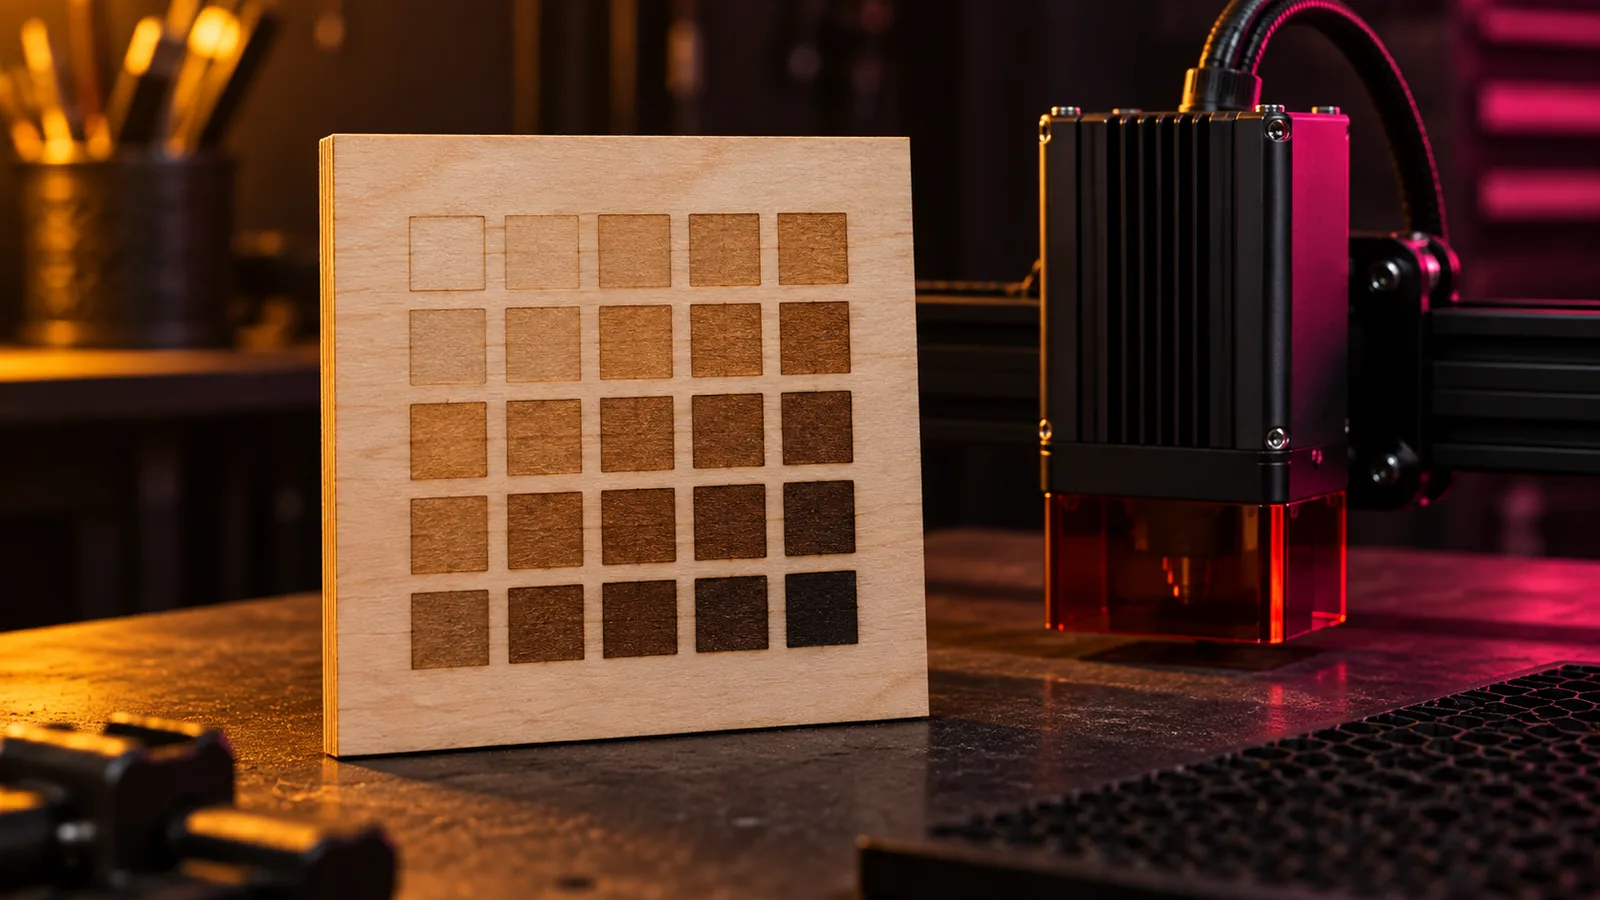
Laser and CNC
Laser Power and Speed Settings by Material: A Starting-Point Guide
Starting power and speed settings for diode, CO2 and fiber lasers on wood, MDF, acrylic, leather, slate and metal, and the test grid that dials them in.
September 21, 2026 2 min read
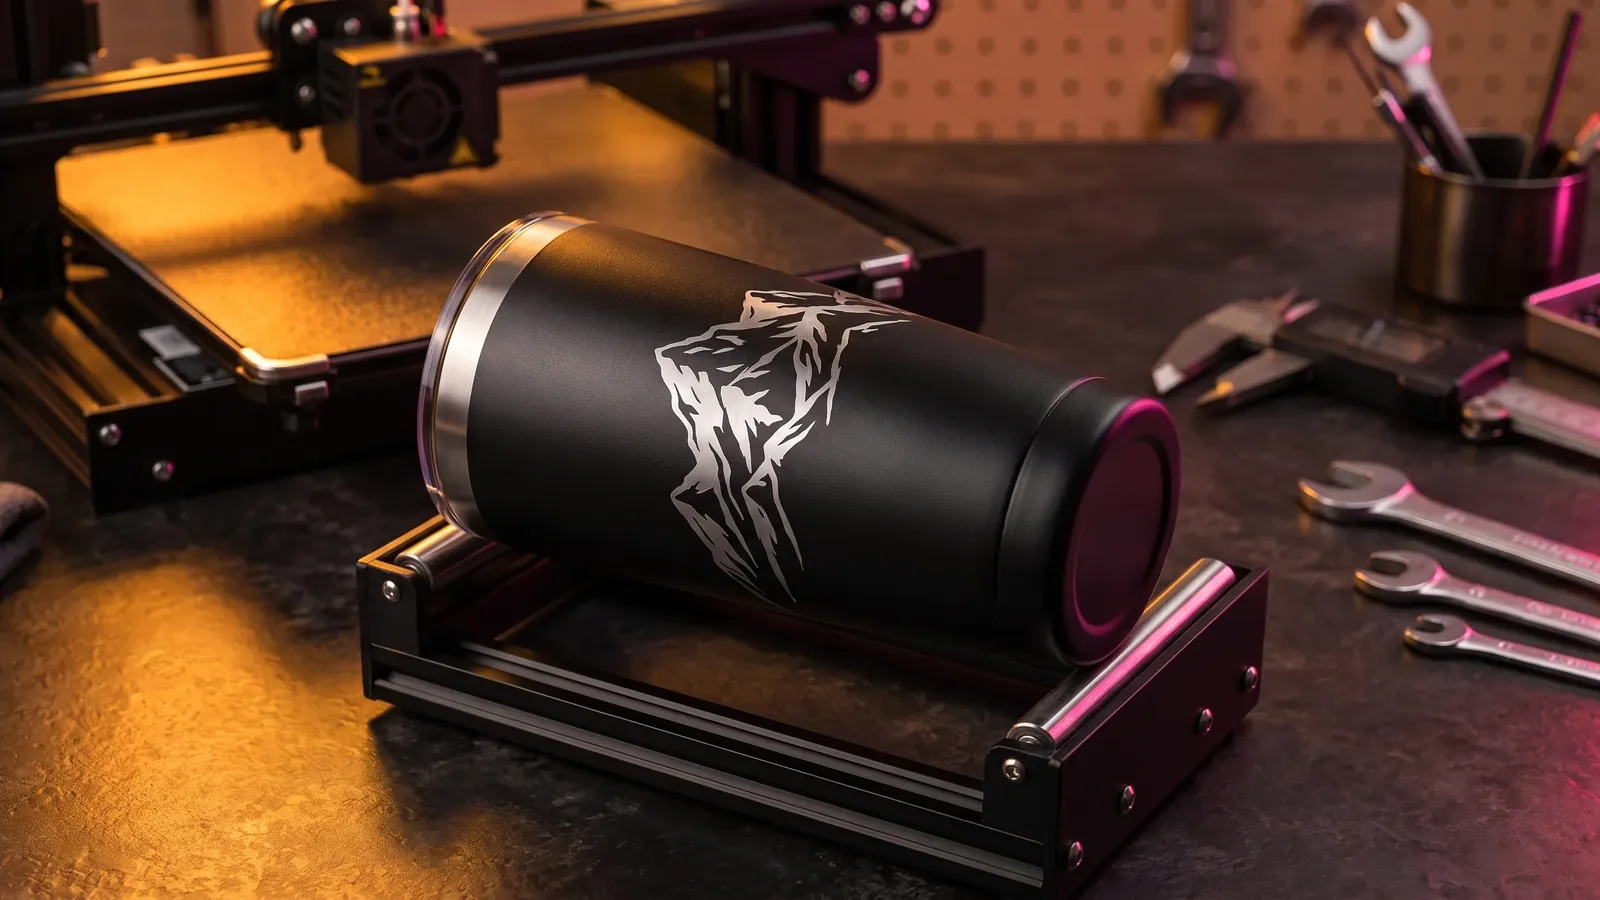
Laser and CNC
Laser Engraving Tumblers: Rotary Setup, Wrap Sizing and Settings
How to laser engrave tumblers: which laser marks powder coat or bare steel, LightBurn rotary setup, tapered cups, wrap sizing, settings and pricing.
October 8, 2026 10 min read
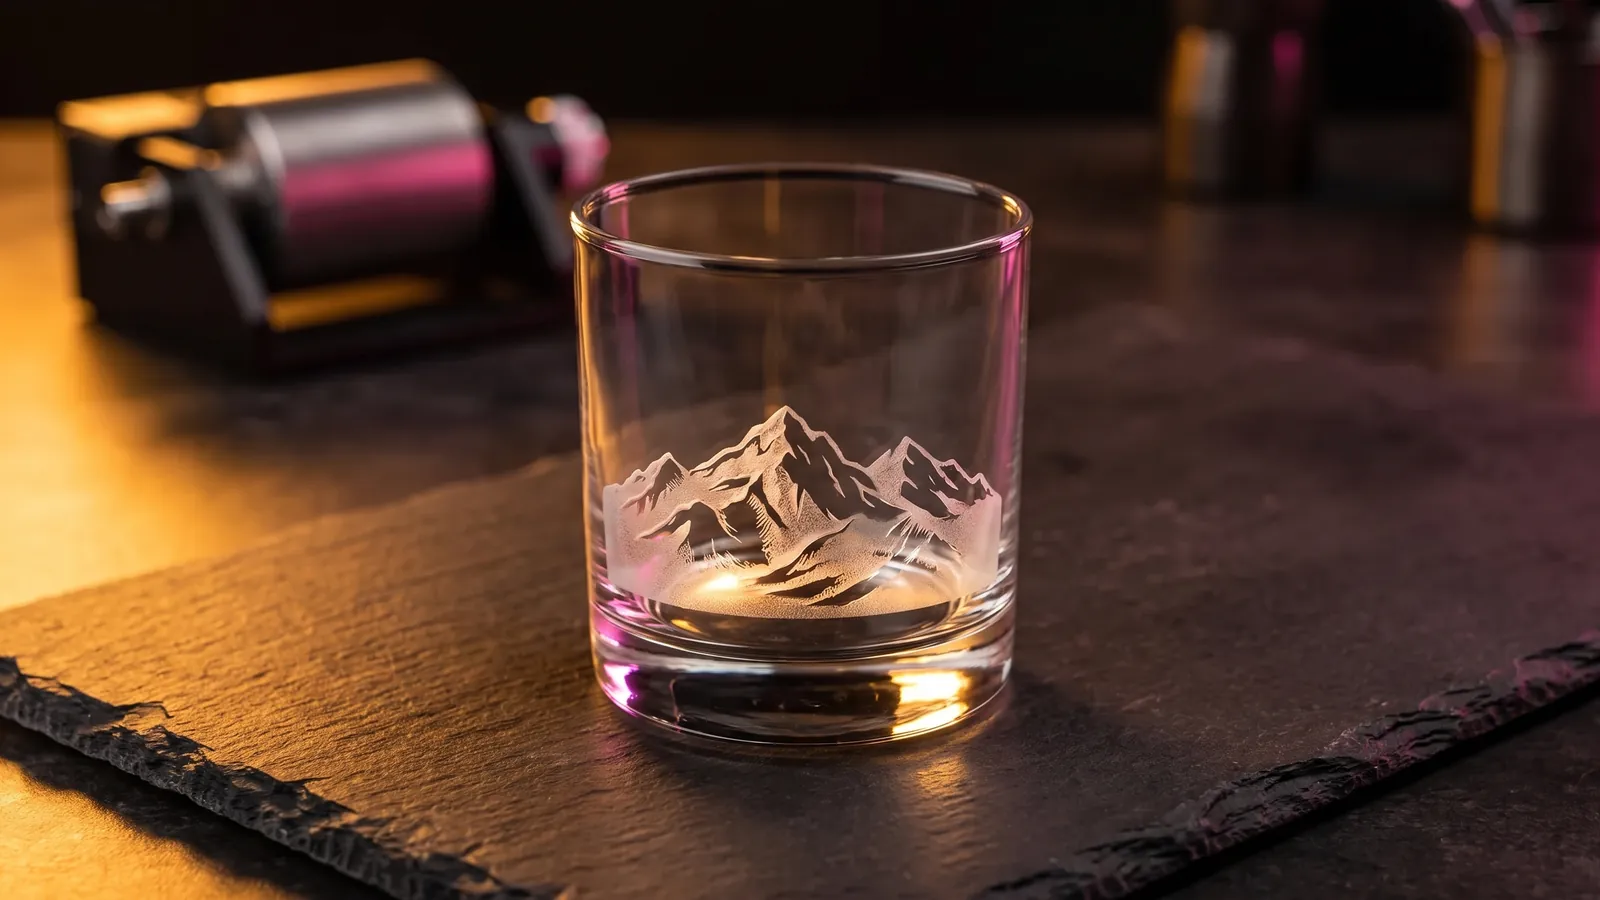
Laser and CNC
Laser Engraving Glass: Which Lasers Work and What Settings to Use
Laser engraving glass explained: why CO2 frosts it, why diodes need a coating, starting settings from xTool, OMTech and Epilog, photos, and safety.
October 8, 2026 9 min read