Laser Engraving Glass: Which Lasers Work and What Settings to Use
Laser engraving glass explained: why CO2 frosts it, why diodes need a coating, starting settings from xTool, OMTech and Epilog, photos, and safety.
By Depthue Lab9 min read
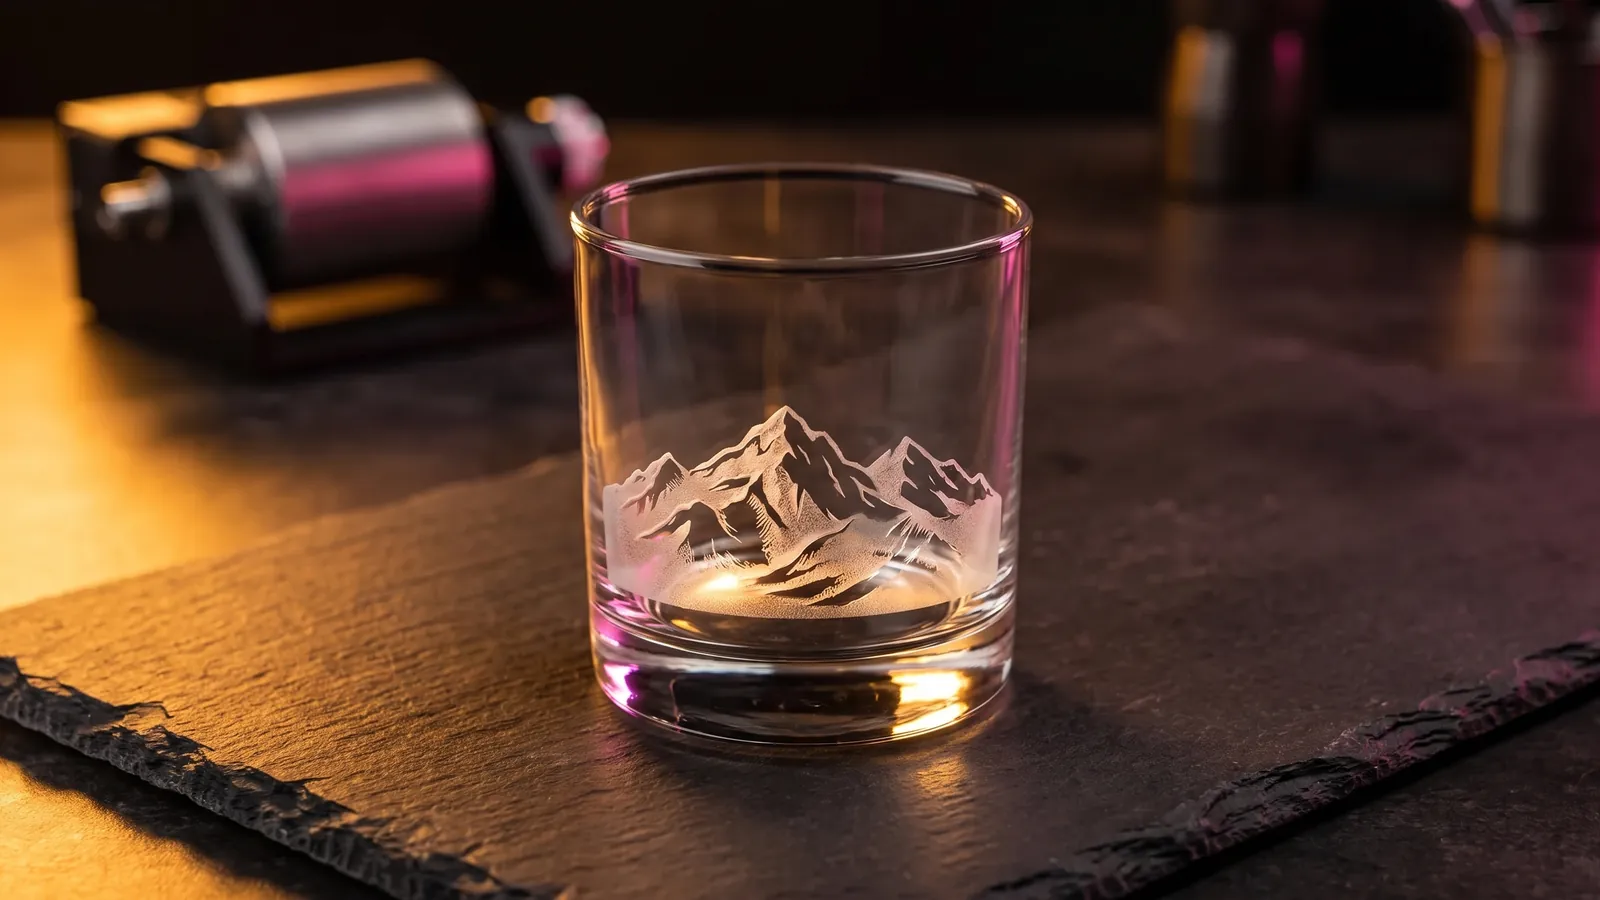
Laser engraving glass works best with a CO2 laser. The beam heats a tiny spot, that spot expands faster than the glass around it and fractures, and thousands of those fractures read as a white, frosted mark. Blue diode and fiber lasers pass through clear glass, so a diode needs a dark coating to mark it and a fiber laser is the wrong tool.
What a laser does to glass
Wood burns away under a laser. Glass does not. OMTech's guide to engraving glass cups explains it: the glass under the beam expands quickly, the glass around it does not keep up, and the spot fractures. Writing in Graphics Pro, Epilog's Amy Dallman puts it the same way: no material is removed the way it is with sandcarving. The mark is shallow, no more than 0.001 inches (about 0.025 mm) deep according to OMTech.
Three rules follow from that, and the rest of this guide builds on them:
- Heat is the enemy. Epilog calls excess heat the number one cause of broken and fractured glasses. Low power, spaced dots and a damp cover all fight heat.
- Every dot is white or nothing. A fracture cannot be half frosted, so shading comes from dot spacing, not power.
- Detail has a floor. The fractures are random, and OMTech warns that very small text and fine lines run together.
Which lasers can engrave glass
| Laser | Wavelength | On clear glass | What you need |
|---|---|---|---|
| CO2 | 10.6 µm | Frosts it directly | A damp cover to cut chipping |
| Diode (blue) | 450 to 455 nm | Passes through, no mark | A dark coating, washed off after |
| Fiber (infrared) | 1064 nm | Passes through, no mark | A different laser |
| UV | Not listed | Frosts it with little heat | Nothing extra |
CO2: the standard tool for glass
xTool's glass guide names CO2 as the best type of laser for glass, because glass readily absorbs its infrared beam. Boss Laser says the 10.6 µm wavelength "frosts the surface cleanly," and OMTech suggests 30 W or more for glass work. If you want a black mark instead of frost, a marking spray such as LaserBond 100 leaves a permanent black mark on glass; its seller recommends it for lasers with RF tubes.
Diode: only with a coating
xTool is plain about it: engraving clear glass directly with a diode "is not possible," because the 450 to 455 nm beam passes through. The fix is to give the beam something dark to hit. The coating soaks up the blue light and turns it into heat at the glass surface. Here is who recommends what:
| Coating | Who recommends it | Their numbers |
|---|---|---|
| Acrylic paint, rubbed off under running water | xTool diode guide (September 2026) | 20 W xTool S1: 100%, 75 mm/s |
| Laser marking paper, soaked 5 minutes and applied wet | xTool support guide (2023) | 10 W xTool D1 Pro: 50%, 100 mm/s |
| Laser marking spray or dark tempera paint, washed off | xTool UV, CO2 and diode test (April 2026) | Not listed |
| Black tempera on the back, glass laid paint side down | LightBurn forum (May 2021) | About 500 mm/min at 100%, two passes |
| Thin airbrushed black acrylic | LightBurn forum (December 2021) | 455 mm/min at 70%, 254 DPI, scaled for a 15 W module |
| Masking tape, engraved through | LightBurn forum (May 2021) | Not listed |
Coat thinly. One forum member's rule: enough paint for a thermal reaction, not so much that it insulates the glass. Dark or opaque glass sometimes marks without a coating; clear glass, as another member put it, does not have much chance.
Fiber: not for clear glass
Boss Laser's FAQ answers "can a fiber laser engrave glass?" with a flat no. The 1064 nm beam passes straight through, and Boss calls that "a property of the wavelength, not a settings problem." A fiber laser can only mark a coating or paint on glass. Thunder Laser's fiber settings chart lists glass only for its UV machine.
UV: fine detail with little heat
In xTool's side-by-side test, the UV laser left a smooth frosted mark with minimal heat, which xTool calls safe for thin or delicate glass. The CO2 mark was brighter and more textured, and xTool advises care with thin glassware because of thermal stress. OMTech's buying guide says glass is typically marked with UV or CO2 lasers.
Settings: the logic first, then numbers
Percent power is a share of your tube, at your speed, through your lens. That is why vendor numbers for the same job look so different: Thunder Laser's chart runs glass at 30 to 90 percent power and 1,000 to 3,000 mm/s across its CO2 machines, while xTool runs a 55 W P2 at 10 percent and 300 mm/s. Both are right for their machines. What carries over is the logic:
- Use the least power that frosts evenly. Epilog's main advice for glass is lower power to reduce heat. Chips, craters and cracks mean too much of it.
- Space the lines. OMTech starts fills at a 0.1 mm interval (254 LPI) and has had good results at 0.08 mm (318 LPI). Wider spacing shows lines; tighter spacing puts in more heat and can crack the glass.
- Cover the glass. One thin damp layer of paper towel or newspaper, a little larger than the design and free of wrinkles (Dallman), a thin film of dish soap (OMTech, Epilog), or masking tape (Epilog). Re-wet the towel if it dries during a long job.
- Keep air assist low. OMTech uses just enough air to keep the lens clean.
- Skip offset fill. OMTech found it puts too much heat into one area, so the glass cracks more easily.
Starting points from the pages we checked:
| Machine | Job | Power | Speed | Interval | Source |
|---|---|---|---|---|---|
| CO2 40 W | Flat glass | 20% | 300 mm/s | 0.1 mm | Depthue settings finder |
| xTool P2, CO2 55 W | 4 mm glass sheet | 10% | 300 mm/s | Not listed | xTool |
| OMTech CO2 60 W, chuck rotary | Champagne glass | 20 to 25% | 100 mm/s | 0.1 or 0.08 mm | OMTech |
| Any CO2 (OMTech guide) | Glass | 10 to 30% | About 350 mm/s | Not listed | OMTech |
| Thunder Nova, CO2 60 W | Glass | 80% | 1,200 mm/s | 300 DPI | Thunder Laser |
| Thunder Aurora UV 5 W | Glass | Not listed | 200 mm/s | 1,270 LPI | Thunder Laser |
| xTool S1, diode 20 W | Painted glass | 100% | 75 mm/s | Not listed | xTool |
| xTool D1 Pro, diode 10 W | Glass with marking paper | 50% | 100 mm/s | Not listed | xTool |
Our settings finder's 40 W CO2 row sits inside the vendor ranges, and its 60 W and 100 W rows scale power down to 16 and 13 percent. It has no diode glass row: on a diode, the coating decides the result more than the laser does.
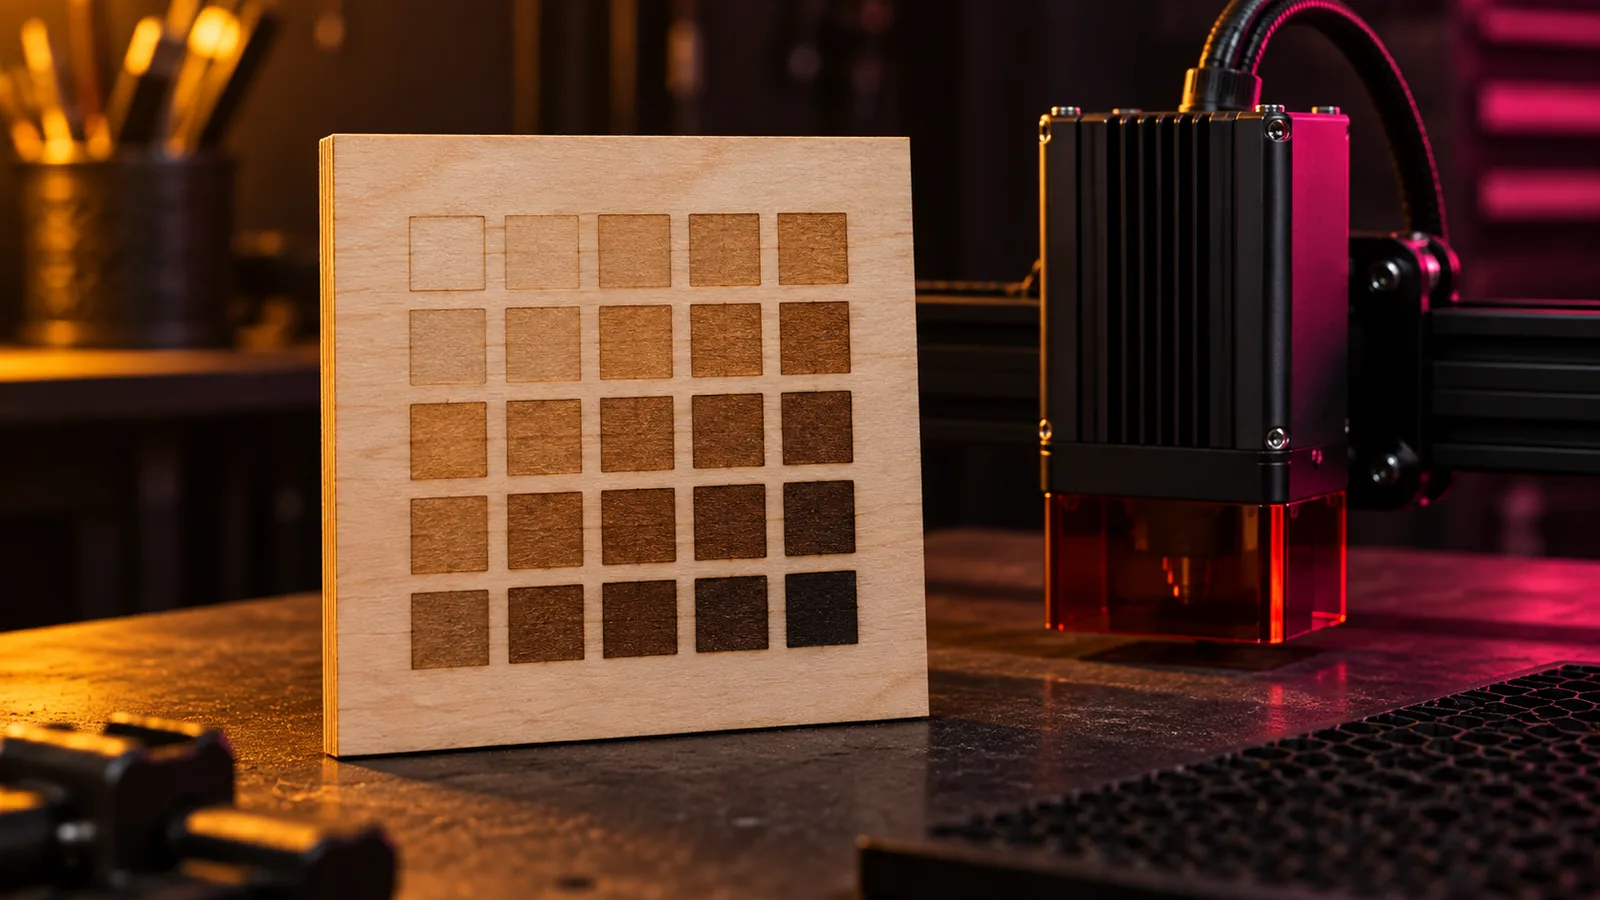
Then run a test grid on a spare of the exact glass you will sell. In the CO2 tab, plan a 5 by 5 grid from about 10 to 40 percent and 200 to 400 mm/s, copy it into LightBurn's Material Test, and keep the damp cover on. Choose the lowest-power cell that frosts evenly with no chips. For learning, cheap glass is fine: OMTech says dollar-store glassware engraves extremely well. The reasoning behind the grid is in laser power and speed settings.
Photos on glass
Photo engraving on glass fails for two reasons: too much heat, and asking glass for shades it cannot make.
- Dither, do not use grayscale. Each fracture is on or off, so shading has to come from how close the dots sit. LightBurn's docs note that Grayscale mode on a CO2 laser produces depth rather than shading. Use a dither mode: LightBurn calls Jarvis generally the best choice for photos, and Dallman recommends Jarvis for glass too.
- Lower the resolution. Dallman recommends about 300 DPI on glass, because separated dots fracture less and look smoother. Dense dots heat each other, chip, and merge into a rough white patch.
- Lighten the blacks. She also sets solid black to 80 percent, which spreads the dots further.
- Invert the photo. Frost is lighter than clear glass, so the bright parts of the picture need the most dots. LightBurn's docs say Negative Image is useful for glass, where engraved areas become lighter.
- Show it on dark. Frost reads against a dark background: a black card behind a panel, or a dark drink in a glass.
- Choose a strong photo. A clear subject, good contrast and no tiny details, because fractures blur fine lines.
3D crystal photos are a different process
The photos that seem to float inside crystal blocks are not surface engraving. Creality's explainer describes subsurface laser engraving: a dedicated machine focuses pulses inside the crystal, and the photo is first converted into a depth map that tells the laser where to place points at each layer. A hobby CO2 or diode laser cannot do this. If you run a crystal engraver, our free depth map generator turns a photo into a grayscale depth map in your browser; check which input format your crystal software expects.
Bottles and glasses on a rotary
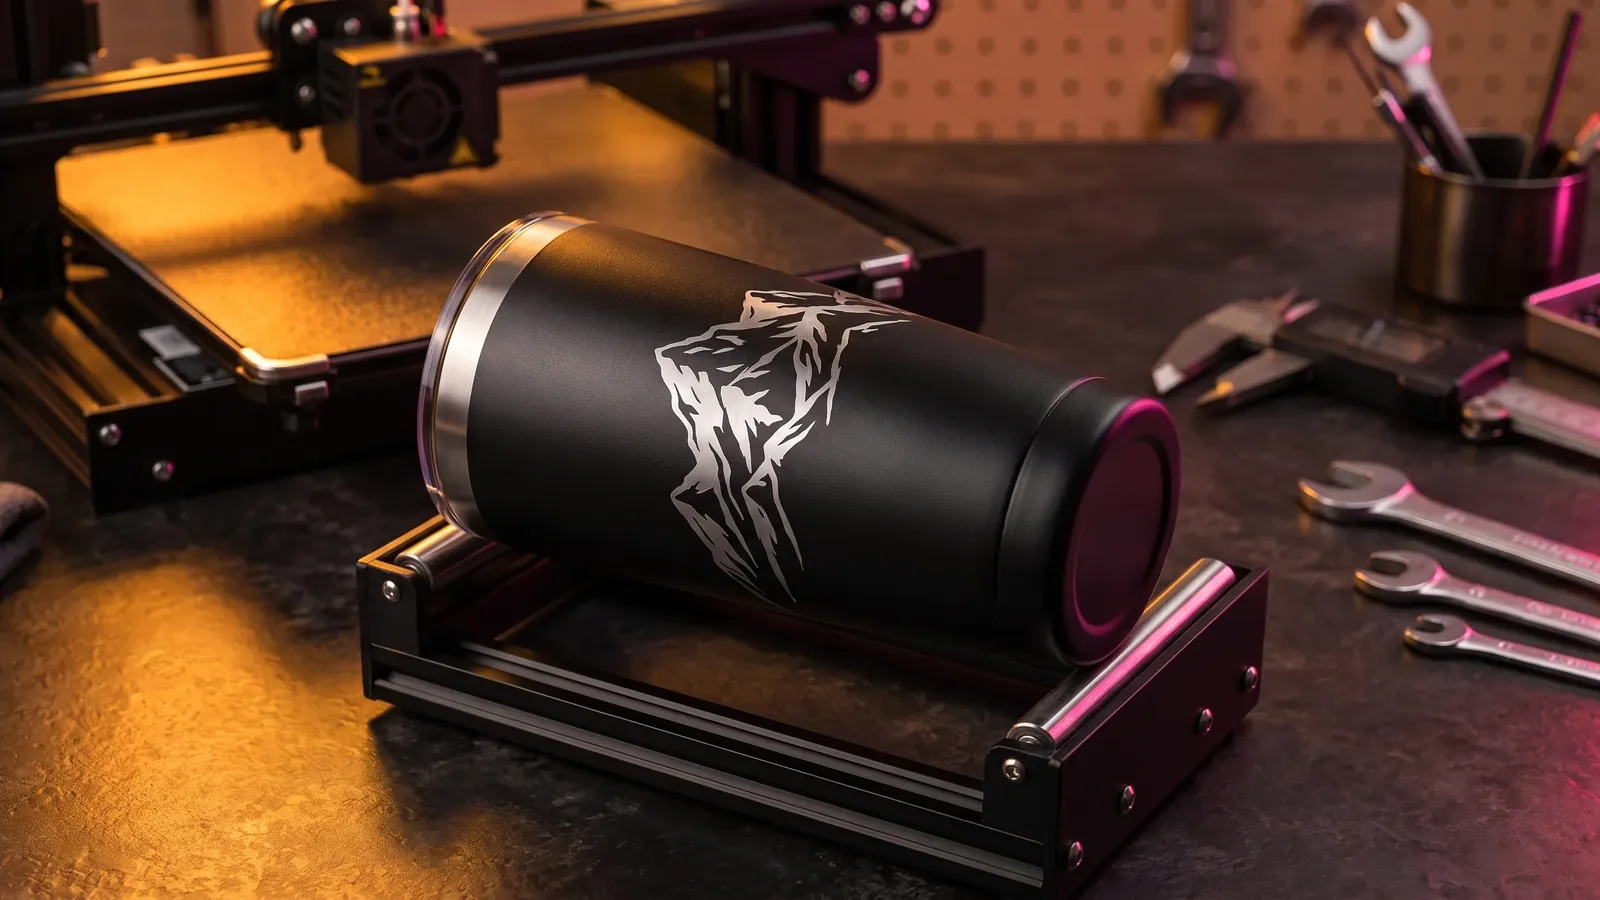
Round glassware needs a rotary attachment. The essentials for glass, from OMTech's glass cup and rotary guides:
- A chuck rotary with internal jaws grips the inside of a cup securely. Slip heat-shrink tubing over steel jaws so they do not scratch.
- A roller rotary is quick for straight bottles but relies on friction. If the glass slips, the design misaligns, so OMTech does not recommend second passes on rollers.
- A four-wheel rotary can be raised on one side to level a tapered glass.
- Avoid the mold seam, the thin line where the two halves of the mold met.
- For complex designs, press a piece of wet paper inside the glass behind the engraving to soak up heat. OMTech also suggests a dark cloth inside to stop beam reflections.
- On slightly curved glass, focus on the point closest to the nozzle.
Rotary setup in LightBurn, including object diameter and tapered objects, works the same as for cups, and it is covered step by step in laser engraving tumblers.
Cleaning and finishing
- Remove the cover. Peel off the paper towel or tape and rinse off any soap film.
- Brush off loose glass. Frosting leaves tiny, very sharp particles in the mark. OMTech wears gloves and eye protection and goes over the engraving with a wire brush or a wire wheel on a drill, which it says will not damage the glass.
- Wash. Wipe with a damp cloth and a mild glass cleaner (xTool). For diode coatings, soak marking paper in water for a few minutes and peel it off, or rub paint off under running water.
- Add color if you like. Epilog suggests filling the frosted area with colored paint or wax.
Safety: glass types and coatings
- Lead crystal. OMTech says crystal's higher lead content retains too much heat and can lead to cracking, breakage or an altered image, and Epilog also calls lead crystal more prone to cracking. Test one piece before you quote a set.
- Tempered glass. OMTech lists high internal stress and a tendency to crack during engraving.
- Thin glass. Use less power. xTool advises care with thin glassware on a CO2 laser because of thermal stress, and found UV gentler.
- Mirrors. Engrave the back to remove the reflective coating, mirror your design so it reads from the front, and start at low power (Epilog).
- Coatings and decorations. Know what you are lasering. Marking sprays such as LaserBond 100 are meant for non-lacquered surfaces, and a decal or film on glass may be vinyl, which belongs on the list of materials to never laser.
- Dust, fumes and light. Glass engraving makes fine particles and fumes, so run extraction (Epilog). Wear goggles rated for your laser's wavelength, and never leave the machine running unattended (xTool).
Example: a QR code on glass
A QR code makes a good first project because it gives you a clear pass or fail: it scans or it does not.
- Make the code in the QR code generator for laser engraving. It exports a vector SVG or DXF sized in millimetres, so LightBurn imports it at the right size.
- Decide what sits behind the glass. Frost is light. Against a dark backing, frosted modules on clear glass make a light-on-dark, inverted code. The tool's invert option for dark materials flips which areas get engraved: the background is frosted and the modules stay clear, so the code reads dark on light like a printed one.
- Engrave it as a fill with your tested settings, under a flat, wrinkle-free damp towel. A bubble under a module can break the code.
- Scan it with two different phones before you make a batch. Readers differ: in one LightBurn forum thread, an inverted code scanned with Google Lens and an older iPhone but not with a Samsung S21's reader.
Next step
Buy a spare of the glass you plan to sell, run one test grid under a damp towel, and save the winning cell in LightBurn's material library, as OMTech recommends. If you are still deciding on software, see what LightBurn costs.
Free tools for this job
Frequently asked questions
What type of laser is best for engraving glass?
A CO2 laser. Glass absorbs its 10.6 µm beam, so it frosts the surface directly. UV lasers also mark glass, with less heat, which suits thin pieces; blue diode and 1064 nm fiber lasers pass through clear glass.
Can a 10W laser engrave glass?
A 10 W diode cannot mark clear glass by itself, because its blue light passes through. With a coating it can: xTool's guide for its 10 W D1 Pro uses laser marking paper at 50 percent power and 100 mm/s.
What do you put on glass before laser engraving?
On a CO2 laser, a thin damp layer of paper towel or newspaper, a film of dish soap, or masking tape, to pull heat away and reduce chipping. On a diode, a dark coating such as tempera or acrylic paint, laser marking paper or marking spray. Clean the glass with alcohol first.
How can I engrave glass at home?
With a desktop CO2 laser, or a diode laser plus a dark coating, and a rotary attachment for cups and bottles. Without a laser, glass etching cream or a rotary tool also work, with less precision.
Why does my engraved glass chip or crack?
Too much heat. Lower the power, space the dots (about 300 DPI or a 0.1 mm interval), cover the glass with a damp paper towel, and avoid lead crystal and tempered glass while you learn.
Sources
- xTool, Laser Engraving Glass: the Ultimate Guide
- xTool, How to Engrave Glass with a Diode Laser?
- xTool, UV vs. CO2 vs. Diode Lasers: comparison on glass, wood and leather
- xTool Support, Engrave Glassware Flawlessly with this Step-by-Step Guide
- xTool Support, Beginner's Guide to Laser Processing of Transparent Glass
- OMTech, Glass Laser Engraving for Beginners: How to Engrave Glass Cups
- OMTech, How to Etch Glass: A Beginner's Guide
- OMTech, Types of Glass for Laser Engraving
- OMTech, Choosing the Best Laser Engraver for Glass
- OMTech, 3 Essential Steps to Successfully Laser Engrave Using a Rotary Attachment
- Thunder Laser, CO2 laser settings for cutting and engraving
- Thunder Laser, fiber, MOPA and UV laser settings
- Boss Laser, Can a fiber laser engrave glass?
- Epilog Laser, Laser Engraving Tips and Tricks for Glassware
- Graphics Pro, How to Reduce Chipping When Laser Engraving Glass (Amy Dallman, Epilog Laser)
- LightBurn documentation, Image Mode
- LightBurn forum, No effect on glass, even at 200/100%
- LightBurn forum, Settings for engraving glasses
- LightBurn forum, QR code on powder coat travel mug
- JPPlus, LaserBond 100 all-purpose spray for laser engraving
- Creality Falcon, What Is a Photo Etched in Glass (3D Crystal Photo Explained)