Laser Power and Speed Settings by Material: A Starting-Point Guide
Starting power and speed settings for diode, CO2 and fiber lasers on wood, MDF, acrylic, leather, slate and metal, and the test grid that dials them in.
By Depthue Lab2 min read
Every laser is a little different. Two 10 W diodes of the same model can cut the same plywood at different speeds, because optical power, lens condition, focus, air assist and the plywood's glue all vary. So treat every published setting, including ours, as a starting point, then run one test to find your own.
Use the settings finder
Pick your machine and material for a starting point, then use the test grid planner underneath to dial it in.
How to think about cutting
- Start at full power, slow. For cutting, speed is your main control.
- If it does not cut through, slow down before adding passes. Two passes often char more than one slower pass.
- Use air assist. It clears smoke, reduces flare-ups and improves the edge.
- Focus into thick material. For 6 mm plywood, focus a millimetre or two below the surface.
How to think about engraving
Engraving depends on energy per area, which is power divided by speed, and on line interval, the spacing between passes.
- Photo engraving: use dithering (Jarvis or Stucki) and an interval around 0.08 mm on wood.
- Fills and text: 0.1 mm interval is a good default.
- Depth map relief: grayscale mode, minimum power at 0 percent, and a map with a clean black background. See 16-bit vs 8-bit depth maps for galvo 3D Sliced jobs.
Materials to never laser
- PVC and vinyl: release chlorine gas that harms you and corrodes the machine.
- Chrome-tanned leather: releases chromium compounds.
- Polycarbonate: burns and discolors rather than cutting cleanly.
- Anything unknown: if you cannot identify it, do not cut it.
Run a material test
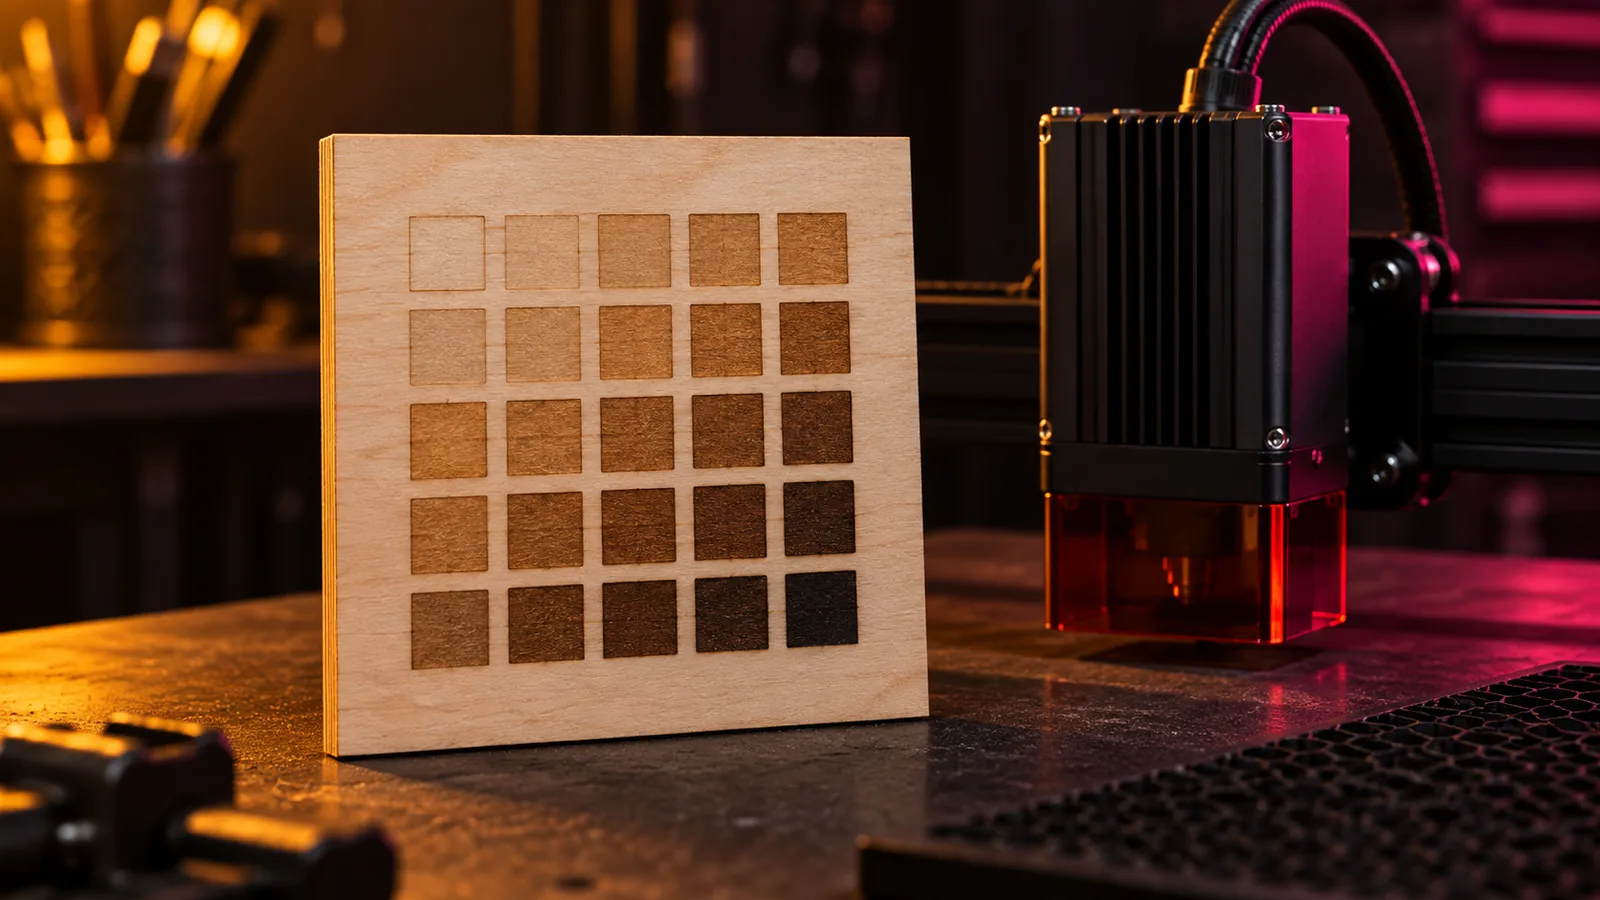
The fastest route to correct settings is a test grid: a grid of small squares where power rises across the columns and speed rises down the rows. In LightBurn it is under Laser Tools, Material Test. Engrave or cut the grid on a scrap of the exact sheet you will use, then choose the lightest cell that gives the result you want. That keeps runtime down and extends the life of your laser.
Keep a log: material, thickness, supplier, machine, lens, settings and a photo of the grid. It pays for itself the first time a new batch of plywood behaves differently.
Beyond lasers
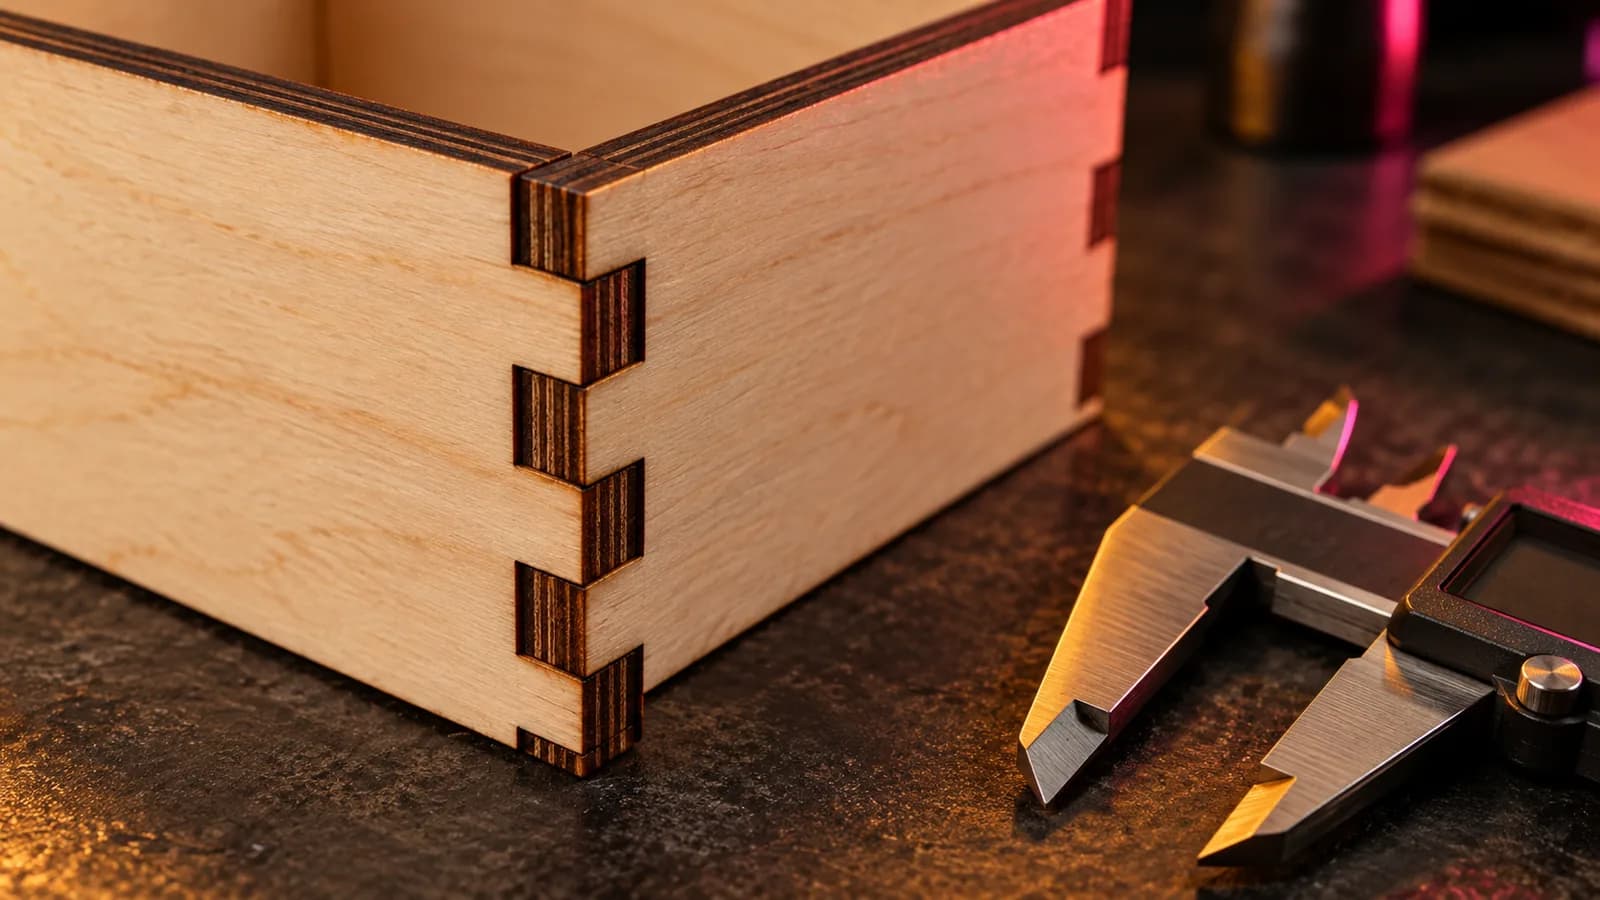
The settings finder also covers CNC routers (spindle speed, feed, plunge and depth per pass by material) and FDM printers, including starting settings for lithophanes and HueForge-style filament paintings. For tight laser-cut joints, measure your kerf with the kerf calculator.
Free tools for this job
Frequently asked questions
What are good diode laser settings for 3 mm plywood?
As a starting point on a 10 W optical diode: 100 percent power at about 300 mm/min, one pass, with air assist. Weaker modules need slower speeds or extra passes; stronger ones cut faster.
Can a diode laser cut clear acrylic?
No. Blue diode light passes through clear and blue acrylic. Diodes can cut opaque dark acrylic slowly; clear acrylic needs a CO2 laser.
What is the LightBurn material test?
A built-in tool that engraves or cuts a grid where each cell uses a different combination of power and speed. You pick the cell that gives the result you want and use its settings.
Is it safe to laser leather and plastics?
Vegetable-tanned leather, wood, cast acrylic and paper are common and safe with good extraction. Never laser PVC, vinyl or chrome-tanned leather: they release toxic and corrosive fumes.