How to Make a Custom Relief Coin From a Photo
Turn a customer photo into a relief coin: diameter, relief depth, rim and lettering, then the STL or grayscale PNG your laser, CNC router or printer needs.
By Depthue Lab6 min read
On this page (10 sections)
- What a relief coin is made of
- 1. Choose a photo that will read as relief
- 2. Make the depth map
- 3. Shape it into a coin
- 4. Add names and dates as lettering
- 5. Check the solid before anything leaves your screen
- 6. Get approval on the exact design
- 7. Export for your machine
- Make the next one faster
- Common mistakes
To make a custom relief coin from a photo, turn the photo into a depth map, shape it into a disc at the coin's real diameter with a solid base and a raised rim, add names and dates as separate lettering, and export an STL for CNC or printing or a grayscale PNG for laser engraving. The photo decides the portrait. Millimeters decide the coin.
This guide walks through each step with starting numbers. They come from the presets in Relief Studio, Depthue's workspace for custom coins and plaques, but they work in any tool that lets you set physical size.
What a relief coin is made of
| Part | What it does | Starting point for a 50 mm coin |
|---|---|---|
| Base | The solid disc everything sits on | 2 mm |
| Relief | How far the portrait rises above the field | 1.4 mm |
| Field | The flat background around the subject | Low and flat, 20 to 25 percent of the relief |
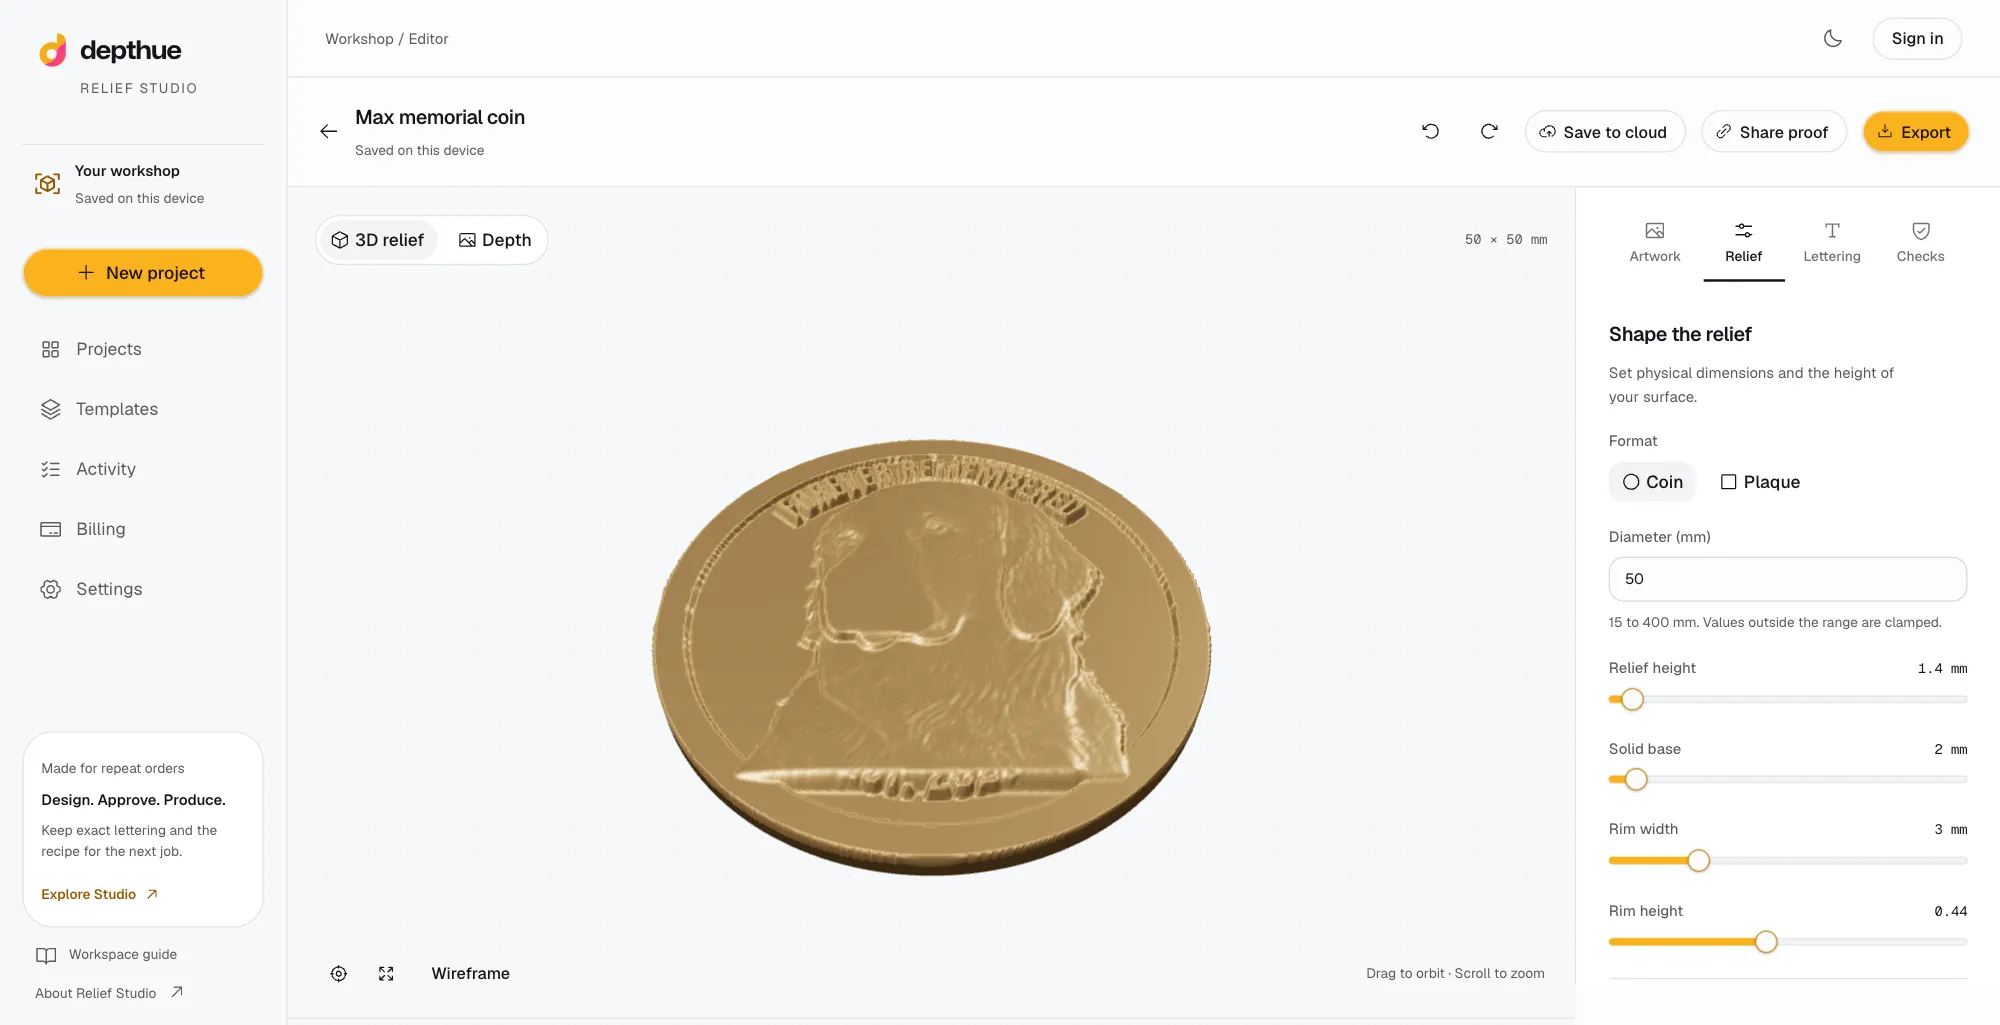
| Rim | A raised edge that frames the face and protects the high points | 3 mm wide |
| Lettering | Names, dates or a motto along the rim | 4 mm tall, bold |
A raised rim is not decoration. Coins lie face down, rub in pockets and slide across tables. The rim takes that wear before the nose of the portrait does.
1. Choose a photo that will read as relief
A relief is a bas-relief: it compresses a whole face into a millimeter or two, and the eye reads shape from light on the surface. Some photos survive that compression better than others.
- One subject, cropped tight. A pet's head or a face fills a 50 mm coin. A full body shrinks to a few millimeters of detail.
- Three-quarter view. A slight turn gives the nose, cheek and ear different heights. A flat front view reads flatter.
- Soft side light. Depth models infer shape from shading. Harsh flash flattens it; deep shadows invent holes.
- Clean separation from the background. Fur against a busy sofa confuses any model. Plain backgrounds make a clean edge.
- Resolution. A coin needs less than you think. A sharp 1,000 pixel crop of the subject is plenty.
2. Make the depth map
A depth map is a grayscale image where brightness is height: white is the top of the relief, black is the deepest point. Modern AI models such as Depth Anything V2 estimate one from a single photo.
You can make one for free with the depth map generator, which runs in your browser without uploading the photo. Relief Studio runs the same model family locally or as a private cloud job, and it also imports a depth map you made elsewhere, 8-bit or 16-bit.
What to check before you go further:
- The background is darker than the subject and close to flat. A gray, sloped background becomes a tilted field on the coin.
- Polarity is right. If the face comes out sunk into the disc, invert it.
- No holes in the face. Glasses, dark eyes and black fur sometimes read as deep pits. Raise them with a depth brush or a gamma change.
3. Shape it into a coin
Now the depth map becomes an object with real dimensions. Work in millimeters from the start, so the file matches the blank or stock on your bench.
| Setting | Heritage coin | Pet keepsake | What changes it |
|---|---|---|---|
| Diameter | 50 mm | 65 mm | The blank, the mold or the customer's order |
| Base | 2 mm | 2 mm | Thicker for CNC clamping or a coin that gets carried |
| Relief | 1.4 mm | 3 mm | Deeper reads from further away; shallower is faster to cut |
| Rim | 3 mm | 3 mm | Wider for heavy lettering, narrower for a bigger portrait |
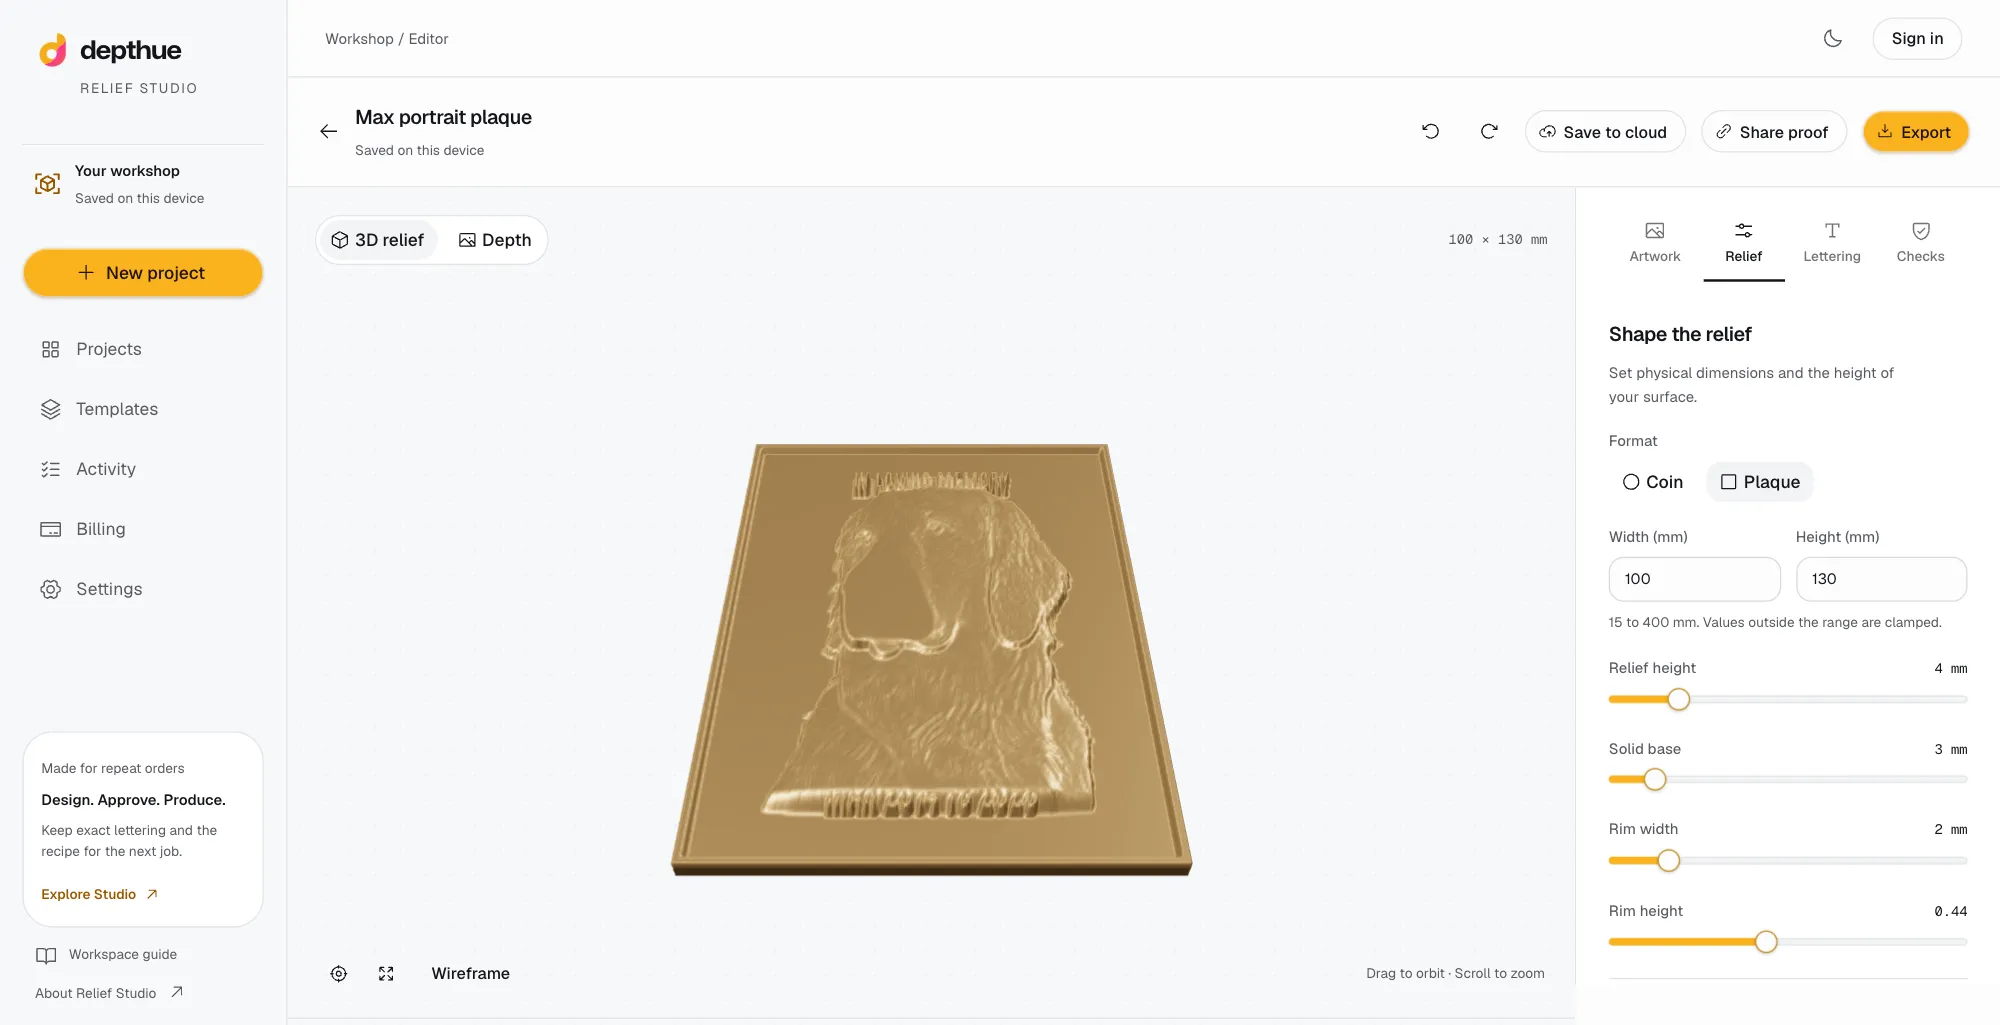
These are the two coin presets in Relief Studio, and good first tests anywhere. Total height is base plus relief, so the 50 mm coin stands 3.4 mm at its highest point.
Then frame the subject:
- Scale and center. Leave space between the portrait and the rim for lettering. Around 80 percent of the inner circle is a good start.
- Set the background level. A low, flat field makes the subject stand up. Lift it slightly if the edges look cut out.
- Soften the photo's border. A square photo leaves a square step in the field. A small edge fade blends it into the background.
- Add contrast and curve. Contrast spreads the heights; gamma pushes them toward the front or back. Small moves matter on a 1.4 mm relief.
4. Add names and dates as lettering
Never ask the AI model to make the text. Depth models smooth away small letters, and regenerating a portrait to correct a date can quietly change the face your customer already liked.
Treat lettering as its own geometry:
- Top and bottom lines along the rim, curved to follow it, or a straight line across the field.
- A fixed height, so every letter cuts to the same depth.
- A bold, simple face. Thin strokes disappear. A 1.5 mm ball nose cannot carve a stroke thinner than about 1.5 mm, and a laser has its own minimum on each material.
- Check every character. Unusual accents or symbols may not exist in the font. Relief Studio blocks export when a character is missing or the text does not fit, rather than cutting a blank space.
Changing a date should edit the letters and nothing else. In Relief Studio the lettering is drawn by code from a bundled font, so the portrait stays exactly as approved.
5. Check the solid before anything leaves your screen
Look at the coin as a 3D object, not just a gray image.
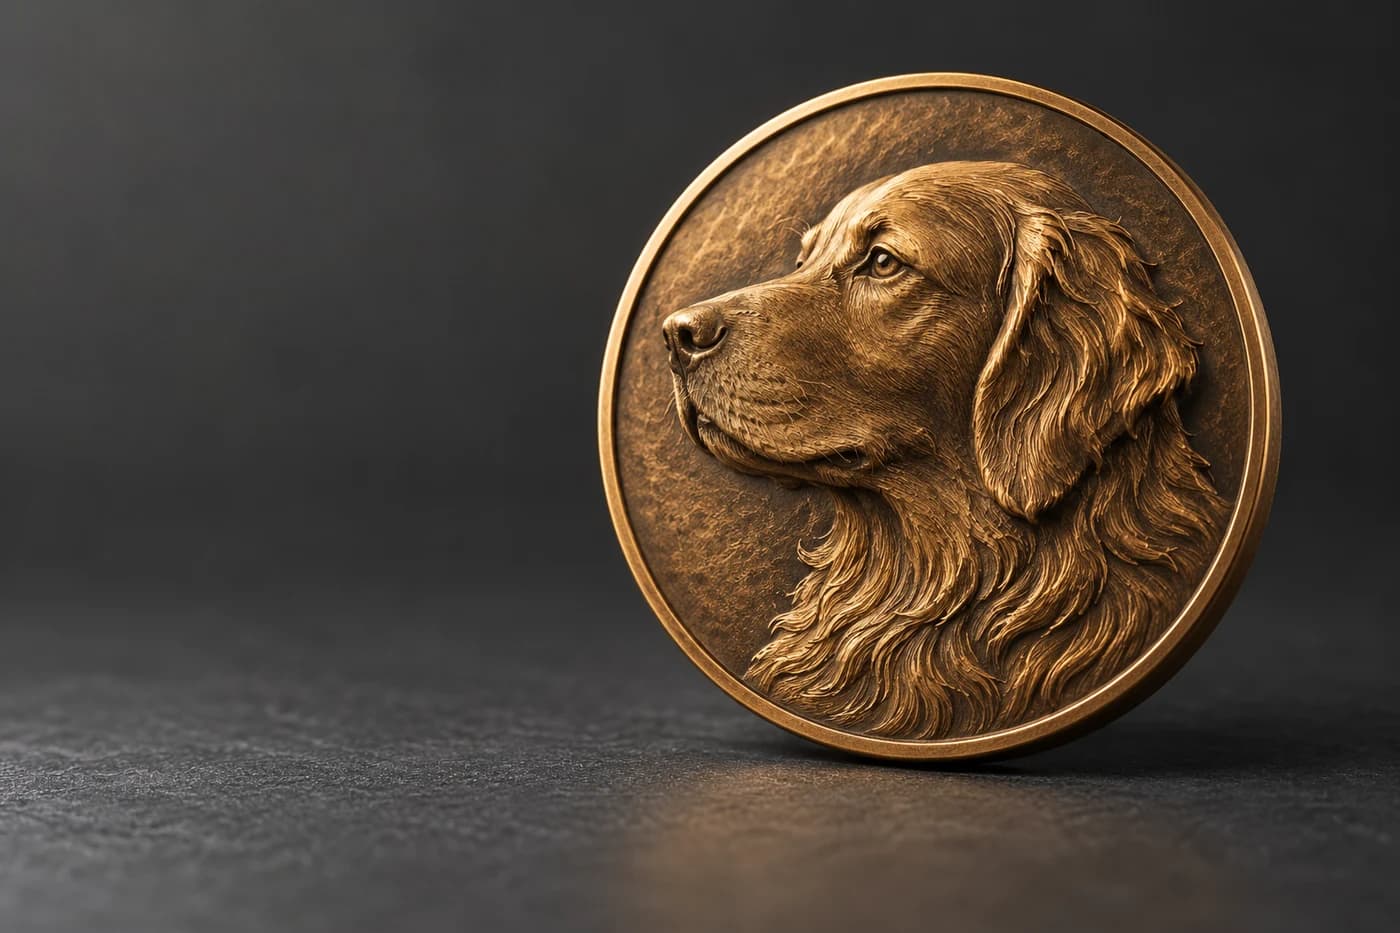
- Orbit it at a low angle. Light across the surface shows whether the face has real form or reads as a flat stamp.
- Use the top view to check centering and lettering spacing.
- Confirm the mesh is closed. An STL with holes or flipped faces can fail in a slicer or CAM program. A watertight mesh, with every edge shared by exactly two triangles, avoids that.
- Measure the total thickness against your blank and your tool length.
6. Get approval on the exact design
A custom coin is a promise about a face and a name. Send the customer the exact design you will produce, at its real size, with every word as it will be cut, and record their yes against that version. If anything changes after approval, send a new proof.
The customer proof approval guide covers what a proof must show and how to handle revisions. In Relief Studio the proof link shows the saved revision in 3D, and saving a new revision revokes the old link.
7. Export for your machine
| Machine | File | Notes |
|---|---|---|
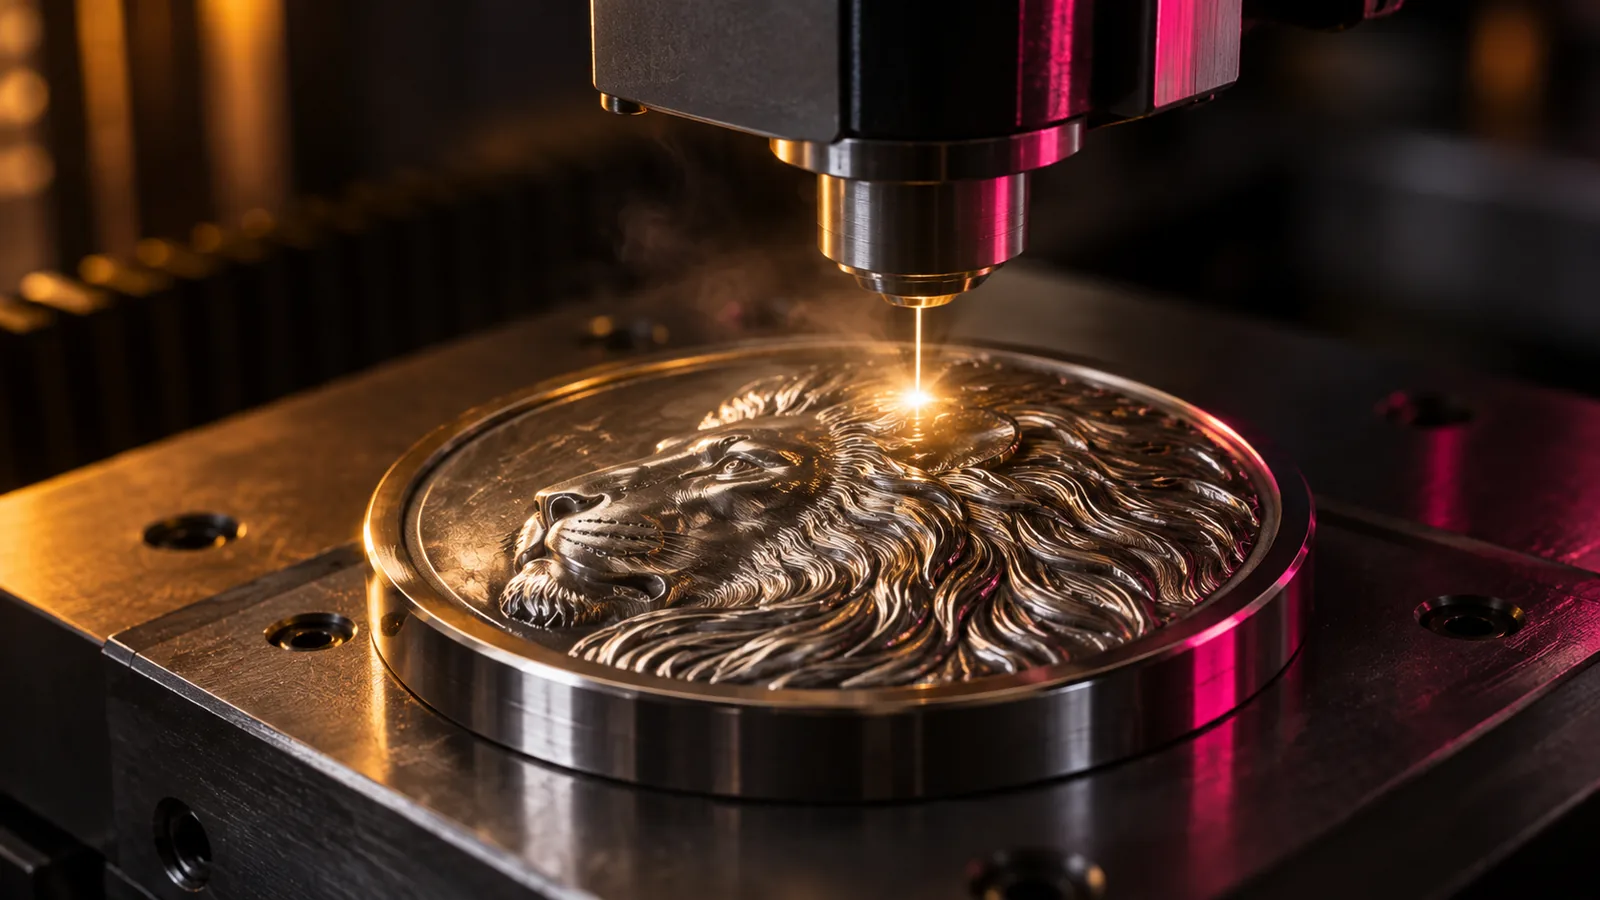
| Galvo fiber laser | Grayscale PNG | LightBurn 3D Sliced engraves it as passes. See 8-bit vs 16-bit depth maps |
| Diode or CO2 gantry laser | Grayscale PNG | Engraved in grayscale power mode. Depth depends heavily on material |
| CNC router | STL or OBJ, or the PNG | Vectric Aspire takes either. Finish with a small ball nose |
| Resin or FDM printer | STL | Print face up. Resin holds coin-scale detail better than FDM |
For CNC work, the CNC relief carving guide covers roughing, finishing and stepover. Mesh checks prove the file is sound, not that it will carve well on your machine. Cut a test in cheap stock first.
Make the next one faster
Most coin businesses sell the same coin many times with a different face and name. Save the finished settings as a template: diameter, base, relief, rim, lettering style and your notes about the material. The next order starts from a proven coin, and only the photo and the words change.
Common mistakes
- Text in the AI image. It comes out soft. Add it as lettering.
- Portrait too large. It crowds the rim and leaves no room for the name.
- Gray background. The field slopes and the subject loses its edge.
- No rim. The highest point of the relief takes all the wear.
- Skipping the proof. A misspelled name on a finished coin is a remake.
Free tools for this job
Frequently asked questions
How thick should a relief coin be?
Add the base to the relief. A 50 mm coin with a 2 mm base and 1.4 mm of relief is 3.4 mm at its highest point. Go thicker on the base when the coin must be clamped for CNC work or survive being carried.
Can a laser engrave a 3D coin?
Yes, as relief engraving. A galvo fiber laser running LightBurn's 3D Sliced mode engraves a grayscale depth map as many shallow passes, so darker areas end up deeper. Gantry diode and CO2 lasers engrave depth maps in grayscale power mode instead.
Why does the text on my AI relief come out blurry?
Depth models estimate shape from shading, and small letters carry almost none, so they come out soft or garbled. Make the portrait relief first, then add the text as lettering with crisp edges and a fixed height.
What photo works best for a relief coin?
One subject, filling most of the frame, in soft side light, with a background that separates cleanly. A three-quarter view of a face or a pet's head reads better on a small coin than a full body.
Can I make a challenge coin from a photo?
You can make the relief artwork. Coins you cast, carve or print yourself can use the STL directly. Minted challenge coins are struck from dies, so ask the mint which 3D file it accepts before you design.