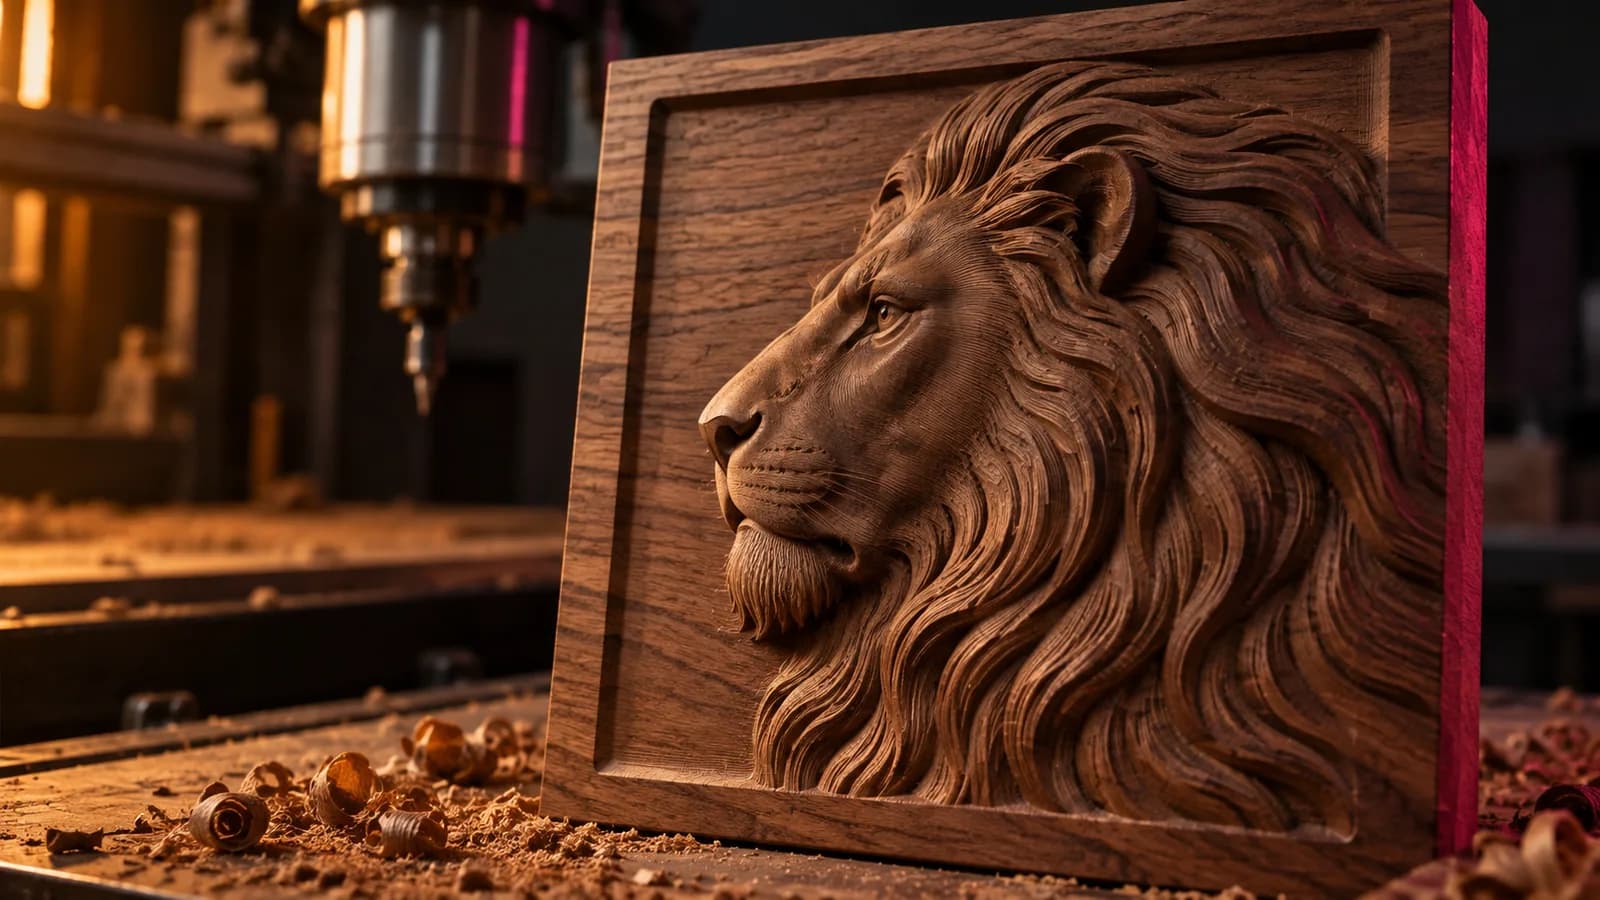
Photo to CNC Relief Plaque: Size, Depth, Border and Files
How to turn a portrait or pet photo into a CNC relief plaque: size, relief depth, base, border, lettering, customer approval and the files your CAM needs.
By Depthue Lab4 min read
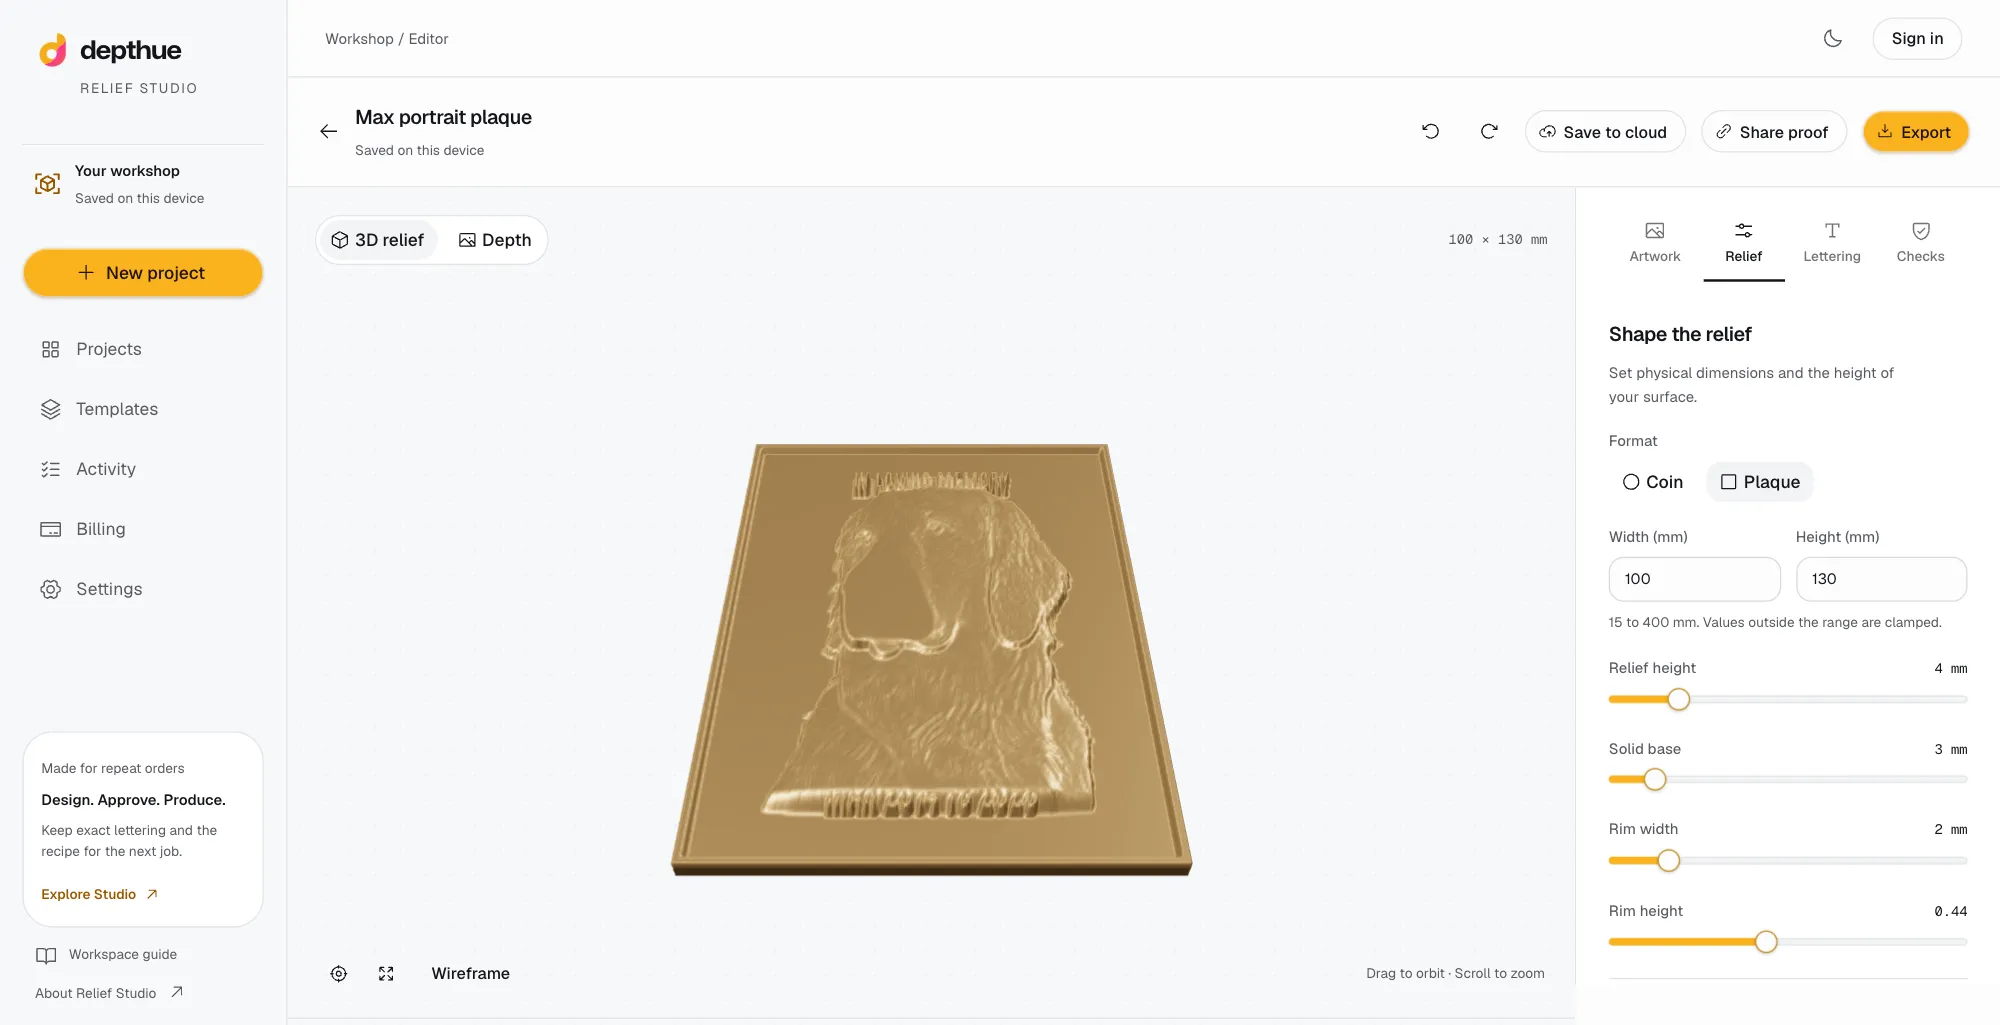
To turn a photo into a CNC relief plaque, decide the plaque's size and depth first, convert the photo into a depth map, set it on a solid base with a flat background and a border, add names and dates as lettering, get the customer's approval on that exact design, and send your CAM software an STL or a grayscale height map. The router then roughs and finishes it like any other relief.
The toolpath side, roughing, finishing and stepover, is covered in CNC relief carving. This guide covers everything before CAM: the decisions that make a plaque look right on the wall.
Plan the plaque before you touch the photo
Where the plaque lives decides almost everything else.
| Plaque | Typical size | Relief | Base under the deepest cut |
|---|---|---|---|
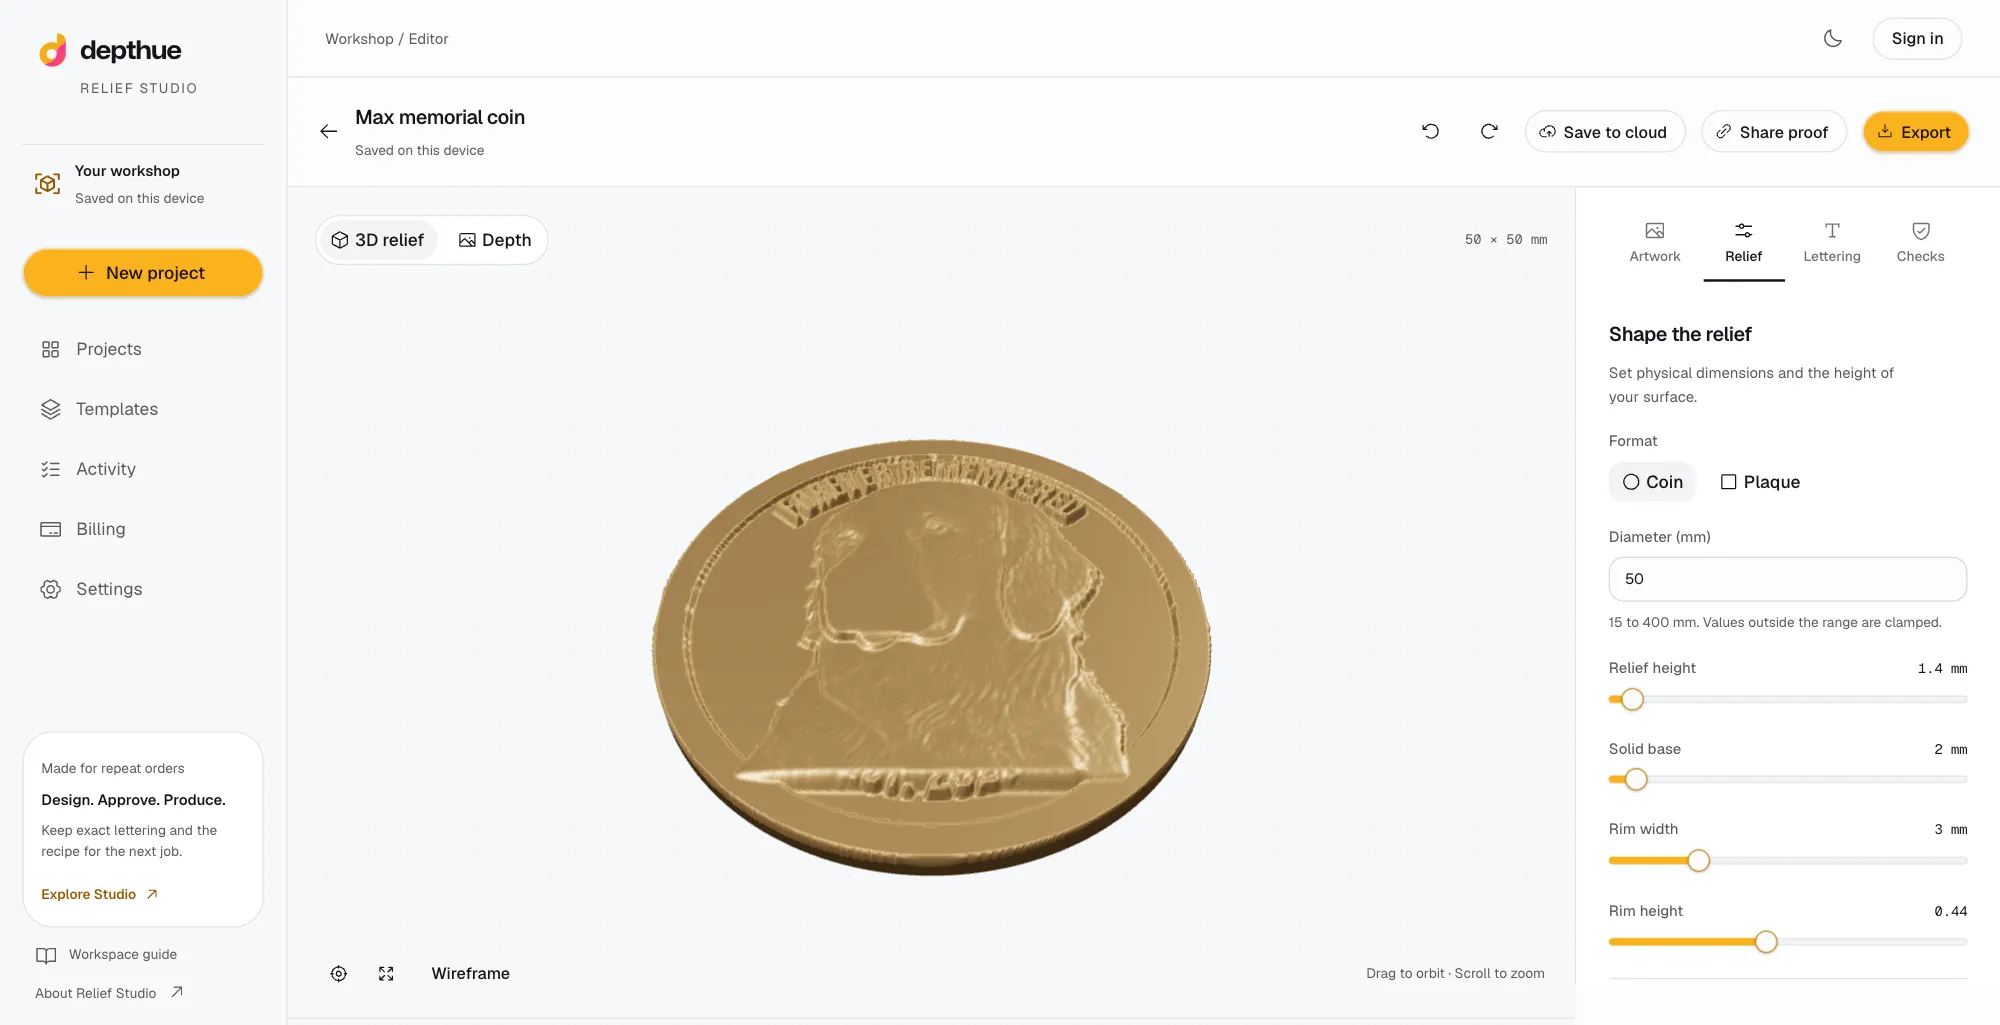
| Desk, urn or memorial plaque | 100 x 130 mm | 3 to 4 mm | 3 mm |
| Shelf portrait | 150 x 200 mm | 4 to 6 mm | 4 mm |
| Wall piece | 200 x 250 mm and up | 6 to 12 mm | 5 mm or more |
The first row is the Portrait plaque preset in Relief Studio. Total stock thickness is base plus relief, plus whatever your fixturing needs. Deeper reliefs read from further away but need longer tools and more roughing time.
Choose a photo that carves well
- One subject, cropped to the head and shoulders. Faces carry the emotion of a portrait plaque. Full bodies shrink detail below what a router can cut.
- Soft, directional light. AI depth models read shape from shading. Flash flattens a face.
- A background you can remove. Busy backgrounds become bumps in the field. A plain wall or a cut-out subject is easiest.
- Enough pixels for the size. For a 130 mm plaque, a sharp 1,500 pixel crop is ample.
Memorial work often starts from an old or low-quality photo. A depth model can still recover a believable face, but expect to raise dark eyes or glasses by hand and to smooth noise.
Make the depth map and set the depth
Generate a depth map from the photo with the free depth map generator, DepthGen Pro or Relief Studio, then shape it:
- Push the background flat and low. A gray background becomes a sloped floor the router has to clear.
- Spread the range. Use the full black-to-white range for the subject; the plaque's relief depth then maps onto it.
- Soften hard edges. Vertical walls are hard for a ball nose and catch dust on the wall.
- Check polarity. White should be the top of the stock. If the face sinks in, invert it.
Add a border
A border makes a plaque look finished and gives the subject an edge to sit against.
- Raised frame. A rim 2 to 5 mm wide at roughly the subject's height frames the portrait and protects the edges when the plaque is handled.
- Soft vignette. Fade the photo's edges into the field instead, for a classical look with no hard frame.
- Room for lettering. Leave a band below the portrait for a name and dates, sized before you finalize the subject's scale.
Names and dates as lettering, never as pixels
Lettering on a memorial plaque must be exactly right. Do not bake it into the photo or ask an AI model to render it: depth models blur small text, and changing a date should never touch the face.
Add text as its own geometry at a fixed height, in a bold face, with strokes wider than your finishing tool. A 1.5 mm ball nose rounds off anything finer. Proofread every character, then have the customer proofread it too.
Get approval on the exact file
A carved plaque costs material and machine time, and a portrait carve can run for hours. Send the customer the design at its real size with every word as it will be cut, and record their approval against that version. The customer proof approval guide explains what to show and how to handle changes.
Export for your CAM software
| Send | When | Notes |
|---|---|---|
| Grayscale PNG height map | Your CAM builds reliefs from bitmaps | Vectric Aspire converts images into 3D components you can scale, fade and combine |
| STL or OBJ | You want exactly the approved geometry | Aspire imports STL models; most CAM programs that machine 3D accept a mesh |
| 16-bit PNG | Deep reliefs where 256 gray levels would show steps | Use only when your CAM reads 16-bit images |
Resolution matters more on large plaques. Relief Studio's height field is 384 samples per side, which is about 0.34 mm per sample on a 130 mm plaque and about 0.8 mm on a 300 mm one, close to what a 1/16 inch ball can resolve. For large panels with fine texture, a depth map at the photo's full resolution from the free generator gives CAM more to work with.
Whatever you send, cut a test in inexpensive stock first. A closed mesh proves the file is sound, not that your tools, feeds and wood will carve it well.
Mistakes that ruin a plaque
- Too little base. Under 3 mm of material below the deepest cut, the panel flexes and can crack.
- Lettering thinner than the tool. It carves as blobs.
- A cramped portrait. No margin for the frame or the name.
- Approving a screenshot, carving a different file. The approval must belong to the file you cut.
- Grain across the face. Raster the finishing pass along the grain on open-grain woods.
Repeat orders
Memorial and pet plaques are usually repeat products: the same size, wood, border and lettering style for a new photo and name. Save the finished settings as a template with notes on stock, tools and finish, and the next order starts from a proven plaque.
Free tools for this job
Frequently asked questions
What size should a relief plaque be?
Size it to where it will be seen. A desk or memorial plaque of about 100 x 130 mm suits a single portrait. A wall piece viewed from across a room needs 200 mm or more on the short side, and deeper relief.
How deep should a portrait relief plaque be?
Portraits look natural with 4 to 8 mm of relief, and small plaques with 2 to 4 mm. Leave at least 3 mm of solid material below the deepest point so the panel stays rigid.
Which wood is best for a CNC relief plaque?
Fine, even-grained hardwoods such as maple, cherry and walnut hold portrait detail well. Open-grain woods like oak work for bold reliefs but lose fine features.
Can I add names and dates to a CNC relief plaque?
Yes. Add them as lettering at a fixed height rather than as part of the photo, use a bold face, and keep strokes wider than your finishing tool so every letter survives the cut.
Should I send my CAM software an STL or a PNG?
Send a PNG height map when your CAM builds reliefs from bitmaps and you want to adjust depth there, as Vectric Aspire does. Send an STL or OBJ when you want exactly the geometry you previewed and approved.