3D Printed Christmas Ornaments: Free Name Files and Photo Ornaments
Eight free two-colour name ornaments (STL and 3MF), the one filament change that makes them, and how to print a photo lithophane ornament, with settings.
By Depthue Lab8 min read
Download one of the eight free name ornaments below, slice it flat with no supports, and add one filament change at 3.0 mm so the name and rim print in a second colour. For a photo ornament, make a lithophane about 70 mm wide in the free lithophane maker and print it in white PLA at 100 percent infill.
8 free personalised ornaments
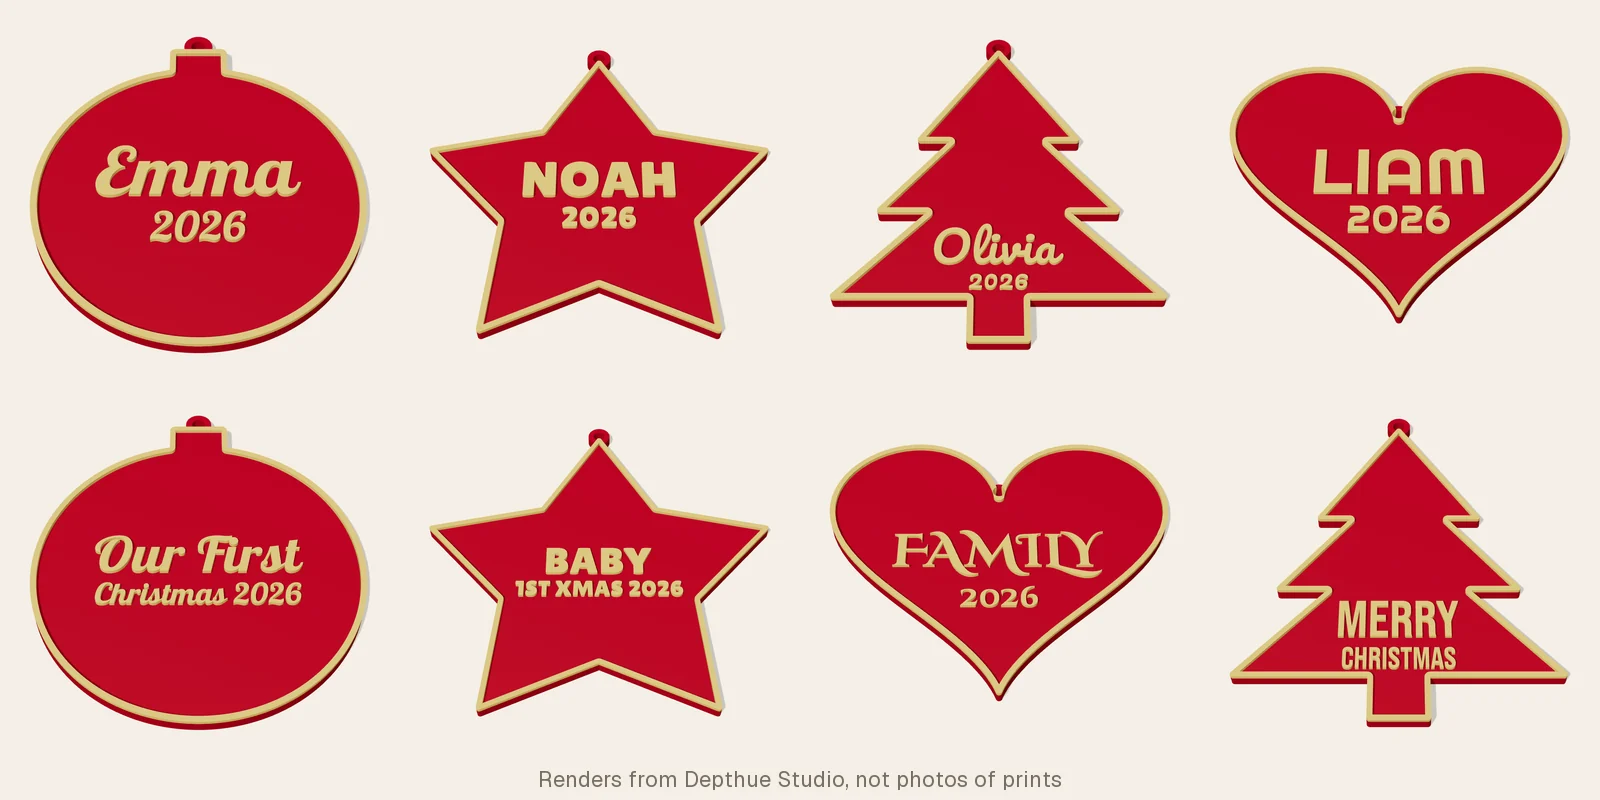
Depthue published these on Printables in November 2026. Each one is a flat ornament with a raised name or greeting, a raised rim and a hanging hole, as an STL and a 3MF. They are free under a Creative Commons Attribution licence: credit Depthue when you share or remix them.
| Ornament | Shape | Text on it | Size on the plate (mm) |
|---|---|---|---|
| Emma bauble | Bauble | Emma / 2026 | 74 x 85 |
| NOAH star | Star | NOAH / 2026 | 93 x 94 |
| Olivia tree | Tree | Olivia / 2026 | 77 x 95 |
| LIAM heart | Heart | LIAM / 2026 | 90 x 78 |
| Our First Christmas bauble | Bauble | Our First / Christmas 2026 | 83 x 95 |
| Baby's First Christmas star | Star | BABY / 1ST XMAS 2026 | 104 x 104 |
| Family heart | Heart | FAMILY / 2026 | 95 x 83 |
| Merry Christmas tree | Tree | MERRY / CHRISTMAS | 86 x 105 |
The picture at the top of this page shows all eight in the order of the table. They are renders from Depthue Studio, not photos of prints. A slash marks the line break. Sizes are measured from the STL files and include the hanging tab. All eight are 4 mm thick: a 3 mm plate with the letters and rim raised 1 mm on top. The four names are examples. For your own names, see make one with your own name below.
Print a two-colour name ornament on any single-nozzle printer that can pause
You do not need an AMS or a second nozzle, only a printer that can pause mid-print for a filament change. Everything below 3.0 mm is the plate. Everything above it is the letters and the rim. One filament change at that height prints the name in a second colour.
- Import the STL or 3MF. It lies flat with the letters facing up. Turn supports off.
- Slice at 0.2 mm layers with a 0.2 mm first layer.
- In the preview, drag the layer slider to the first layer that shows only the letters and the rim. With those layer heights it is the layer from 3.0 to 3.2 mm, shown as 3.20.
- Add the filament change (or a pause) on that layer.
- Print. When the printer stops, swap to the second filament and resume.
The 3MF files store no colour change, so you add it in your slicer. Use the same type of filament for both colours. Prusa's advice: "Always mix PLA with PLA, PETG with PETG and so on."
The stray layer, and how to avoid it
A pause or colour change runs before the layer you put it on. Prusa's help says so for its pause ("The pause will be inserted before the selected layer is printed"), and it is the accepted answer on a Bambu Lab forum thread about the same problem.
Put the change one layer too early, on the layer shown as 3.00, and the top layer of the plate prints in the letter colour: a thin film of the second colour over the whole ornament. Move the change up one layer and the plate stays one colour. Scrub the preview before you print: the layer below the change should show the whole plate, and the layer on the change only letters and rim.
Bambu Studio
Slice, then add a pause on the vertical layer slider of the sliced preview, at the first letter layer. For models that already have a second colour assigned, Bambu Studio 2.5.2.65 or later can pause for every colour change itself: before you print, tick "Multi-Color Printing with External Spool". Bambu Lab lists it for the P1P, P1S, A1, A1 mini, P2S and H2S, each with a minimum firmware.
PrusaSlicer
In the preview, move the vertical slider to the first letter layer, right-click the orange plus icon and choose Add color change. The printer pauses when it reads the M600 command and asks for the new filament. When PrusaSlicer decides a model looks like a sign or logo, it offers to add the colour changes at the right heights for you.
OrcaSlicer
OrcaSlicer's wiki documents one route: insert pause G-code in the G-code viewer, the sliced preview. Put it on the first letter layer.
For more than one colour change, or colours that change within a layer, see multicolor 3D printing.
Make one with your own name
The Christmas ornament maker in Depthue Studio builds the same kind of ornament around any name. It needs a free Depthue account, and it uses credits from the 50 a month on the free plan.
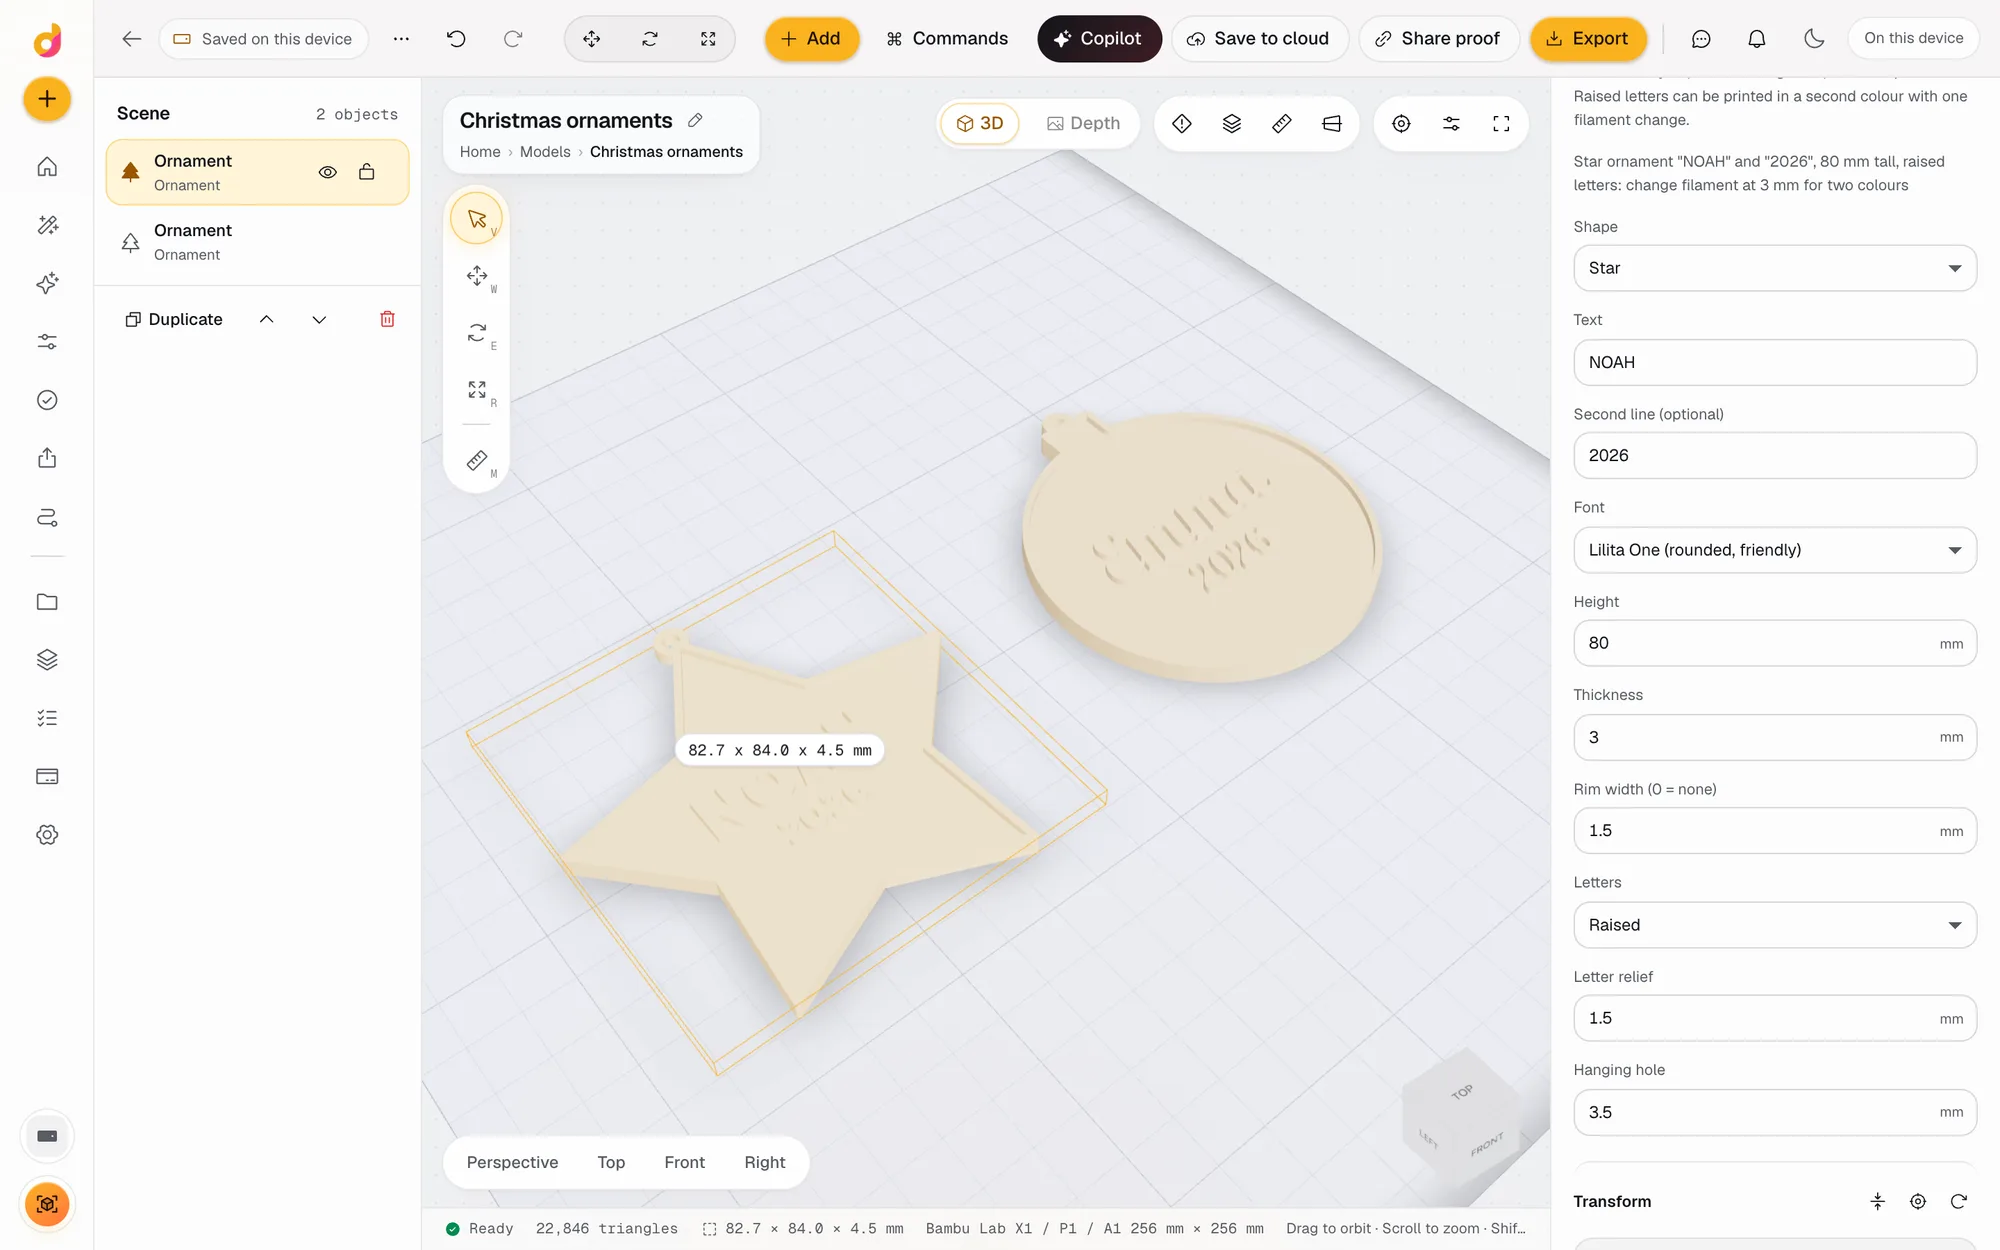
- Shapes: bauble, star, tree or heart, 40 to 150 mm tall without the tab (80 mm by default).
- Text: a name of 1 to 16 characters and an optional second line of up to 16, set smaller underneath, in one of 17 fonts.
- Letters: raised 0.4 to 3 mm (1 mm by default), or engraved, always leaving at least 0.8 mm of ornament under the letters.
- Plate and rim: 2 to 8 mm thick (3 mm by default), with a raised rim up to 4 mm wide.
- Hanging hole: 2 to 6 mm across, 3.5 mm by default, in a tab on top.
- Export: STL, 3MF, OBJ, GLB or PLY, or an SVG or DXF outline for a laser cutter.
Duplicate the ornament and change the name on each copy, and a whole family fits on one plate. With raised letters the colour change goes at the plate thickness, so if you change the plate from 3 mm, move the change with it.
Make a photo ornament (lithophane)
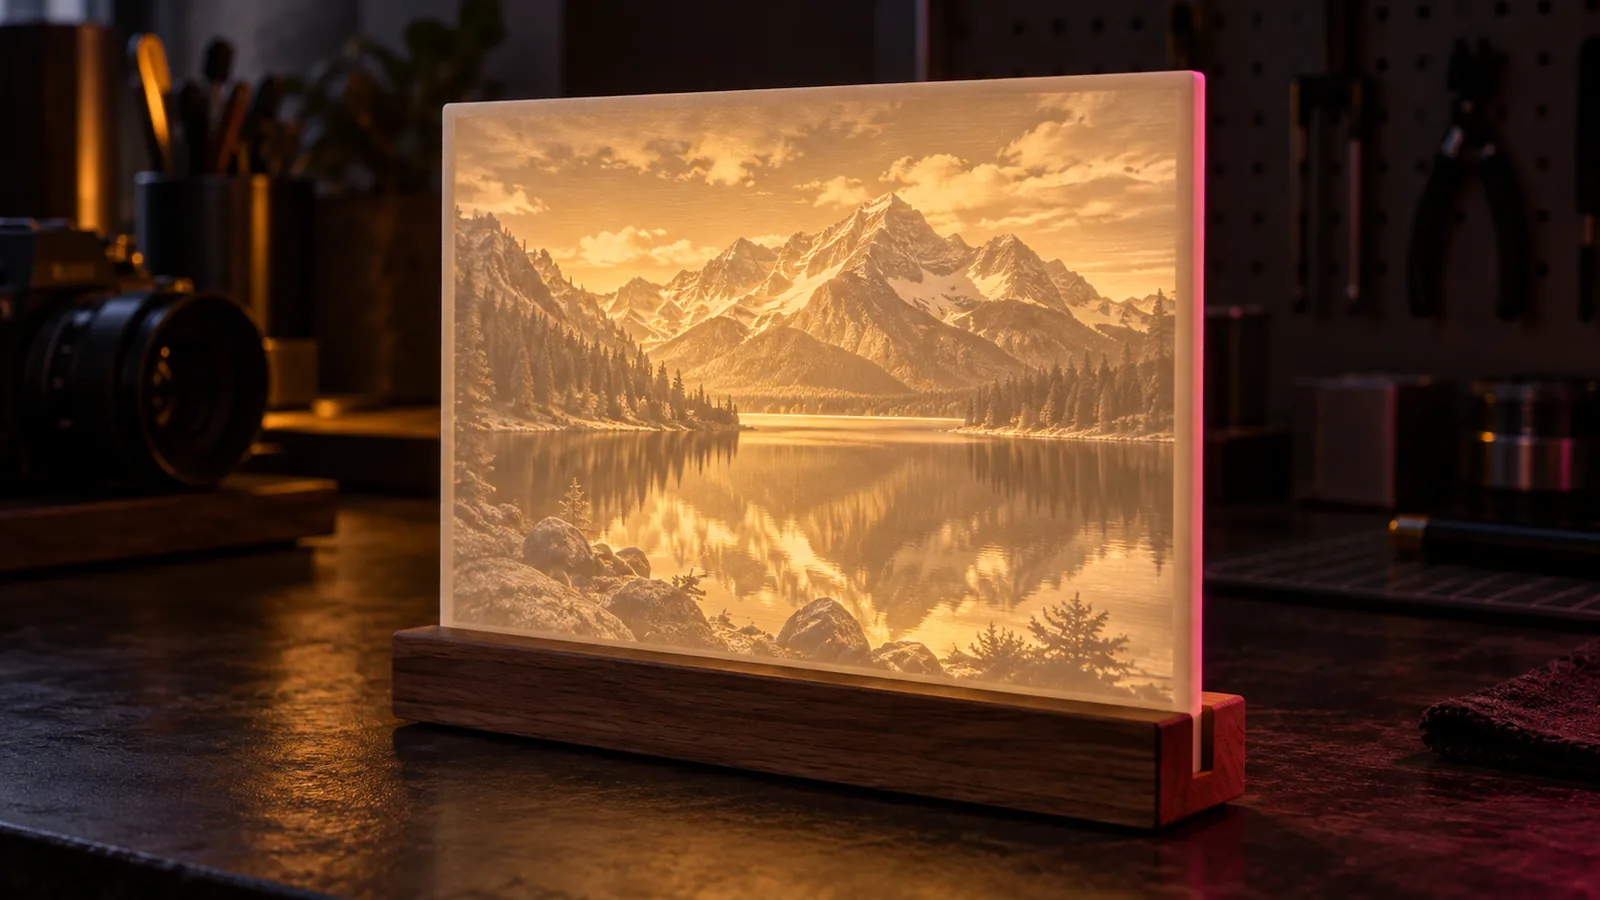
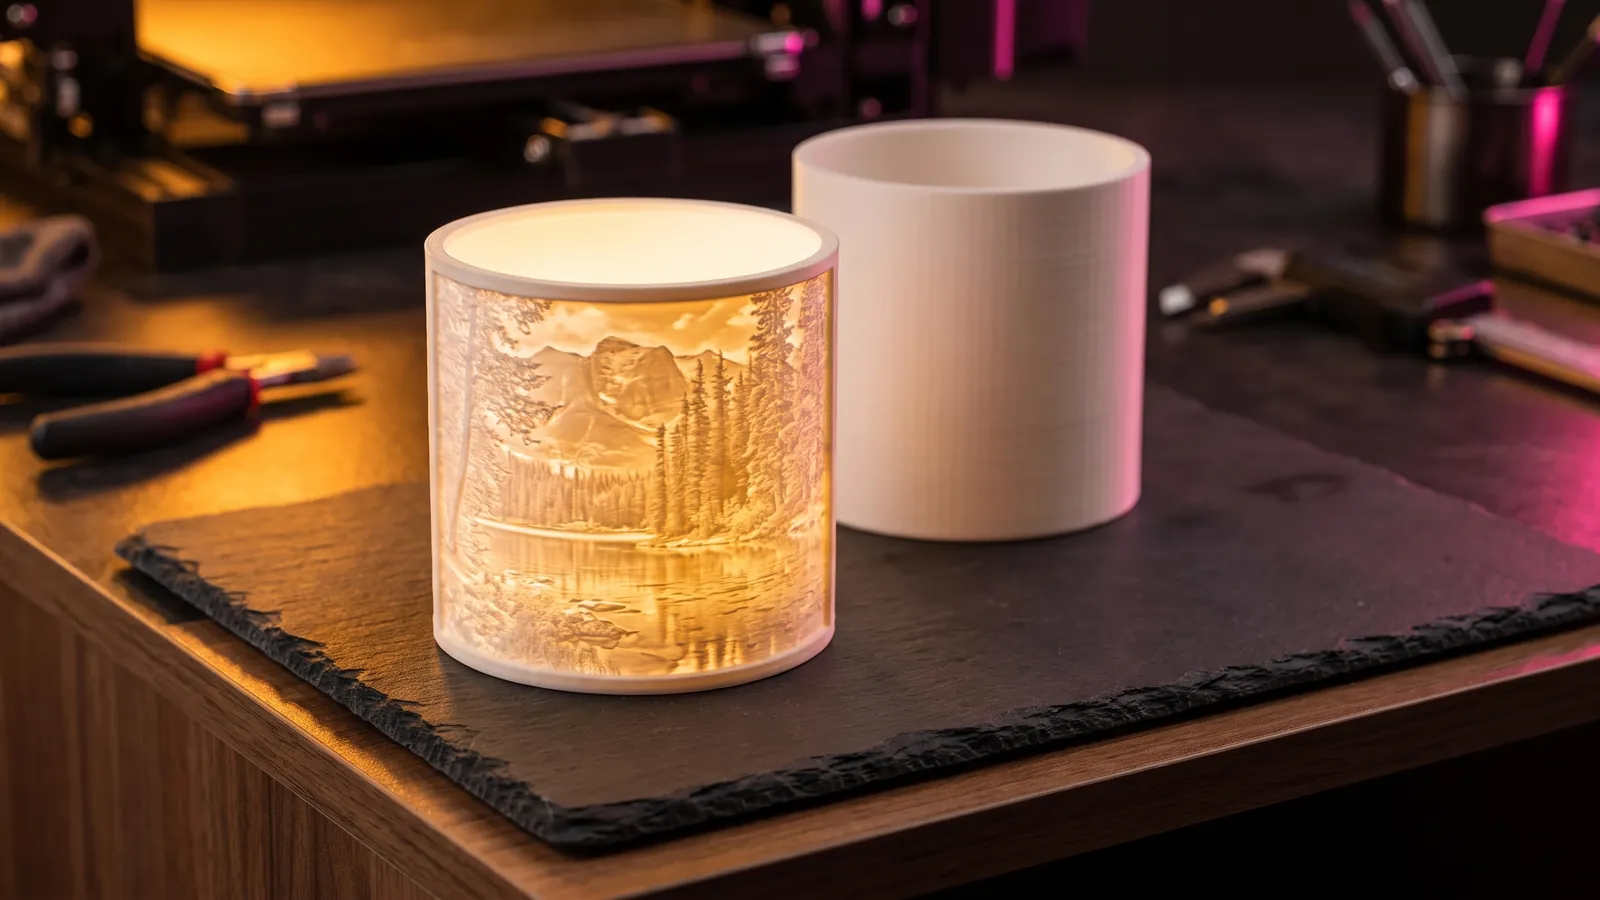
A lithophane is a thin print whose thickness follows a photo. It looks plain white until light shines through it, which is exactly what tree lights do. The free lithophane maker runs in your browser, needs no account and does not upload the photo.
- Crop the photo tight on the face, then drop it in (JPG, PNG or WebP). At ornament size a small subject loses its detail.
- Pick Flat panel or Curved.
- Set the width to about 70 mm (60 to 80 mm suits a hanging ornament), the thinnest to 0.8 mm, the thickest to 3 mm and the frame to 3 mm.
- Check the backlit preview, then download the STL.
- Add a hanging hole. The lithophane maker does not make one. Open the STL in Depthue Studio (free account, uses credits) and add a hole through the frame at the top for the hook.
Print it in white PLA, matte or standard, not silk, at 0.12 mm layers (0.08 mm for the most detail), 100 percent infill and a slow 30 to 40 mm/s. Use enough walls to fill the thickest areas solid. The full walkthrough is in how to make a lithophane.
Flat or upright?
The sources disagree. ItsLitho says "You should always print your lithophanes standing up (vertical)." 3d-lithophane.com tells you to print its ornament "flat, picture side down". Depthue's lithophane guide sits between them: upright gives the best detail but needs a brim, and flat is easier and fine for small panels. A 70 mm flat panel is a small one, so lay it flat for your first print. Go upright when the face detail matters most.
A curved ornament comes out of the tool standing upright; print it as it is.
Light it
On the tree, the string lights behind it do the work. Keep the thickest setting at about 3 mm: MeshShift notes that thicker than 3.5 mm makes shadows too dark behind small string lights, and thinner than 0.6 mm lets light bleed through. Depthue's 0.8 to 3 mm range sits inside both limits. For a desk piece with its own light, see the lithophane lamp guide.
Settings at a glance
| Setting | Name ornament | Photo ornament |
|---|---|---|
| Filament | Two PLAs of the same type | White PLA, matte or standard, not silk |
| Layer height | 0.2 mm | 0.12 mm (0.08 mm for most detail) |
| Infill | Your usual profile | 100 percent, with walls to fill the thickest areas |
| Orientation | Flat, letters up | Flat panel: flat, or upright with a brim. Curved: upright, as the tool outputs it |
| Supports | None | None |
| Colour change | One, on the first layer above 3.0 mm | None |
| Speed | Your usual profile | Slow, about 30 to 40 mm/s |
When it goes wrong
| What you see | Cause | Fix |
|---|---|---|
| A thin film of the letter colour over the whole plate | The change is one layer too early | Move it up one layer, to the first layer with only letters and rim |
| The letters start in the plate colour and switch partway up | The change is too late | Move it down to the first letter layer |
| Gaps or lines across a lithophane | Infill or too few walls in the thick areas | 100 percent infill and enough walls to fill solid. Some Bambu forum users set 999 walls and 0 percent infill |
| A dark, flat lithophane on the tree | Too thick for small lights, or a dark photo | Keep the thickest at 3 mm and brighten deep shadows in the photo before you load it |
| A muddy face | The face is too small in the frame | Crop tighter or go up to 80 mm wide |
| Gaps in the top of thin raised parts in Bambu Studio | The slicer fills narrow tops with wall lines instead of a top surface | Lower the top area threshold, the setting just below "Only one wall on top surfaces". In one Bambu forum thread the tops came back at 75 percent |
| A rough top surface | Damp filament, or ironing that is not tuned | Dry the filament first, then run an ironing calibration print |
Free ornament makers compared
AI answers about ornaments name these tools. Here is what each one says on its own page, next to Depthue's two.
| Tool | Makes | Account | Your photo | Hanging loop or hole |
|---|---|---|---|---|
| Depthue lithophane maker | Flat, curved or cylinder photo lithophane, STL | None | Stays in your browser, nothing uploaded | No; add a hole in Studio |
| Depthue ornament maker | Name ornament, 4 shapes, STL, 3MF, OBJ, GLB, PLY, SVG or DXF | Free account, uses credits | No photo used | Yes, a 2 to 6 mm hole |
| 3D MakerBench | Photo lithophane ornament, 4 shapes, STL | "free with no account" | "your photo never leaves your device" | Yes, a loop |
| MeshShift | Photo lithophane ornament, 6 shapes, STL or 3MF | None; detail finer than 0.25 mm needs a credit pack | "the photo never leaves your browser" | Yes, a loop |
| MS Letter Studio | Name ornaments, ZIP of STL parts or a 3MF | "free and needs no account" | No photo used | Yes, a hanging hole |
Next step
Print one of the free files first to check your colour change, then make the family's names in the ornament maker (free account) or a photo ornament in the lithophane maker. Selling them at a market? The 3D print cost calculator estimates grams and print time from the STL and works out a price that covers filament, power and fees.
Free tools for this job
Frequently asked questions
What filament is best for 3D printed ornaments?
PLA. For two-colour name ornaments, use two PLAs of the same type, as Prusa advises for any colour change. For photo lithophanes, use plain white PLA, matte or standard, not silk.
How do I print a two-colour ornament without an AMS?
Add one filament change or pause in your slicer at the first layer where only the letters and rim print. The printer stops there, you swap the spool, and it carries on. For models with colours already assigned, Bambu Studio can pause for each colour itself with Multi-Color Printing with External Spool.
Where do I put the colour change?
On the first layer above 3.0 mm for Depthue's free ornament files. With 0.2 mm layers that is the layer from 3.0 to 3.2 mm, shown as 3.20 on the layer slider. Check that the layer below it still shows the whole plate.
What size should a Christmas ornament be?
Most hanging ornaments are between 60 and 100 mm tall, and Depthue's ornament maker defaults to 80 mm. Photo lithophane ornaments work at 60 to 80 mm wide; faces lose detail below about 60 mm.
How big should the hanging hole be?
The ornament maker sets 3.5 mm by default and lets you choose 2 to 6 mm. Go bigger for a thick ribbon or a hook.
How do I make a lithophane Christmas ornament?
Make a flat or curved lithophane about 70 mm wide with a 3 mm frame in the free lithophane maker, add a hanging hole through the top of the frame, and print it in white PLA at 100 percent infill and 0.12 mm layers.
Should a lithophane ornament print flat or upright?
For a flat panel, sources disagree. Upright gives the best detail but needs a brim; flat is easier and fine for small panels like a 70 mm ornament. A curved lithophane comes out of the free lithophane maker standing upright, so print it as it is.
Are the ornament files free?
Yes. All eight are free on Printables under a Creative Commons Attribution licence, each with an STL and a 3MF. Credit Depthue when you share or remix them.
Can I laser cut the ornament instead?
Yes. The ornament maker in Depthue Studio exports the outline as an SVG or DXF for a laser cutter, with the hanging hole if you include holes.
Sources
- Printables, Depthue's personalised Christmas bauble ornament (Emma 2026)
- Prusa Knowledge Base, Color change
- Prusa Knowledge Base, Insert pause or custom G-code at layer
- Bambu Lab Wiki, Multi-color printing with external spools
- OrcaSlicer Wiki, Machine G-code
- Bambu Lab forum, Manual filament pause causes 1 layer color change
- Bambu Lab forum, lithophane quality problem (walls and infill)
- Bambu Lab forum, Missing top surface with varying object heights
- Bambu Lab forum, Ornament ironing issue
- ItsLitho, Slicer settings for lithophanes
- 3d-lithophane.com, Christmas ornament lithophane
- MeshShift, Lithophane ornament maker
- 3D MakerBench, Christmas ornament lithophane
- MS Letter Studio, Christmas name ornament STL