Multicolor 3D Printing: Every Method Compared, With Real Waste Numbers
How multicolor 3D printing works: manual swaps, AMS and MMU units, tool changers, painting and resin, with purge waste numbers and October 2026 prices.
By Depthue Lab13 min read
On this page (13 sections)
- How multicolor 3D printing works
- Every method compared
- 1. One filament change at a layer (free)
- 2. Filament painting: a few swaps by height
- 3. Automatic material units: one nozzle, many spools
- 4. Tool changers and dual nozzles
- 5. Painting after printing
- 6. Resin: one color per print
- How to cut purge waste
- How to prepare a model for color
- When one filament change is all you need
- Is multicolor 3D printing worth it?
- Next step
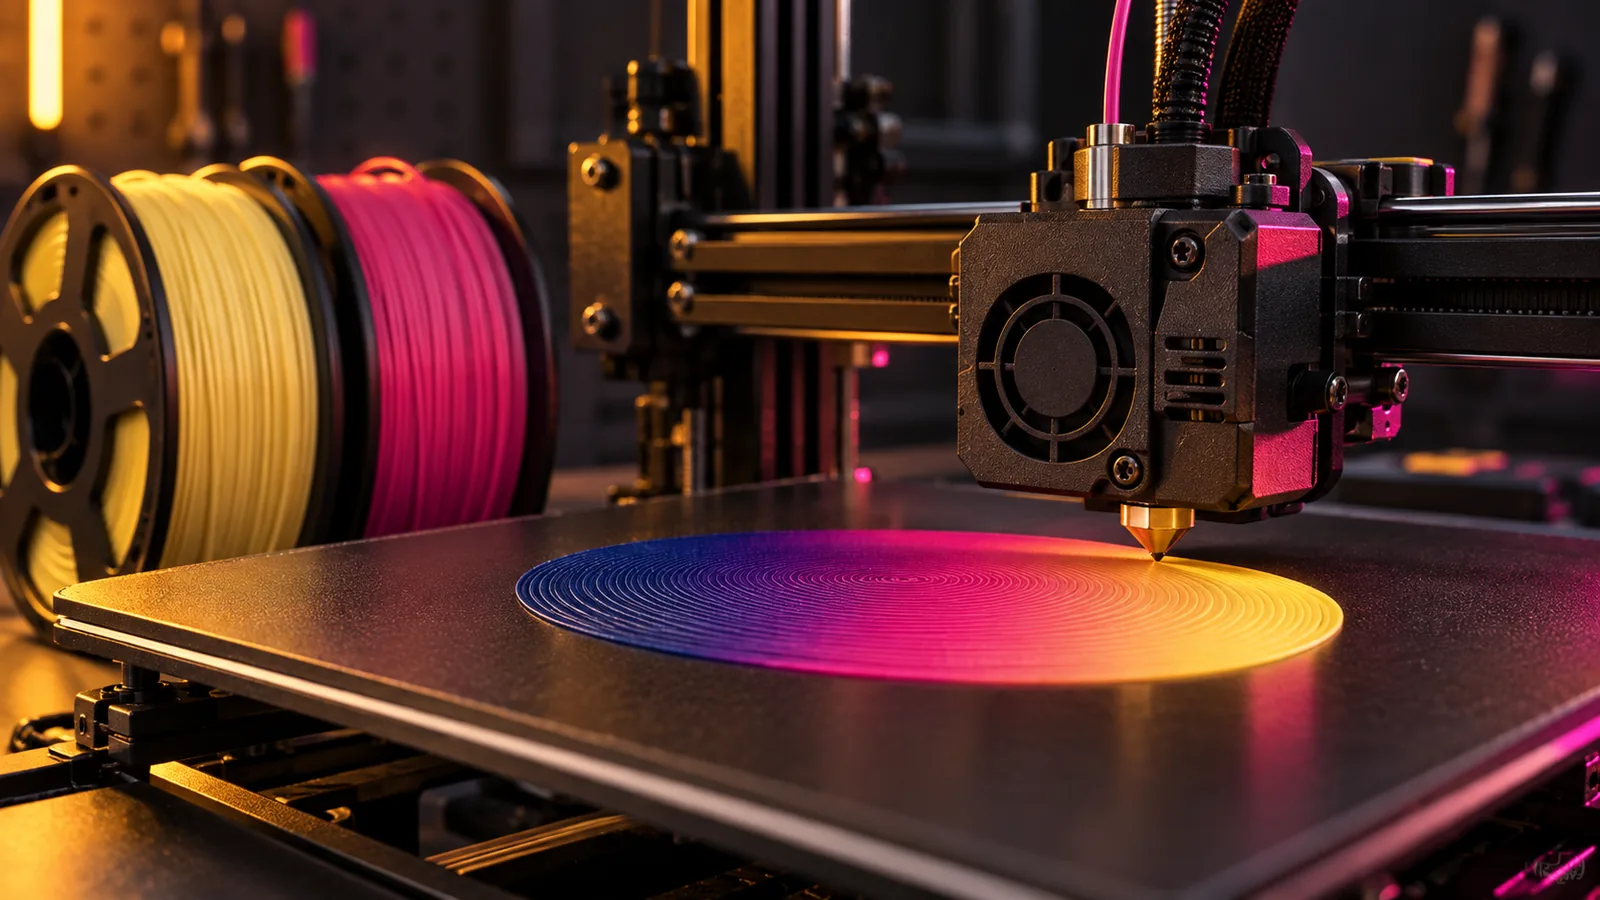
Multicolor 3D printing means changing filament during a print. Almost any FDM printer can do the simplest version for free: pause at a layer, swap the spool and carry on, which is all a two-color sign, logo or QR code needs. Colors that change within the same layer need either an automatic unit that feeds several spools through one nozzle and purges plastic at every swap, or a tool changer that keeps a separate nozzle for each color and wastes far less.
Below: how each method works, a comparison with October 2026 prices and the makers' own waste figures, how to cut purge waste, and how to prepare a model for color.
How multicolor 3D printing works
There are three ways to put more than one color in a print:
- Change filament in one nozzle. The printer unloads the old filament, loads the new one and pushes the old color out before it prints again. You swap by hand, or an automatic unit does it. Bambu Lab calls the push-out flushing (also known as purging); the nozzle then primes on a prime tower, a sacrificial block printed beside the part.
- Change nozzles. A tool changer or dual-nozzle printer keeps each color in its own nozzle, so a color change is a nozzle swap with little or no flushing.
- Stack or blend thin layers. A filament painting stacks a few translucent filaments by height to make many shades. Bambu Studio's Color Mixing, added in April 2026, alternates thin layers of two or three filaments to make a new hue.
Every method compared
| Method | Cost to add (October 2026) | Colors | Waste | Print time | Best for |
|---|---|---|---|---|---|
| Manual filament change at a layer | $0 | One per height band | One flush per swap | The printer waits at each swap | Signs, logos, text, QR codes, keychains |
| Filament painting (HueForge style) | $0 with a free planner | Many shades from a few spools | One flush per swap | A handful of pauses | Wall art, portraits, landscapes |
| Automatic unit, one nozzle (AMS, MMU, CFS, ACE) | $199 to $329 | 4 or 5 per unit, 16 to 24 with several | Flush plus prime tower at every change | 35 to 84 s per change | Small multicolor models, support material |
| Dual nozzle (Bambu Lab H2D, X2D) | Printer from $649 | Up to 25 with AMS units | Fewer flushes | Faster than one nozzle | Two materials, clean support interfaces |
| Tool changer (Snapmaker U1, Prusa INDX and XL+, Bambu Lab H2C) | Printer from $849 | 4 to 8 nozzles | Close to zero per change | 5 to 12 s per change | Frequent color changes, multi-material parts |
| Painting after printing | Primer, paint, your time | Unlimited | None in the printer | Hours by hand, a week to cure | Miniatures, one-offs, resin parts |
| Resin printing | Colored resin | One per print | None from color | No extra time | Fine detail in one color, then paint |
1. One filament change at a layer (free)
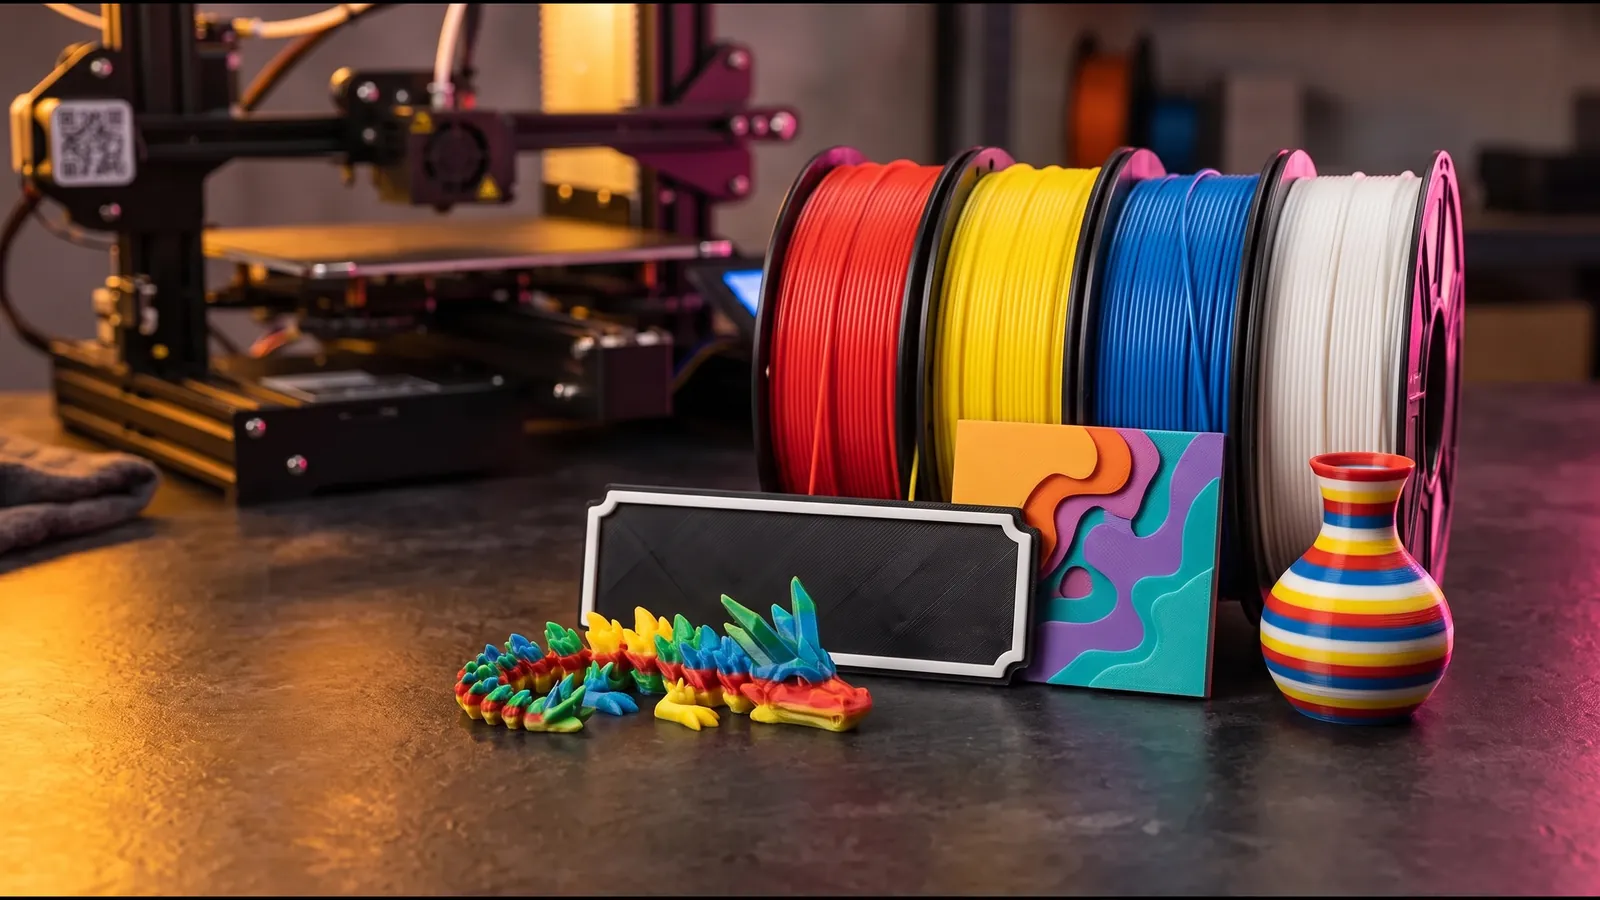
If the colors change with height, you need no extra hardware. Raised letters on a sign, a logo on a plate, a QR code or a name tag all need one change: the plate prints in one color, the printer stops at the first layer of the artwork, you swap the spool, and the top prints in the second color.
In PrusaSlicer:
- Slice the model and drag the layer slider to the first layer of the new color.
- Click the orange plus icon, or right-click it and choose Add color change.
- Export. PrusaSlicer inserts M600 at that layer, and the printer pauses as soon as it reads it.
Use the same filament type for every color (PLA with PLA), and note that Prusa's color change does not work with Sequential printing.
Bambu Lab printers without an AMS have a second route. Tick Multi-Color Printing with External Spool before you start a multicolor file, and the printer pauses at every color change, even within a layer, for you to load the next spool. It needs Bambu Studio 2.5.2.65 or later and recent firmware on the A1, A1 mini, P1P, P1S, P2S or H2S. It handles any number of colors, but you swap by hand every time, so it suits a handful of changes, not hundreds.
The change layer is where people go wrong. Slicers count layers from 1, and the swap goes on the first layer of the new color: a 1.6 mm plate at 0.2 mm layers is layers 1 to 8, so the letters or code start on layer 9. How to plan color swap heights has the formula for any first layer height.
Our free tools build these parts with the colors already separated. The text to STL generator makes name plates and signs with raised letters on a base plate. The QR code to STL generator builds the plate and code as separate solids and shows the exact layer to change filament on. The SVG to STL converter extrudes a logo, splits its colors into separate parts and exports an STL or a 3MF: print it with one swap, or give each part its own filament on an AMS.
2. Filament painting: a few swaps by height
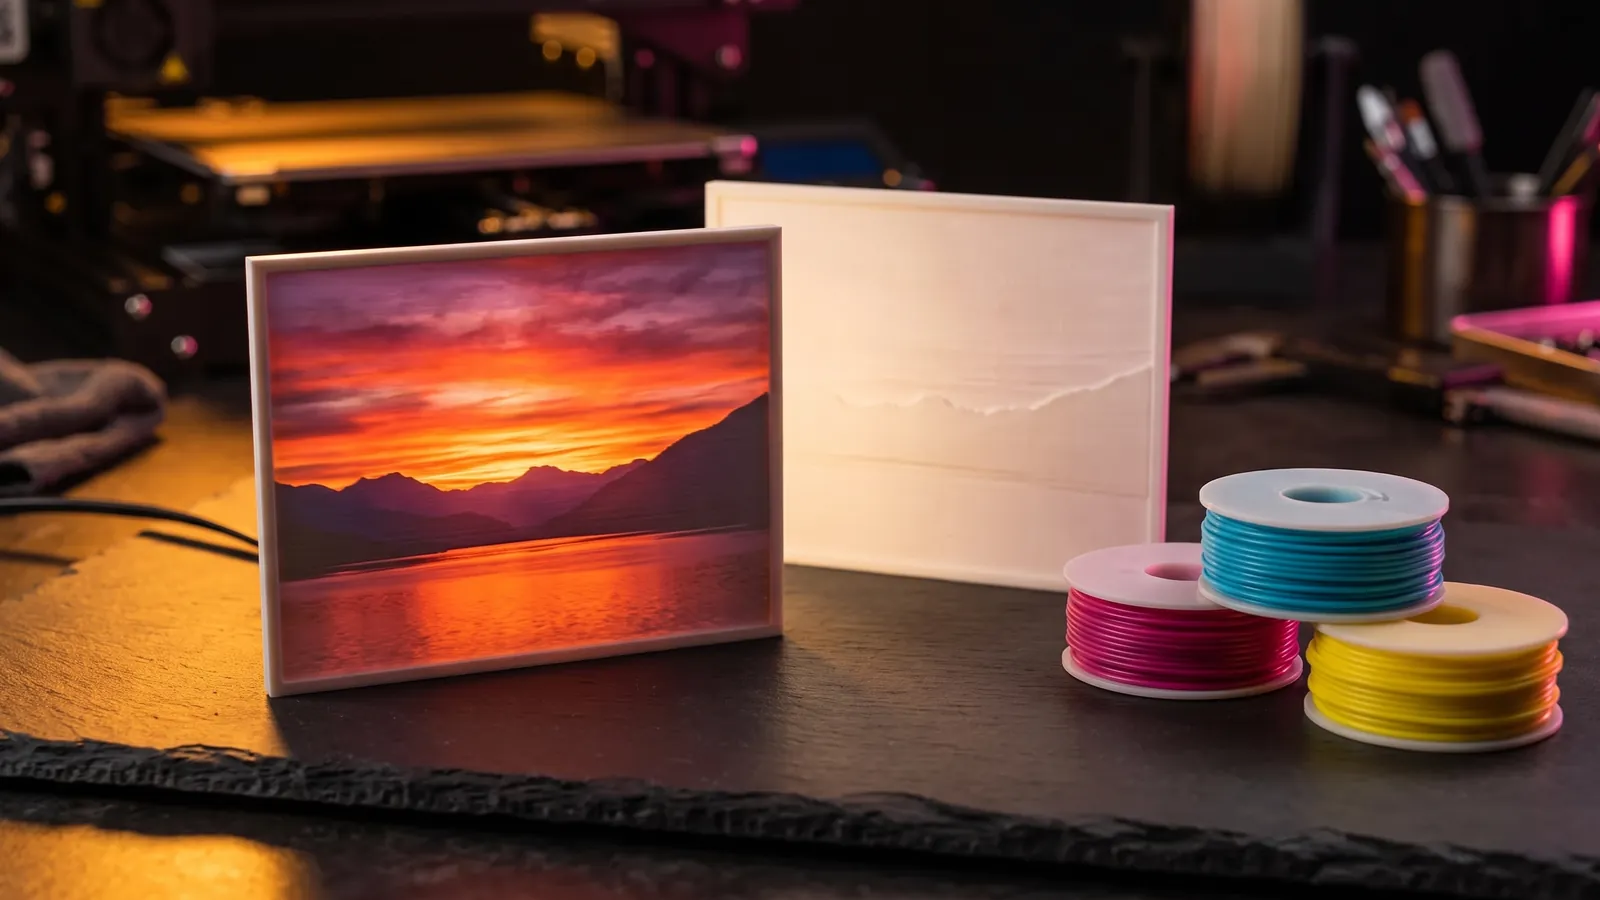
A HueForge-style filament painting is a flat relief whose height follows the image's brightness. Filaments stack from dark at the bottom to light at the top, and each new color starts at a planned layer. Thin plastic is translucent, so the colors show through each other and a few spools give many shades. How quickly a filament hides what is under it is its transmission distance.
It needs no AMS: each swap is a manual filament change, and a painting needs only a handful. Plan them in the free filament painting planner, which previews the stack and lists every swap's layer number and Z height. How to plan color swap heights explains the math, and our VoxelPrime app ($8 once, Windows) plans the colors around the filament you own and guides each manual swap.
For a color picture lit from behind, see how to make a color lithophane. The CMYK kind needs an automatic unit; a white lithophane with a printed color sheet behind it does not.
3. Automatic material units: one nozzle, many spools
An AMS, MMU, CFS or ACE unit holds 4 or 5 spools and feeds them to one nozzle. The unit swaps filament on its own, so every region of every layer can have its own color. Every swap also costs plastic and time.
| Unit (October 2026) | Colors per unit | Most per printer | Price | Works with |
|---|---|---|---|---|
| Bambu Lab AMS lite | 4 | 4 | $199 | A1 and A2 series |
| Bambu Lab AMS 2 Pro | 4 | 24 filaments with 4 AMS 2 Pro and 8 AMS HT units | $299 | All Bambu Lab printers, with model-specific accessories |
| Prusa MMU3 | 5 | 5 | $329 as a kit | MK4S, MK4, MK3.9S, MK3.9 |
| Creality CFS | 4 | 16 with four units | $319, sold out when checked | Sold with the K2 Combo and K2 Plus Combo |
| Anycubic ACE 2 Pro | 4 | 16 with four units | From $249 on sale | Kobra S1, S1 Max, X, Kobra 3 range, Kobra 4 |
The AMS 2 Pro also dries filament at up to 65 °C, and the AMS HT ($139) at up to 85 °C for engineering filaments. The cheapest way in is a combo: Bambu Lab's A1 mini Combo ($329) and A1 Combo ($399) include the AMS lite.
What each swap costs
On a single-nozzle printer, every swap runs the same routine: cut or retract the old filament, load the new one, flush the old color out, wipe the nozzle, then prime on the prime tower. Bambu Lab's waste guide puts numbers on it:
- A 4-color test cube weighing 11 g needed 153 filament changes and made 83 g of waste at 0.2 mm layers.
- The flush depends on the color pair, and dark to light needs the most. In Prusa's purging volumes example, black to white takes 150 mm³ and white to black 50 mm³.
- The prime tower must reach the last layer with a color change. In one Bambu example, turning the part over so the changes sat near the bed cut the tower from 14.76 g to 9.05 g.
Swaps take time too. Prusa quotes 35 to 45 seconds per change for the MMU3; Anycubic lists about 56 seconds for the ACE 2 Pro and 84 seconds for the older ACE Pro. At 45 seconds each, 300 changes add 3 hours 45 minutes.
Color mixing: more colors from four spools
Bambu Studio's Color Mixing (version 2.5.3, April 2026) splits a layer into two or three thinner layers of different filaments, so cyan, magenta, yellow and white can make many in-between hues. It mixes only filaments of the same type and looks best on near-vertical walls. On one nozzle it is expensive: in Bambu's example with about 170 filament changes, a single-nozzle printer used 130 g of filament in total against 35 g on a multi-nozzle printer.
4. Tool changers and dual nozzles
A tool changer parks a separate nozzle for each color and picks up the one it needs. There is little to flush, so swaps are fast and waste drops sharply. Dual-nozzle printers sit in between: two nozzles, each fed by its own spools or AMS units, so the printer flushes less often.
| Printer (October 2026) | Nozzles | Swap speed | Waste, per the maker | Price |
|---|---|---|---|---|
| Snapmaker U1 | 4 toolheads | 5 s in Snapmaker's tests | Up to 85% less than shared-nozzle printers | $849 on sale ($999), listed as unavailable when checked |
| Prusa CORE One+ (Gen 2) INDX | 4 or 8 tools | About 12 s | 0.013 g per change, no wipe tower | 8-tool: $2,082.41 assembled, $1,804.63 kit; shipping starts 15 October |
| Prusa XL+ Five-Head | 5 toolheads | In seconds | Virtually no purge waste | $3,610.18 |
| Bambu Lab H2C | 6 swappable hotends plus a second nozzle | Heats a hotend in 8 s | 532 g against 3,917 g on a single-nozzle H2S, one model | $2,199 with an AMS 2 Pro |
| Bambu Lab H2D | 2 | Not listed | 3,032 g against 3,917 g on the H2S, same model | AMS Combo $1,749 on sale ($1,999) |
| Bambu Lab X2D | 2 (main and auxiliary) | Not listed | Far less waste, no figure | $649, or $899 with an AMS 2 Pro |
Bambu Lab's figures come from one model, a six-color raptor on a six-color base, and the H2C also finished it in 58 percent of the H2S's time. The H2C takes up to 24 materials from AMS units; with more than seven filaments some share a hotend, and Bambu says its software picks the combination that purges least. Its Purge-Saving mode fixes the prime volume at 15 mm³, which made a four-color Benchy's prime tower 30 percent lighter.
The trade-off: most tool changers carry 4 to 8 nozzles, fewer colors than chained AMS units, and they cost more up front. IDEX printers such as the Snapmaker J1s have two independent print heads: two colors or materials per print, plus copy and mirror modes that print two parts at once. Snapmaker says IDEX wastes less than a multi-material unit but gives no figure.
5. Painting after printing
Painting has no color limit and no purge, and it is how resin parts get many colors. It costs time instead. Formlabs' method for a smooth finish:
- Remove supports, sand the marks, then smooth with 220 or 320 grit and 400 or 600. Wash, dry and wipe with a tack cloth.
- Spray a plastic-compatible primer from 15 to 20 cm (6 to 8 in) in short strokes. Re-sand finer than 600 grit if needed.
- Spray thin coats of paint 20 to 30 minutes apart, masking with painter's tape.
- Finish with 1 or 2 thin clear coats, and leave the part a week before handling it roughly.
FDM parts with thick layers may need sanding all over so layer lines do not show. Parts you will paint are also a good home for purge: Bambu suggests Flush into this object for functional parts and parts that will be painted.
6. Resin: one color per print
A desktop resin printer cures one resin from one vat, so each print comes out in one color. Formlabs' guide to color printers lists SLA color as color matching, not full color. Your options are colored resin, printing parts in different resins and assembling them, or painting.
True multicolor photopolymer printing is industrial. Stratasys PolyJet jets droplets of resin and cures them with UV light; its J850 Prime prints seven resins at once with over 600,000 color combinations, sold by quote. Formlabs' 2023 guide put material jetting printers at around $50,000 and full-color binder jetting printers at around $60,000.
How to cut purge waste
The option names are from the Bambu Studio and OrcaSlicer docs, with the PrusaSlicer equivalent noted. Slice before and after each change and compare.
- Flush into infill. Flush into objects' infill prints the purge as hidden infill. Light or clear walls can show it, so add walls. PrusaSlicer: right-click the model, Wipe options, Wipe into this object's infill.
- Flush into supports. Flush into objects' support is on by default in Bambu Studio. OrcaSlicer applies both flush options only with the prime tower enabled, and Bambu says the same for supports.
- Flush into a spare object. Flush into this object (PrusaSlicer: Wipe into this object) prints the purge as extra parts in mixed colors. In Bambu's example, a color cube that needed about 70 g of flushing used under a gram once flush objects took it.
- Lower the flushing multiplier. Bambu Studio's default is 1.00; Bambu suggests testing 0.8 or 0.9. Too low shows as discolored layers. In PrusaSlicer, edit the purging volumes table, in mm³.
- Print copies together. Waste follows the swaps per layer, not the number of parts. Nine copies of Bambu's cube made the same 83 g of waste as one, and different parts sharing the same colors cut a two-plate total from 171 g to 133 g on one plate. Parts whose colors change at different heights do the opposite: three striped cones made 22 g of waste printed separately and 72 g together.
- Orient for fewer swaps. Laying a tall part on its side cut changes and waste by almost 80 percent in one Bambu example, saving 11 hours and almost 180 g on a part of about 35 g. If the colors already run in horizontal bands, laying it down multiplies the waste instead (22 times in Bambu's example).
- Use thicker layers. Bambu's cube went from 153 changes and 83 g of waste at 0.2 mm to 111 changes and 61 g at 0.28 mm.
- Shrink the prime tower. Keep color changes low so the tower stops early. PrusaSlicer's experimental No sparse layers skips tower layers without a change and saved 16.17 percent of tower filament in Prusa's tests (Prusa says to turn off crash detection with it). OrcaSlicer has the same option in releases after 2.4.2.
- Keep the standard nozzle on an MMU3. Prusa says a high-flow nozzle raises the waste.
Then put what is left in your price. In Bambu Studio and OrcaSlicer, color the Preview by Filament to see the Flushed and Tower grams, and enter your filament changes and purge per change in the 3D print cost calculator. How much 3D printing costs covers the rest of the price.
How to prepare a model for color
Tell the slicer which color goes where in one of two ways:
- Separate parts. One closed part per color, saved together as a 3MF. In Bambu Studio, assign a filament to each part in the object list, from the right-click menu or with keys 1 to 9. This gives the cleanest edges and suits logos, signs and badges.
- Paint the model. For a one-piece STL, paint colors onto its surface in the slicer.
| Slicer | Tool | Brushes |
|---|---|---|
| Bambu Studio | Color Painting | Circle, Sphere, Triangle, Height range, Fill, Gap fill |
| OrcaSlicer | Color Painting | Circle, Sphere, Triangle, Height Range, Fill, plus a Gap Fill option |
| PrusaSlicer | Multi material painting | Brush (sphere, circle, triangle), Smart fill, Bucket fill, Height range |
Two tips from the docs. Bambu's gap fill cleans up small unpainted gaps, which it warns can look ugly and add expensive filament changes. PrusaSlicer recommends Detect thin walls, so thin painted details do not merge into the color next to them. For color bands, use the Height range tool: bands keep the swap count low.
When one filament change is all you need
If every color sits in its own height band, skip the AMS. Name plates, signs, logos on a plate, badges, keychains and two-tone coasters all print with a single swap. So does a QR code with a raised code: dark modules on a light plate, modules of 1 mm or more on a 0.4 mm nozzle, and the change at the top of the plate. A flush inlay code puts both colors in the same layers, so it needs an AMS, MMU or tool changer.
Is multicolor 3D printing worth it?
| You mostly print | Do this | Extra cost (October 2026) |
|---|---|---|
| Signs, name plates, logos, QR codes | One manual change per print | $0 |
| Filament paintings | Manual swaps planned by height | $0, or $8 for VoxelPrime |
| Small multicolor figures now and then | A 4 or 5 color unit, parts batched per plate | $199 to $329 |
| Multicolor parts every day, or mixed materials | A tool changer | $849 to $3,610.18 |
| Resin miniatures | One resin, then primer and paint | Primer and paint |
On a single nozzle, the waste is the real cost. Before you buy a unit, slice the models you actually sell, check the flushed and tower grams, and price them.
Next step
Print one two-color part first. Make a name plate with the text to STL generator or a QR plate with the QR code to STL generator, add one filament change at the first layer of the top color, and print it. Want more colors after that? Slice the same multicolor model with and without flush into infill, and compare the waste in the 3D print cost calculator before you spend money on hardware.
Free tools for this job
Frequently asked questions
How do you do multicolor 3D printing?
Give each color its own part or painted region in the slicer, then let the printer change filament: automatically with an AMS, MMU, CFS or ACE unit, by swapping nozzles on a tool changer, or by pausing so you swap the spool. If the colors change only with height, one or two manual filament changes are enough.
Is multi-color 3D printing worth it?
For signs, logos, QR codes and filament paintings, yes: they need one or a few manual swaps and no extra hardware. For color changes inside every layer on a single-nozzle printer, the waste can outweigh the part, so batch parts on one plate, flush into infill, or use a tool changer if you print multicolor often.
Is there a 3D printer that can print multiple colors?
Yes. As of October 2026, Bambu Lab's A1 mini Combo ($329) and A1 Combo ($399) print up to 4 colors with the included AMS lite, Prusa's MMU3 adds 5 colors to an MK4S for $329 as a kit, and tool changers such as the Snapmaker U1, Prusa CORE One+ INDX, Prusa XL+ and Bambu Lab H2C print 4 to 8 materials with far less purge.
Can I 3D print in two colors?
Yes, on almost any FDM printer. Slice the model, move the layer slider to the first layer of the second color and add a color change (M600 in PrusaSlicer). The printer pauses there, you swap the spool, and it carries on.
Can you 3D print multiple colors with resin?
Not in one print on a desktop resin printer: the vat holds one resin, so the print comes out in one color. Print parts in different resins and assemble them, or prime and paint. True multicolor photopolymer printing is industrial: Stratasys says its J850 Prime jets seven resins at once, and sells it by quote.
How do I reduce purge waste on an AMS or MMU?
Flush into infill, supports or a spare object, test a flushing multiplier of 0.8 to 0.9, print several copies on one plate, and orient the part so colors change with height. In Bambu Lab's tests, 0.28 mm layers instead of 0.2 mm cut the waste by 26 percent.
Sources
- Bambu Lab Wiki, Reduce Waste during Filament Change
- Bambu Lab Wiki, Multi-Color Printing
- Bambu Lab Wiki, Prime tower
- Bambu Lab Wiki, Color Painting Tool
- Bambu Lab Wiki, Multi-Color Printing with External Spool
- Bambu Lab Wiki, Color Mixing
- Bambu Lab Wiki, H2C Prime Tower Purge Mode
- Bambu Lab Wiki, AMS 2 Pro introduction and connection guide
- Bambu Lab Store (US), AMS lite
- Bambu Lab Store (US), AMS 2 Pro
- Bambu Lab Store (US), AMS HT
- Bambu Lab Store (US), A1 mini
- Bambu Lab Store (US), A1
- Bambu Lab Store (US), H2C
- Bambu Lab Store (US), H2D
- Bambu Lab Store (US), X2D
- Prusa Research, Original Prusa MMU3 (for MK4S/MK3.9S) full kit
- Prusa Research, Prusa XL+ Five-Head
- Prusa Research, Prusa CORE One+ (Gen 2) INDX 8-Tool
- Prusa Knowledge Base, Color change
- Prusa Knowledge Base, Wipe tower
- Prusa Knowledge Base, Purging volumes
- Prusa Knowledge Base, Multi material painting
- OrcaSlicer Wiki, Flush options
- OrcaSlicer Wiki, Prime tower
- OrcaSlicer Wiki, Color painting
- Creality Store, CFS 16-Color Filament System
- Creality Store, K2 Combo
- Creality Store, K2 Plus Combo
- Anycubic Store, ACE 2 Pro
- Snapmaker, U1 toolchanger 3D printer
- Snapmaker US Store, Snapmaker U1
- Snapmaker, J1s IDEX 3D printer
- Stratasys, PolyJet technology
- Formlabs, Guide to Color 3D Printers (2023)
- Formlabs, How to prime and paint 3D prints