
Depthue Studio
Image to 3D model for 3D printing
Depthue Studio turns one photo of an object into a full 3D model with cloud AI, then puts it straight into an editor built for printing. The model lands on the build plate at 60 mm, repaired if it is not a closed solid, ready to resize, cut, hollow, letter, check and export as STL or 3MF. A draft is 3 credits and the quality tier 30, from a free allowance of 50 credits a month.
Free in your browser, no card. Files stay on your device until you save to the cloud.
The short answer
- One photo becomes a full 3D model: a draft through TRELLIS for 3 credits, or the quality tier through TRELLIS 2, remeshed for printing, for 30 credits.
- The model opens in the Studio editor at 60 mm on its longest side, repaired if it is not a closed solid, so you can cut, hollow, add text and check it before export.
- Geometry for printing, not a textured asset: export STL, 3MF, OBJ, GLB or PLY for your slicer.
- Input
- One PNG, JPEG or WebP photo up to 12 MB; one object on a plain background works best
- Draft tier
- TRELLIS on fal.ai, 3 credits
- Quality tier
- TRELLIS 2 on fal.ai at 1024 resolution, remeshed and reduced to 150,000 vertices, 30 credits
- Time
- Usually one to three minutes per job; the job keeps running if you close the tab
- Result
- A mesh up to 60 MB, repaired on import if it is not a closed solid, scaled to 60 mm on its longest side and centred on the plate
- Privacy
- The photo goes to private storage and to fal.ai through a short-lived link, for that job only
- After generation
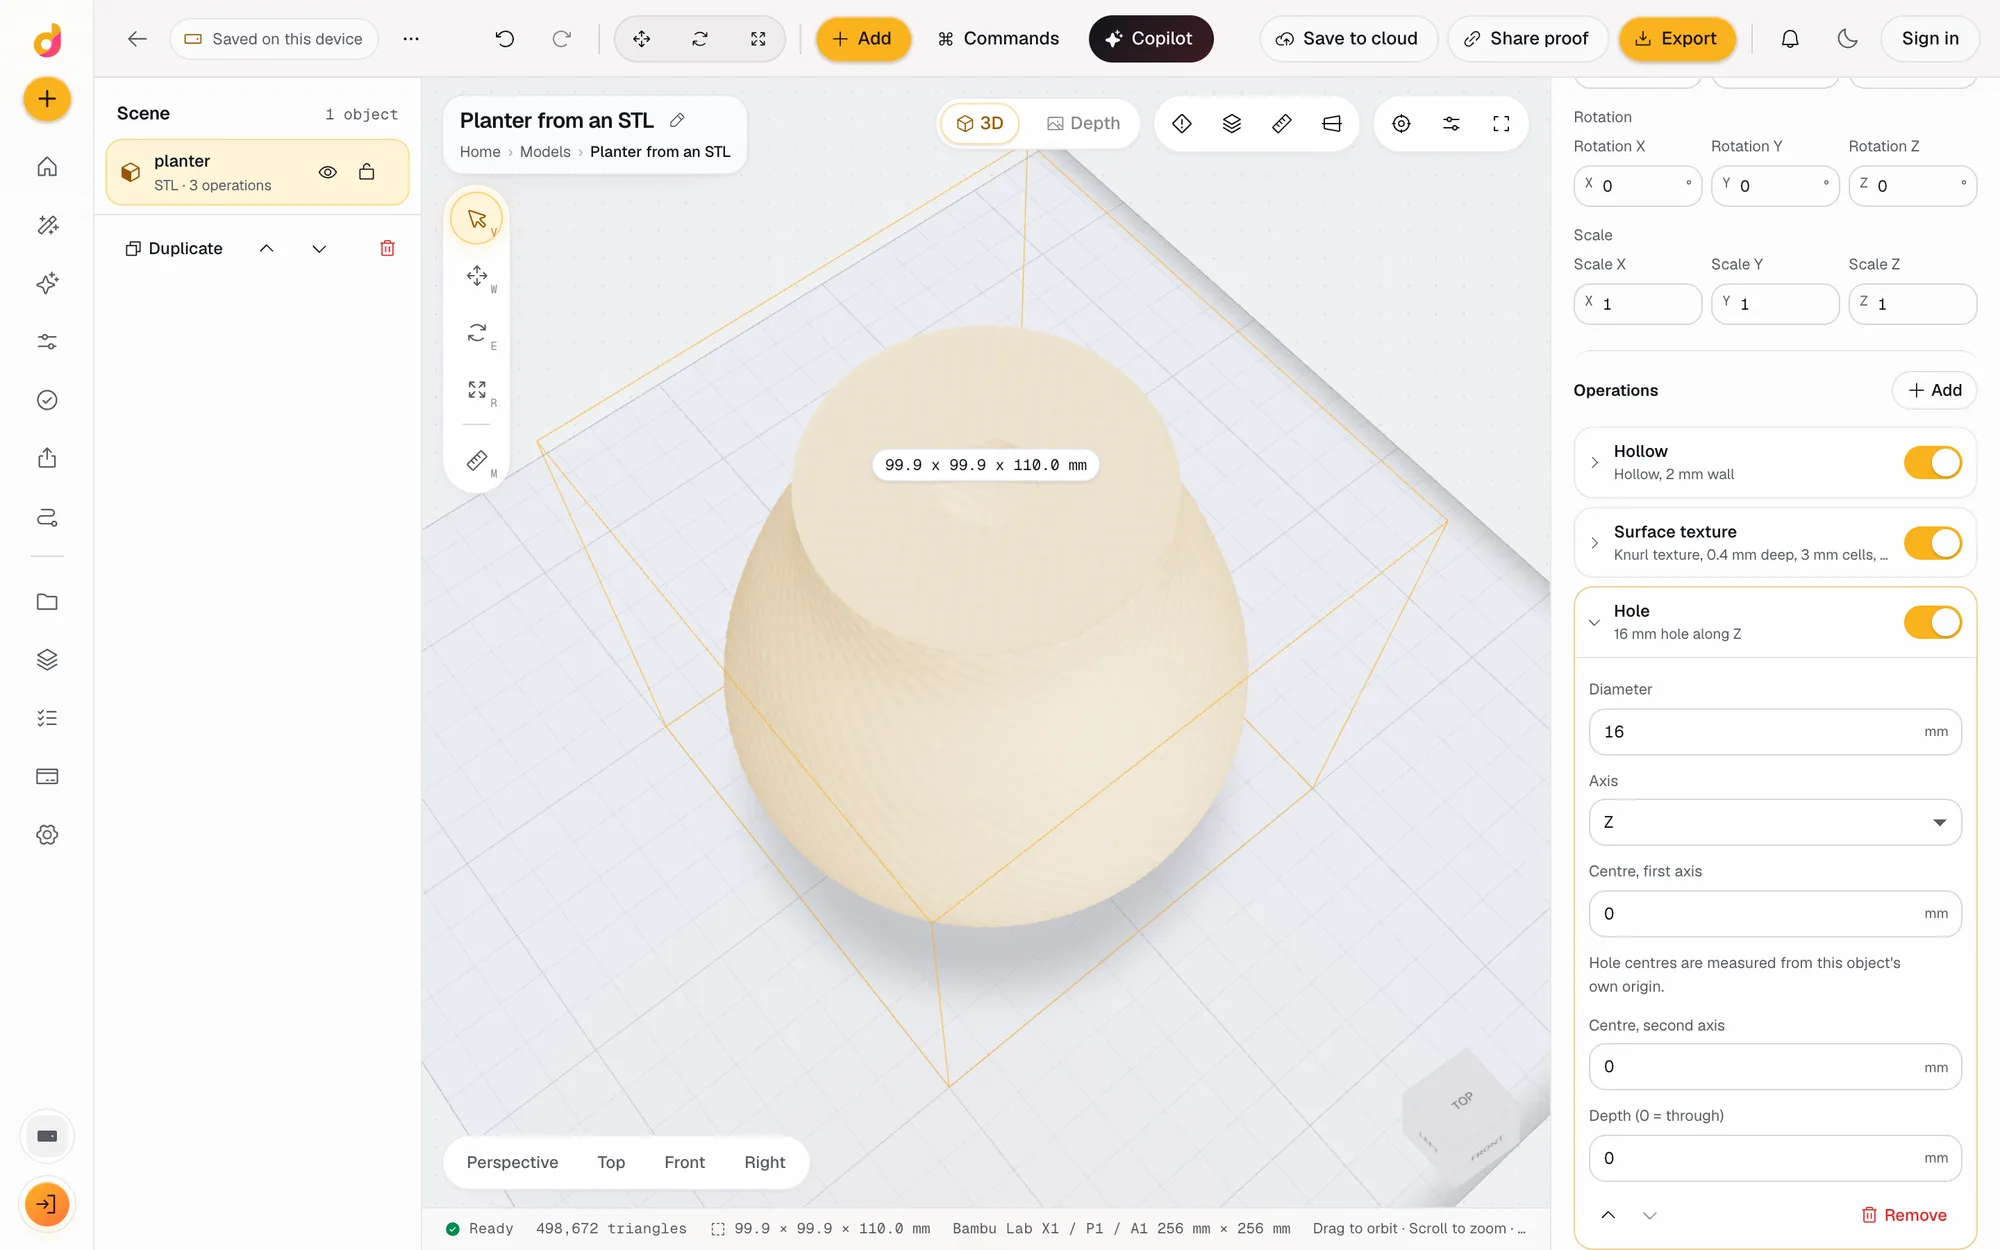
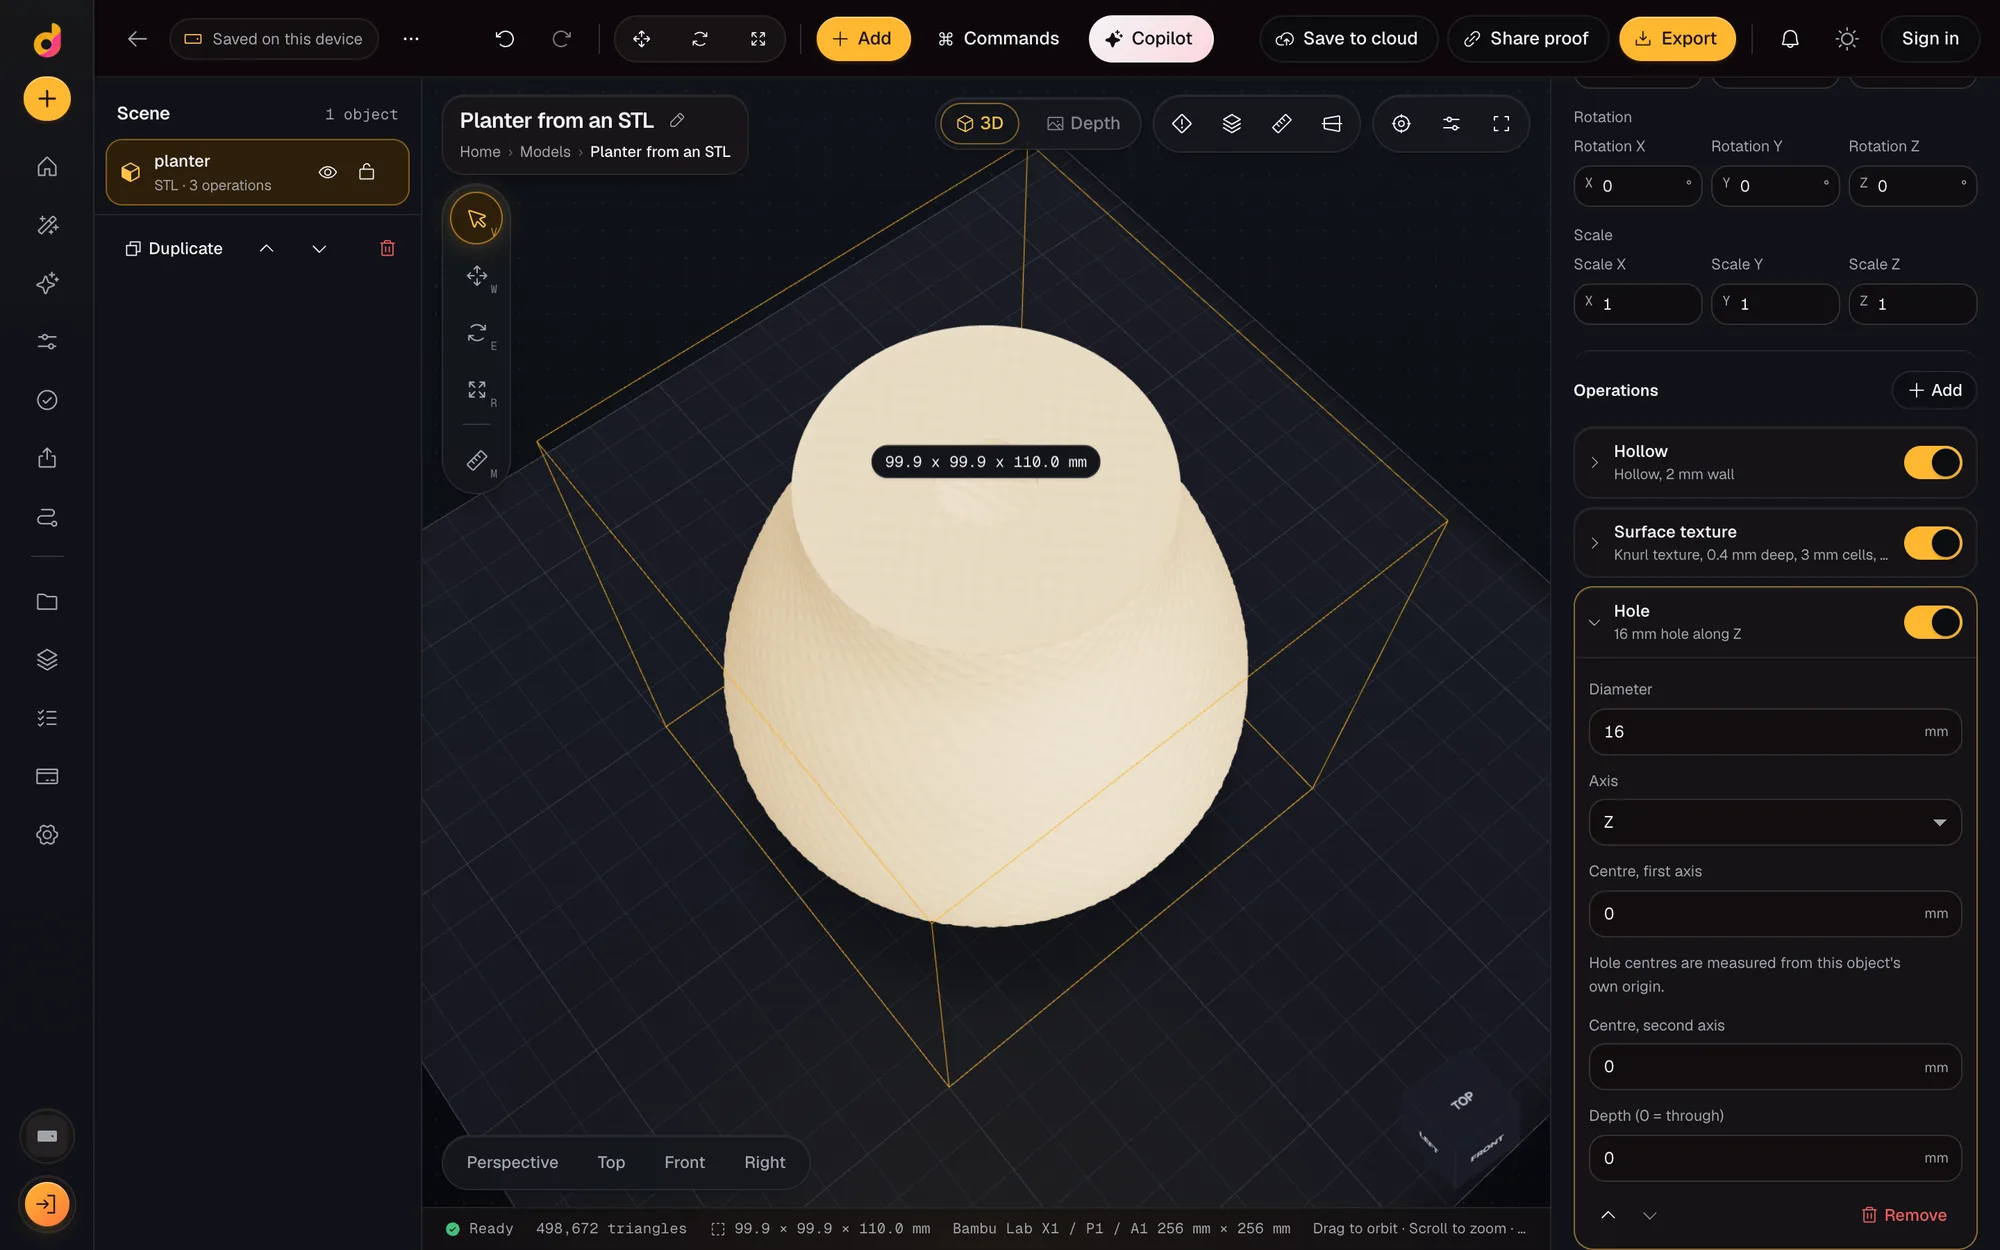
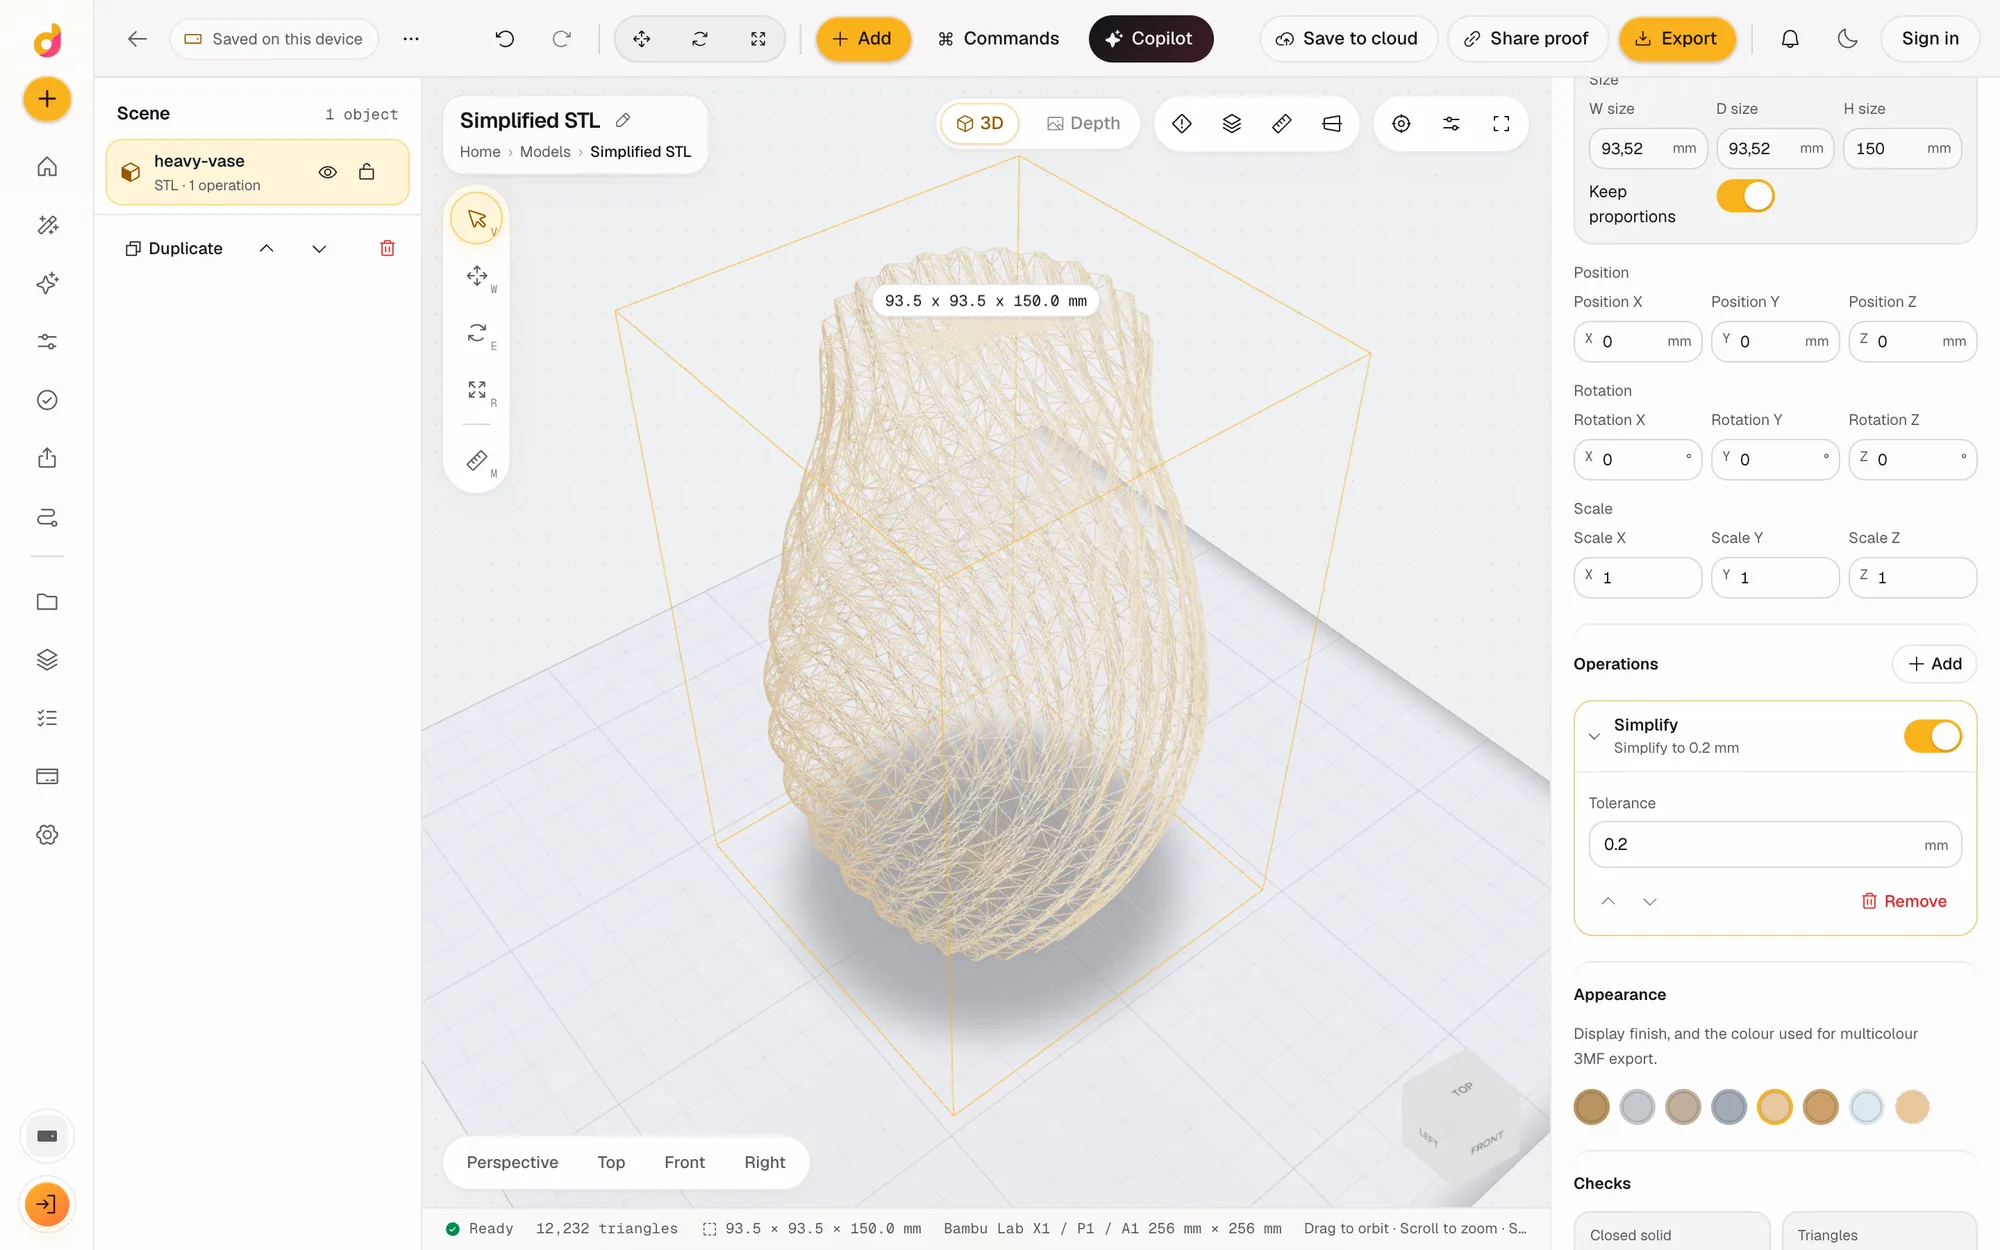
- Every Studio operation: cut, hollow with drain holes, boolean, repair, simplify, emboss or engrave text, base plate, array
- Export
- STL, 3MF, OBJ, GLB, PLY, or an SVG or DXF outline; 5 credits an export
- Failed jobs
- A job that fails gives its credits back
- Account
- Free account; 50 credits a month on the free plan, Maker $5 a month for 1,200
How to turn a photo into a 3D printable model
- 1
Pick a photo
Open photo to 3D, or Add, AI, Photo to 3D model in any project. Choose a PNG, JPEG or WebP of one object on a plain background.
- 2
Choose the tier
Draft is fast and costs 3 credits. Quality runs TRELLIS 2 for finer detail, remeshed for printing, and costs 30.
- 3
Wait for the model
The cloud job usually takes one to three minutes. You can close the tab; the result opens from Activity.
- 4
Make it printable
Set the size in mm, cut a flat base, hollow it, add a name, then read the checks and the print estimate.
- 5
Export
Export STL or 3MF for your slicer, or OBJ, GLB or PLY for other programs.
A photo in, a printable part out
Most image to 3D tools stop at the mesh. You download a GLB, convert it, open it in another program to fix it, and then find out in the slicer that it is 2 metres tall with a wall that will not print. Studio keeps it in one place. The model arrives on your build plate in millimetres, and every tool that comes after is already there.
Draft or quality
| Draft | Quality | |
|---|---|---|
| Model | TRELLIS | TRELLIS 2 at 1024 resolution |
| Cleanup | Repaired on import if needed | Remeshed and reduced to 150,000 vertices, then repaired if needed |
| Credits | 3 | 30 |
| Use it for | Trying photos and ideas | The model you will print |
Start with a draft to see whether the photo works. If the shape is right, run the same photo on the quality tier.
Get a better model from your photo
- One object. Crop to the thing you want to print.
- Plain background. Remove a busy background before you upload.
- Soft, even light. Hard shadows can be read as shape.
- Show the form. A front or three quarter view of the whole object beats a close-up.
The back of the model is invented from what the photo shows. Faces, text and fine mechanical details are where AI models are weakest.
Make it printable
The generated model is a normal object in the scene. Typical steps before export:
- Set its height in mm in the inspector.
- Cut a flat base so it stands on the plate.
- Hollow a large model with a 2 mm wall and drain holes to save material.
- Emboss a name, or combine it with a stand or a base plate.
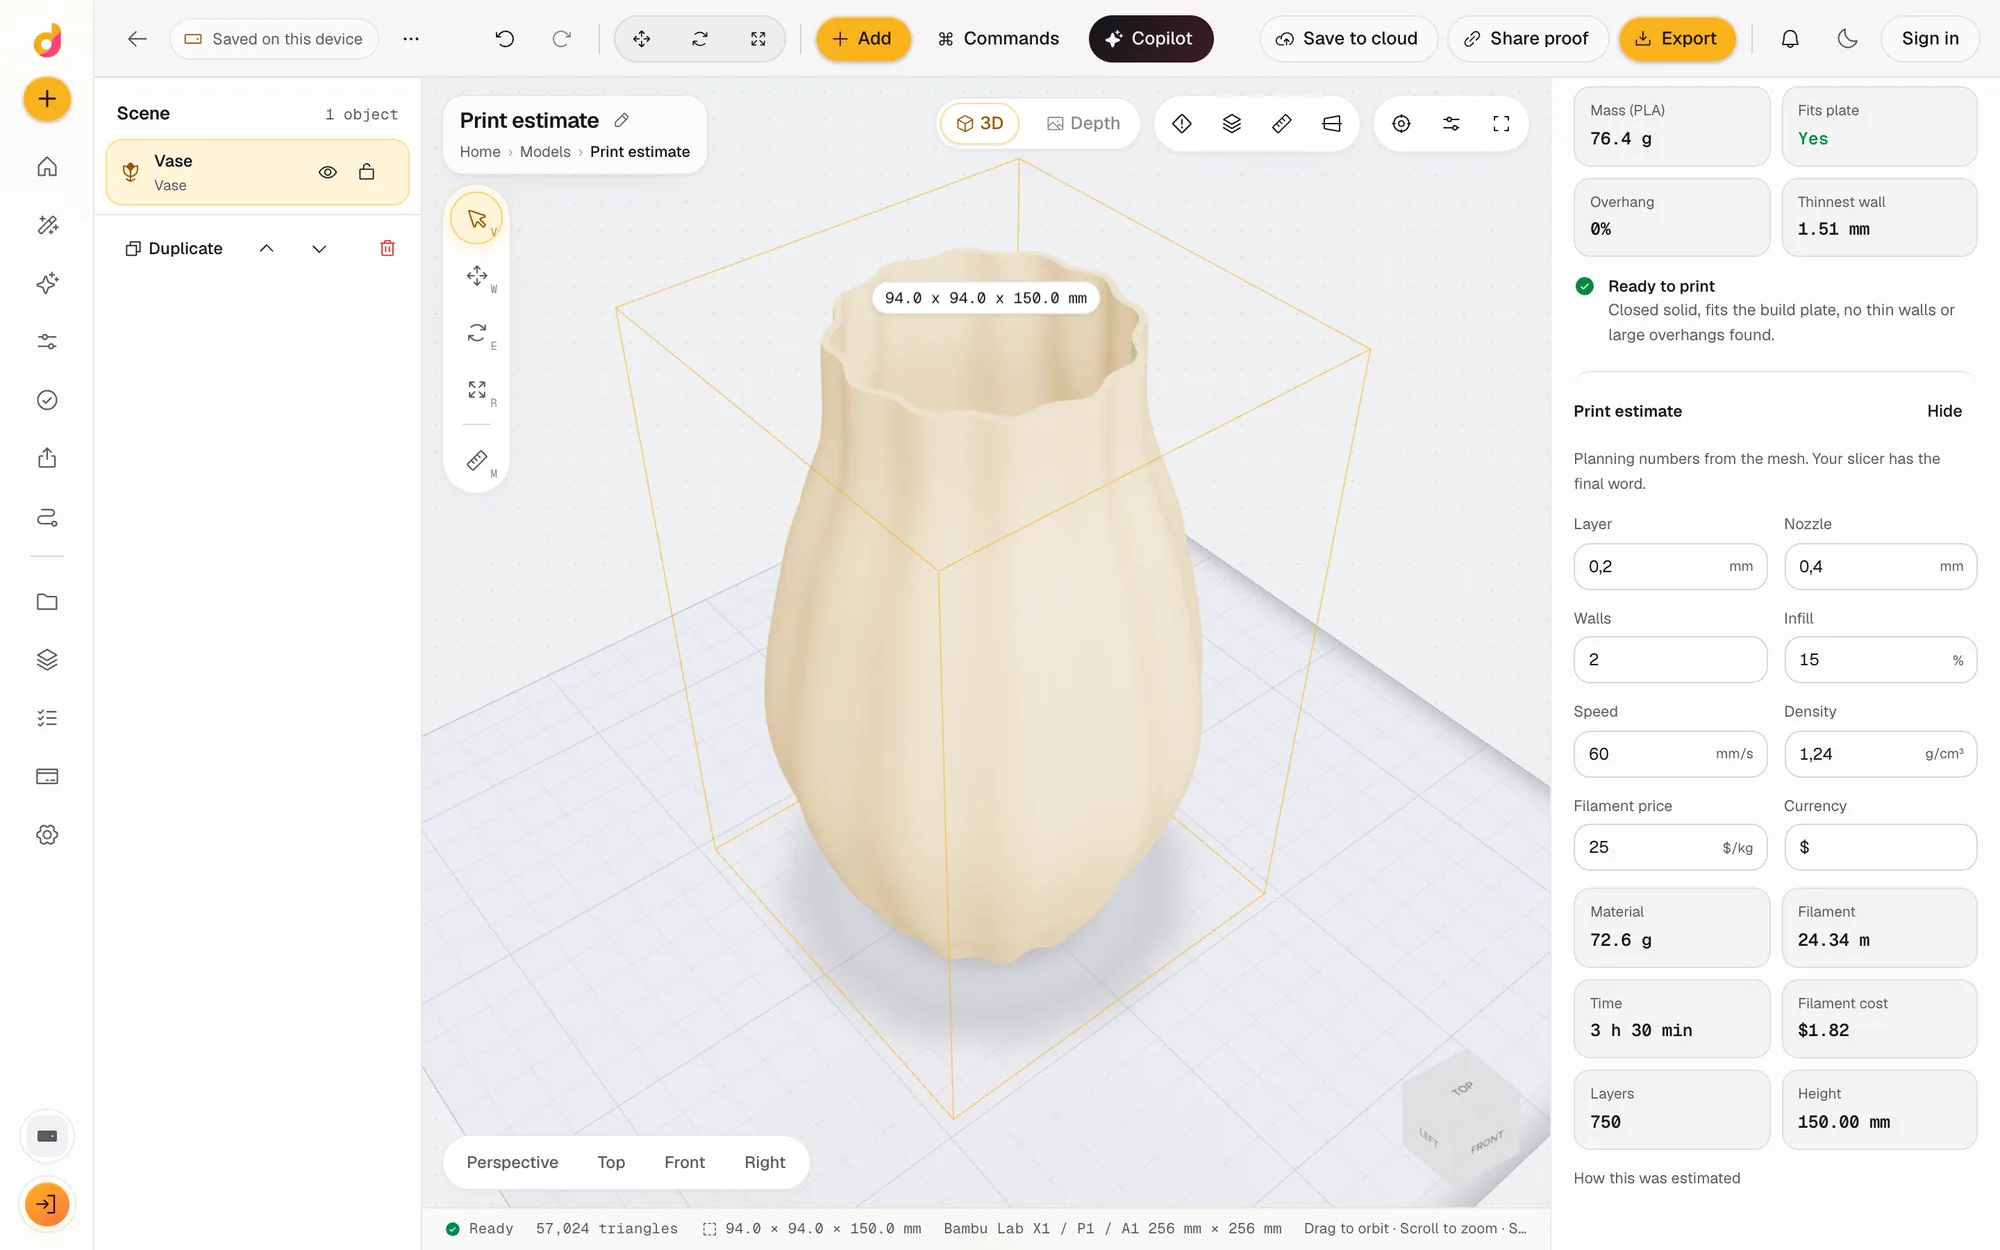
- Read the print checks: closed solid, plate fit, overhangs and thinnest wall, then the print estimate.
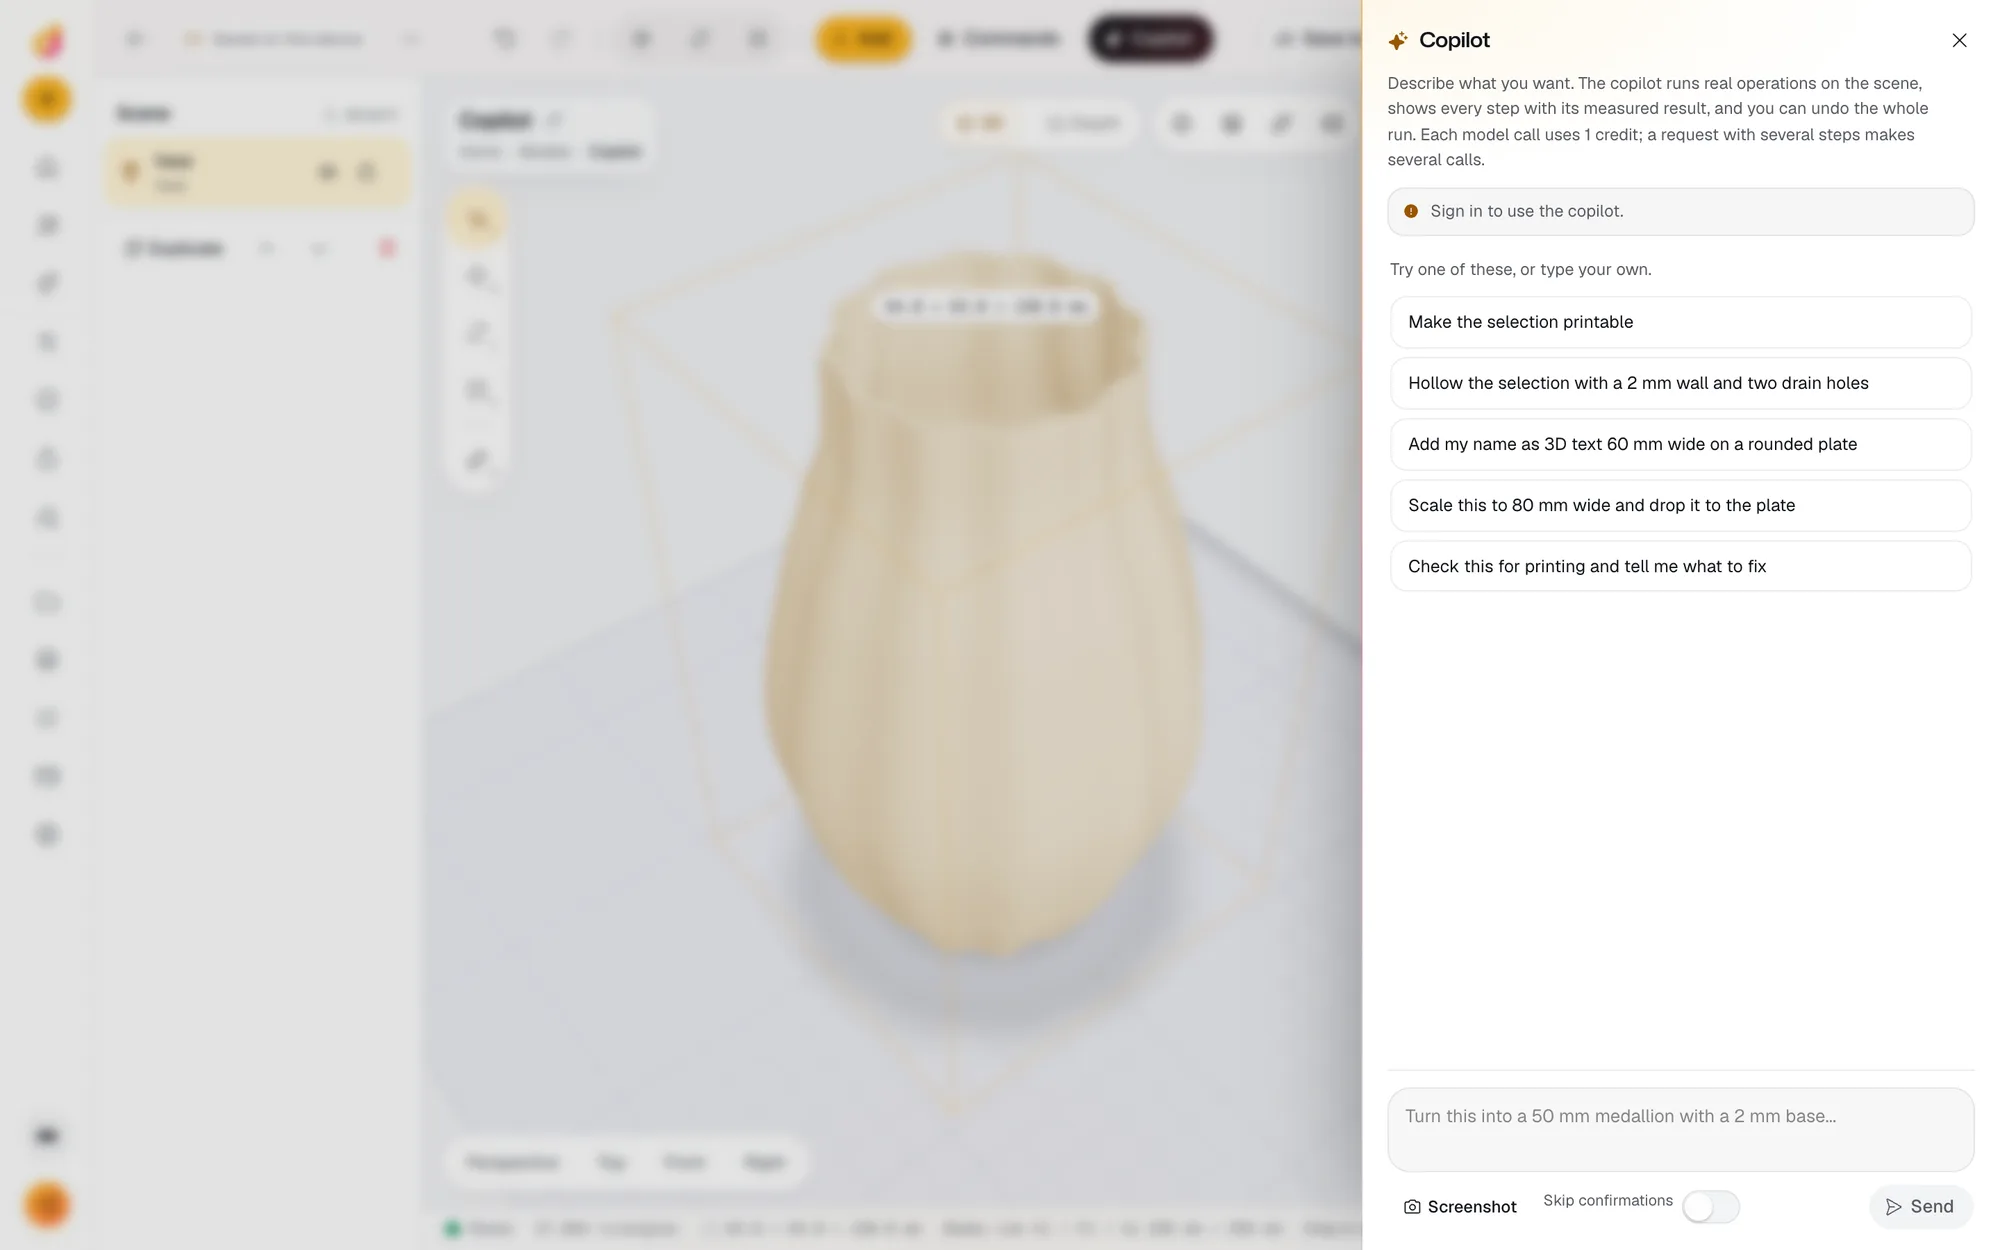
Each step is an operation you can switch off or change later. The copilot can run them from a sentence, such as: make the selection printable.
When a relief is the better choice
If the result is a coin, a plaque, a sign or a lithophane, skip full 3D. The bas relief generator builds depth from the photo on your device and keeps the photo's real detail, which a full 3D reconstruction cannot. For a model from words instead of a photo, see text to 3D.
Questions
Can I turn a photo into a 3D model for free?
Yes, within the free allowance. The free plan has 50 credits a month and needs no card. A draft model is 3 credits and an export 5, so a few drafts a month fit before you need Maker at $5 for 1,200 credits.
What AI model does it use?
TRELLIS for drafts and TRELLIS 2 for the quality tier, both open models from Microsoft under the MIT licence, run on fal.ai. Depthue does not train its own 3D model.
Is the model ready to print?
Often after a few steps. It arrives repaired if it was not a closed solid, but AI models can have thin parts, no flat base and a solid body. Cut a base, hollow it if it is large, and read the checks before you export.
What photo works best?
One object, centred, on a plain background, in soft light, from the front or a three quarter view. The hidden sides are invented, so the more of the object the photo shows, the closer the back will be.
Does it keep colours and textures?
Studio is built for the shape you print. It is not a texturing tool. For a multi-colour print, give each object its own colour and export 3MF.
Should I use image to 3D or a relief?
Use a relief when the result is seen from the front: coins, plaques, signs and lithophanes. A relief from a depth map keeps far more of the photo's detail and runs on your device. Use image to 3D for an object you can walk around, like a figurine.
Can I sell prints of the model?
Studio's terms let you use outputs commercially when you have the necessary rights to the photo you upload, on every plan including Free. There is no attribution licence on free models.
Also in Depthue Studio
 Text to 3DDescribe an object and get a 3D model with AI, then size, cut, hollow, check and export it as STL or 3MF for 3D printing in your browser. 12 credits a model.See how it works
- STL editorEdit STL files online: scale to exact millimetres, cut, hollow, combine, add text and holes, repair and simplify, then export STL or 3MF. Free to start.See how it works
- STL checkerCheck an STL before printing: closed solid, plate fit, overhangs, thin walls, volume, mass and a print estimate in grams, time and cost. Free to start.See how it works
Read next
3D printing
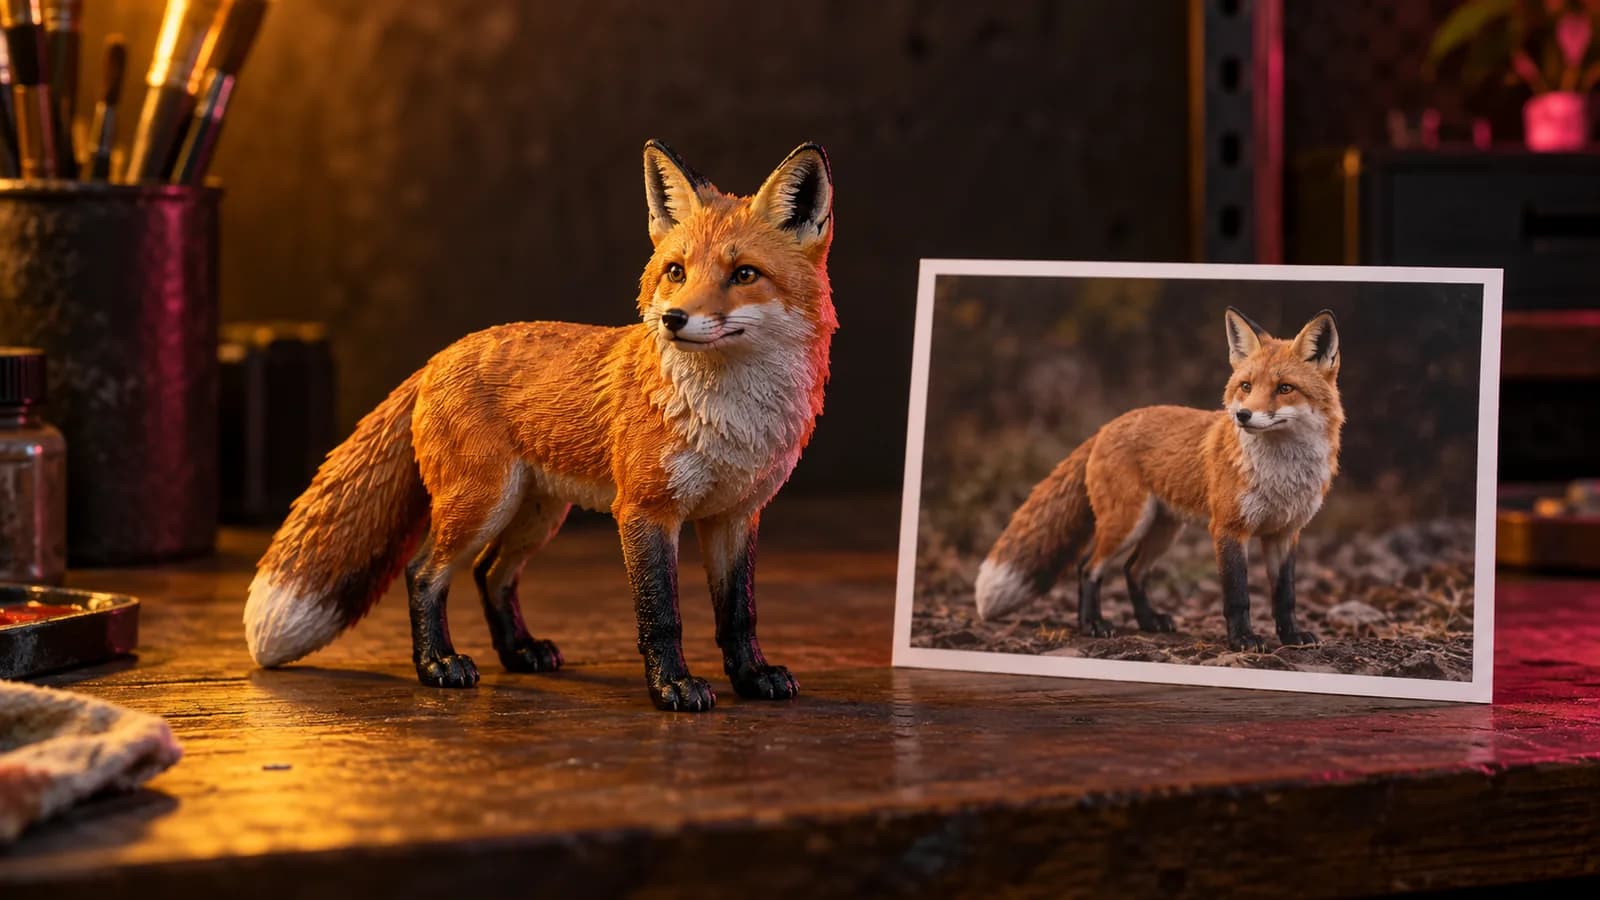
How to Make a 3D Model From a Single Image With AI (2026)
Turn one image into a printable 3D model with AI: preparing the image, Hunyuan3D vs Meshy vs Tripo, licensing, and making the mesh watertight for printing.
September 21, 2026 2 min read
3D printing
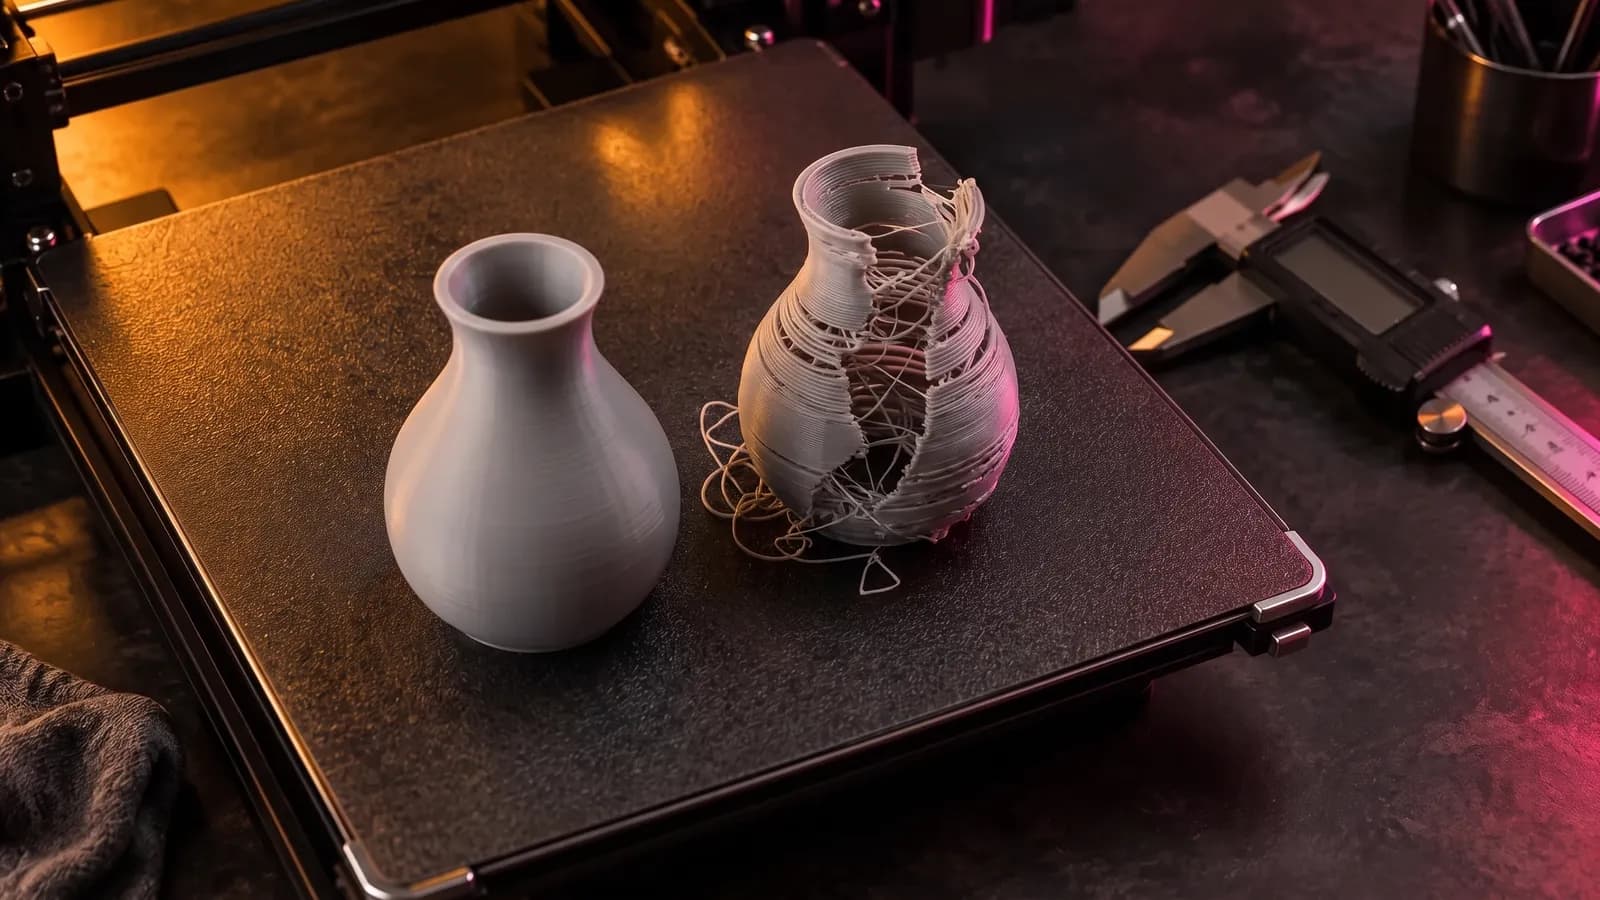
How to Fix STL Files: Holes, Non-Manifold Edges and Other Errors
How to fix STL errors: what open edges, non-manifold edges, flipped normals and self-intersections mean, what your slicer is saying, and the fix for each.
October 8, 2026 8 min read
Turn a photo into a 3D model.
It runs in your browser and the free plan needs no card. Paid plans from $5 a month add credits, storage and projects.