How to Turn a Photo Into a Bas Relief STL for 3D Printing
Turn a photo into a bas relief STL you can 3D print: make a depth map, build the relief with a base and rim in mm, and print it. Three free routes compared.
By Depthue Lab3 min read
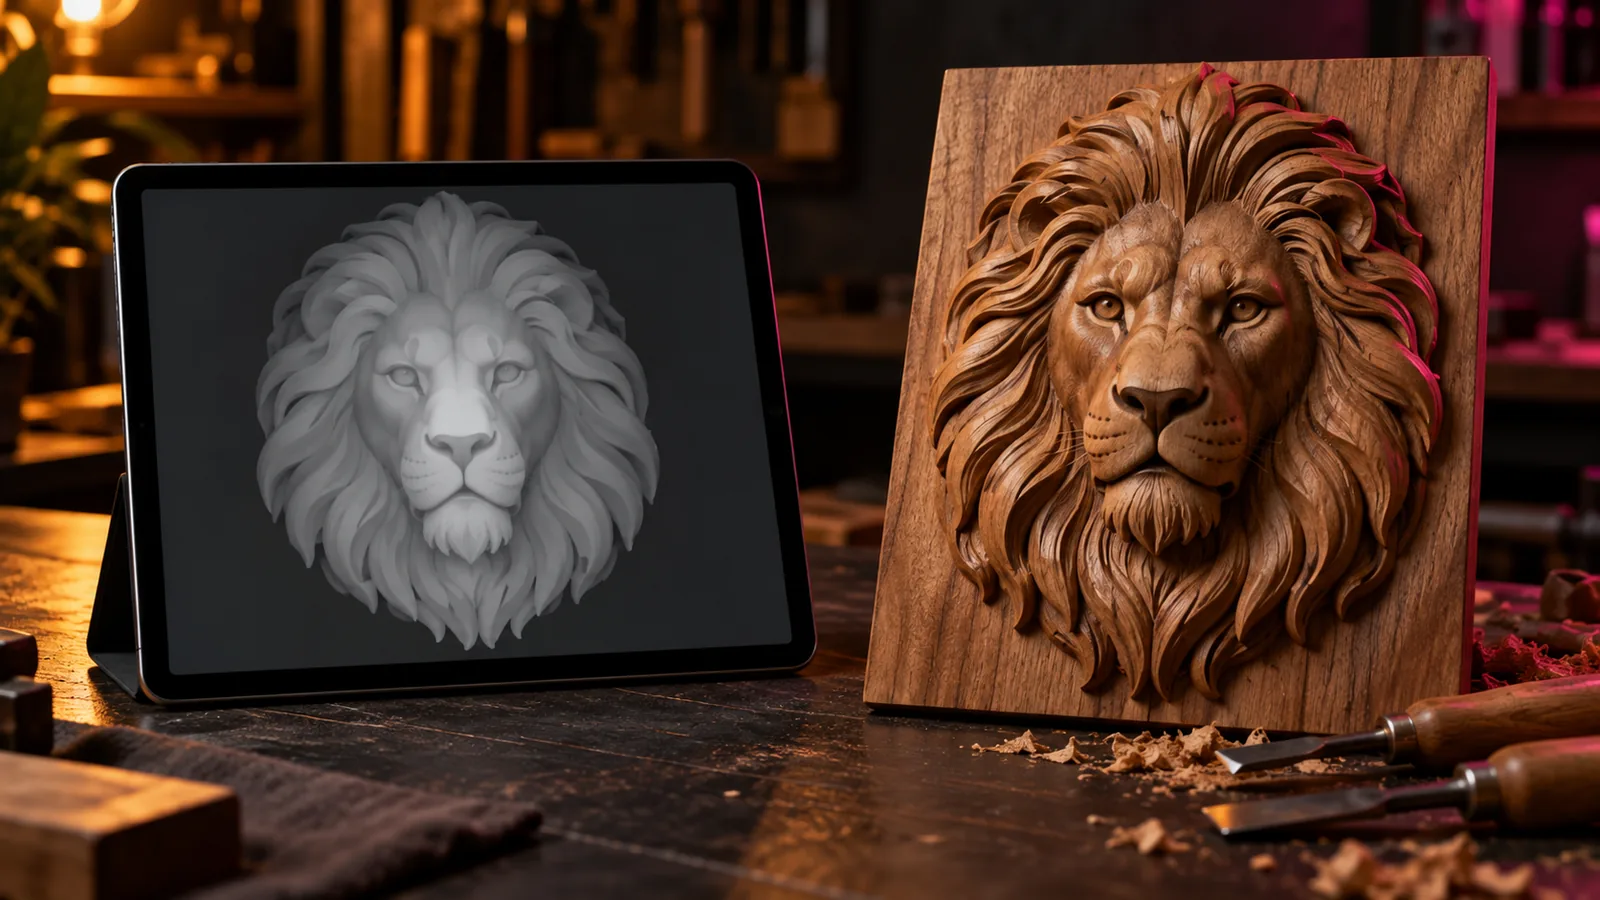
A bas relief is a sculpture that stands out from a flat background, like the head on a coin. Turning a photo into one for 3D printing takes two steps: work out how far each point of the photo stands out (a depth map), then turn that height into a closed mesh on a solid base (the STL). Here are three ways to do it, all free to start.
What you need
| Step | What it makes | Why it matters |
|---|---|---|
| Depth map | A grayscale image: white is near, black is far | Decides the shape. A bad map gives a flat or mask-like relief |
| Relief mesh | A height field on a base, with side walls | Makes it printable: a closed solid in mm |
| Print settings | Layers, orientation, base | Decides how much detail survives |
Way 1: two free browser tools
- Open the depth map generator and drop in the photo. The AI depth model runs on your device, so nothing is uploaded. Download the depth map as a PNG.
- Open image to STL, choose Depth map mode and load that PNG. White becomes the highest point and black the lowest.
- Set the width in mm, the thinnest point as the base (2 to 3 mm) and the thickest as base plus relief (6 to 9 mm). Add a frame if you want a border.
- Download the watertight STL and slice it.
This route is free and needs no account. What it does not do is letter the relief, fix the depth by hand or check the print.
Way 2: Depthue Studio, one workspace
Depthue Studio's bas relief generator does the whole job in one browser tab:
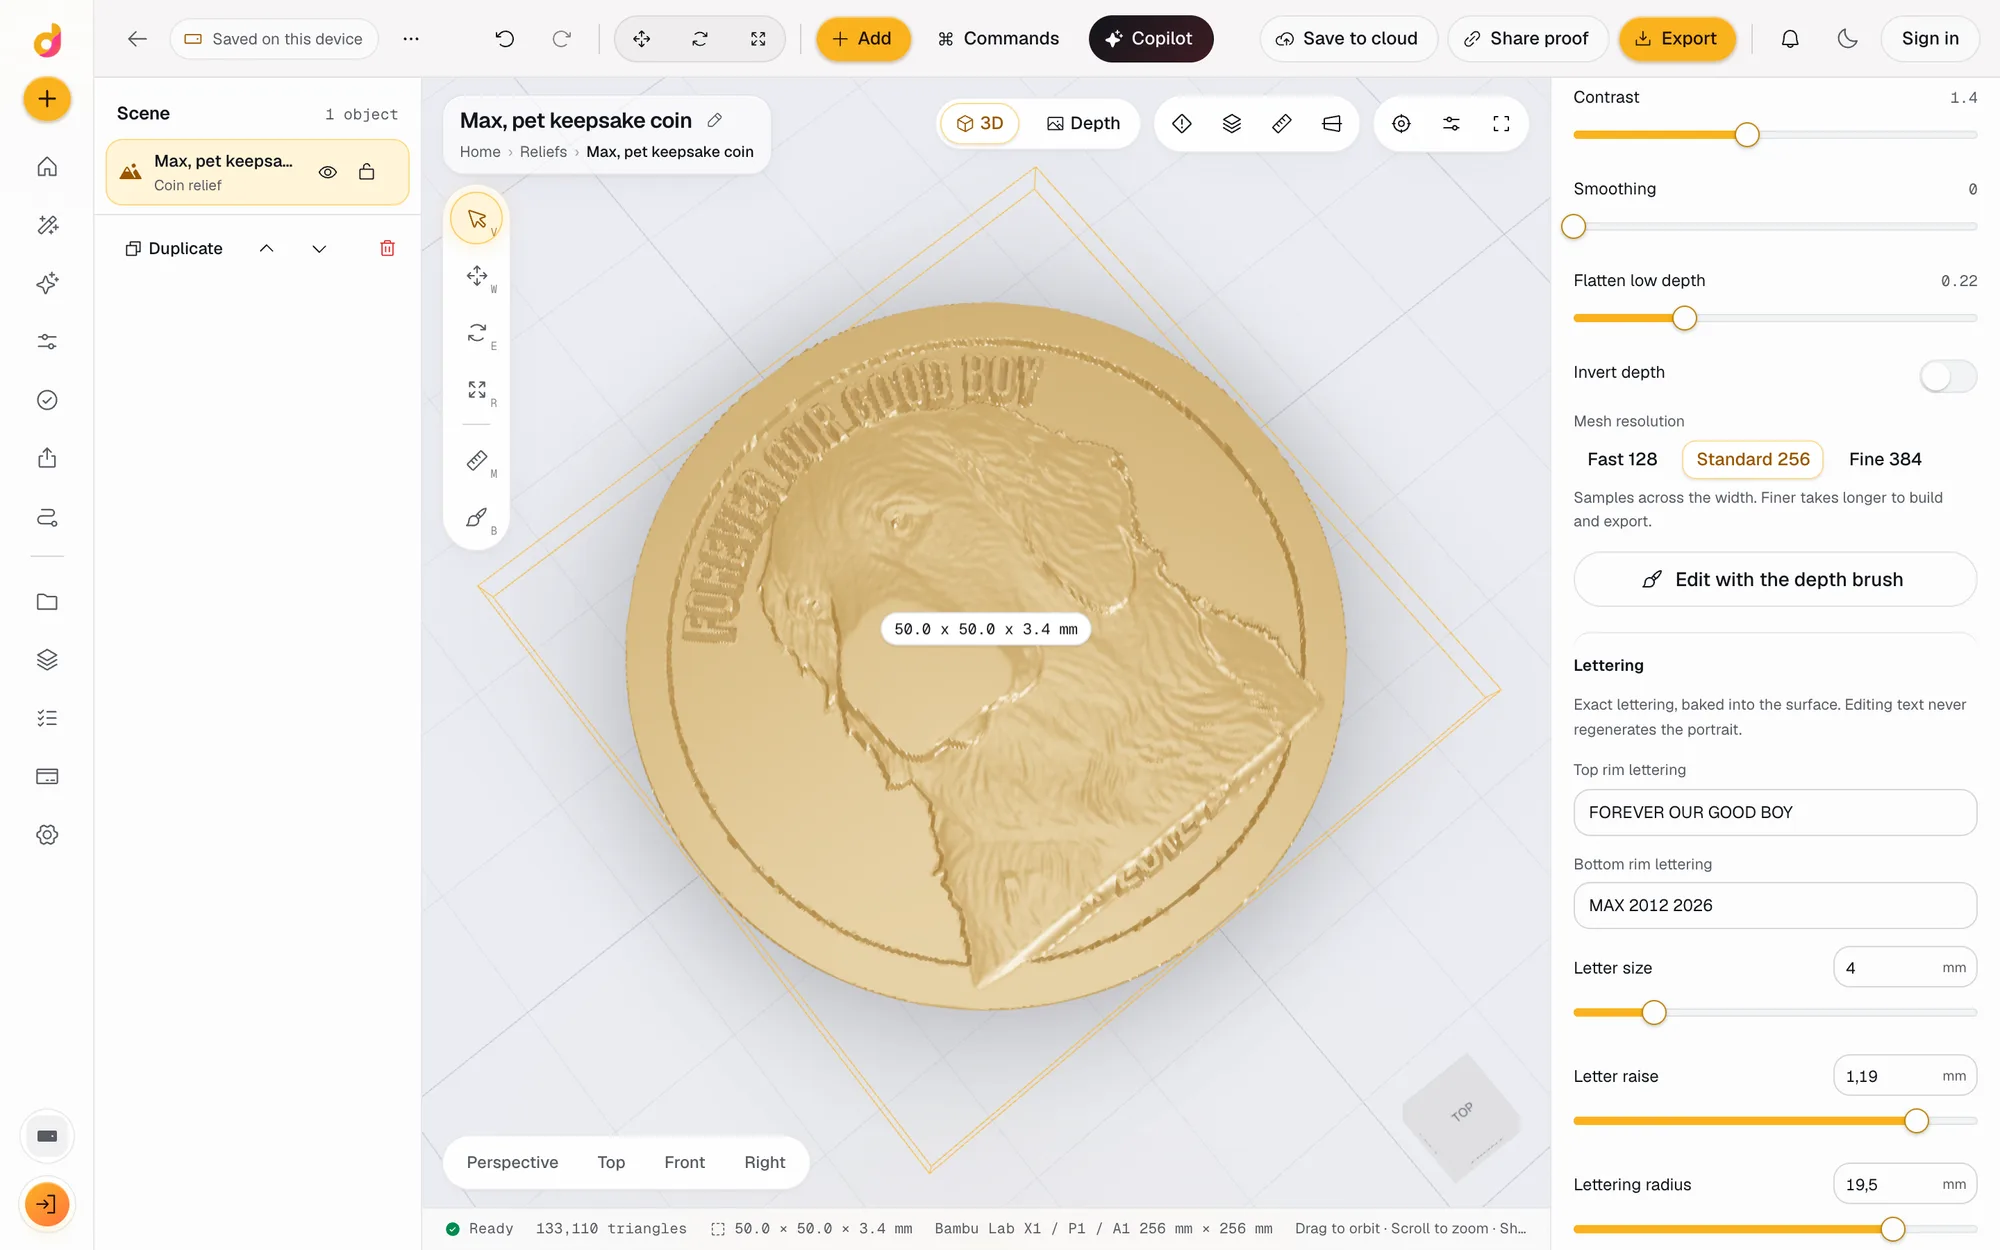
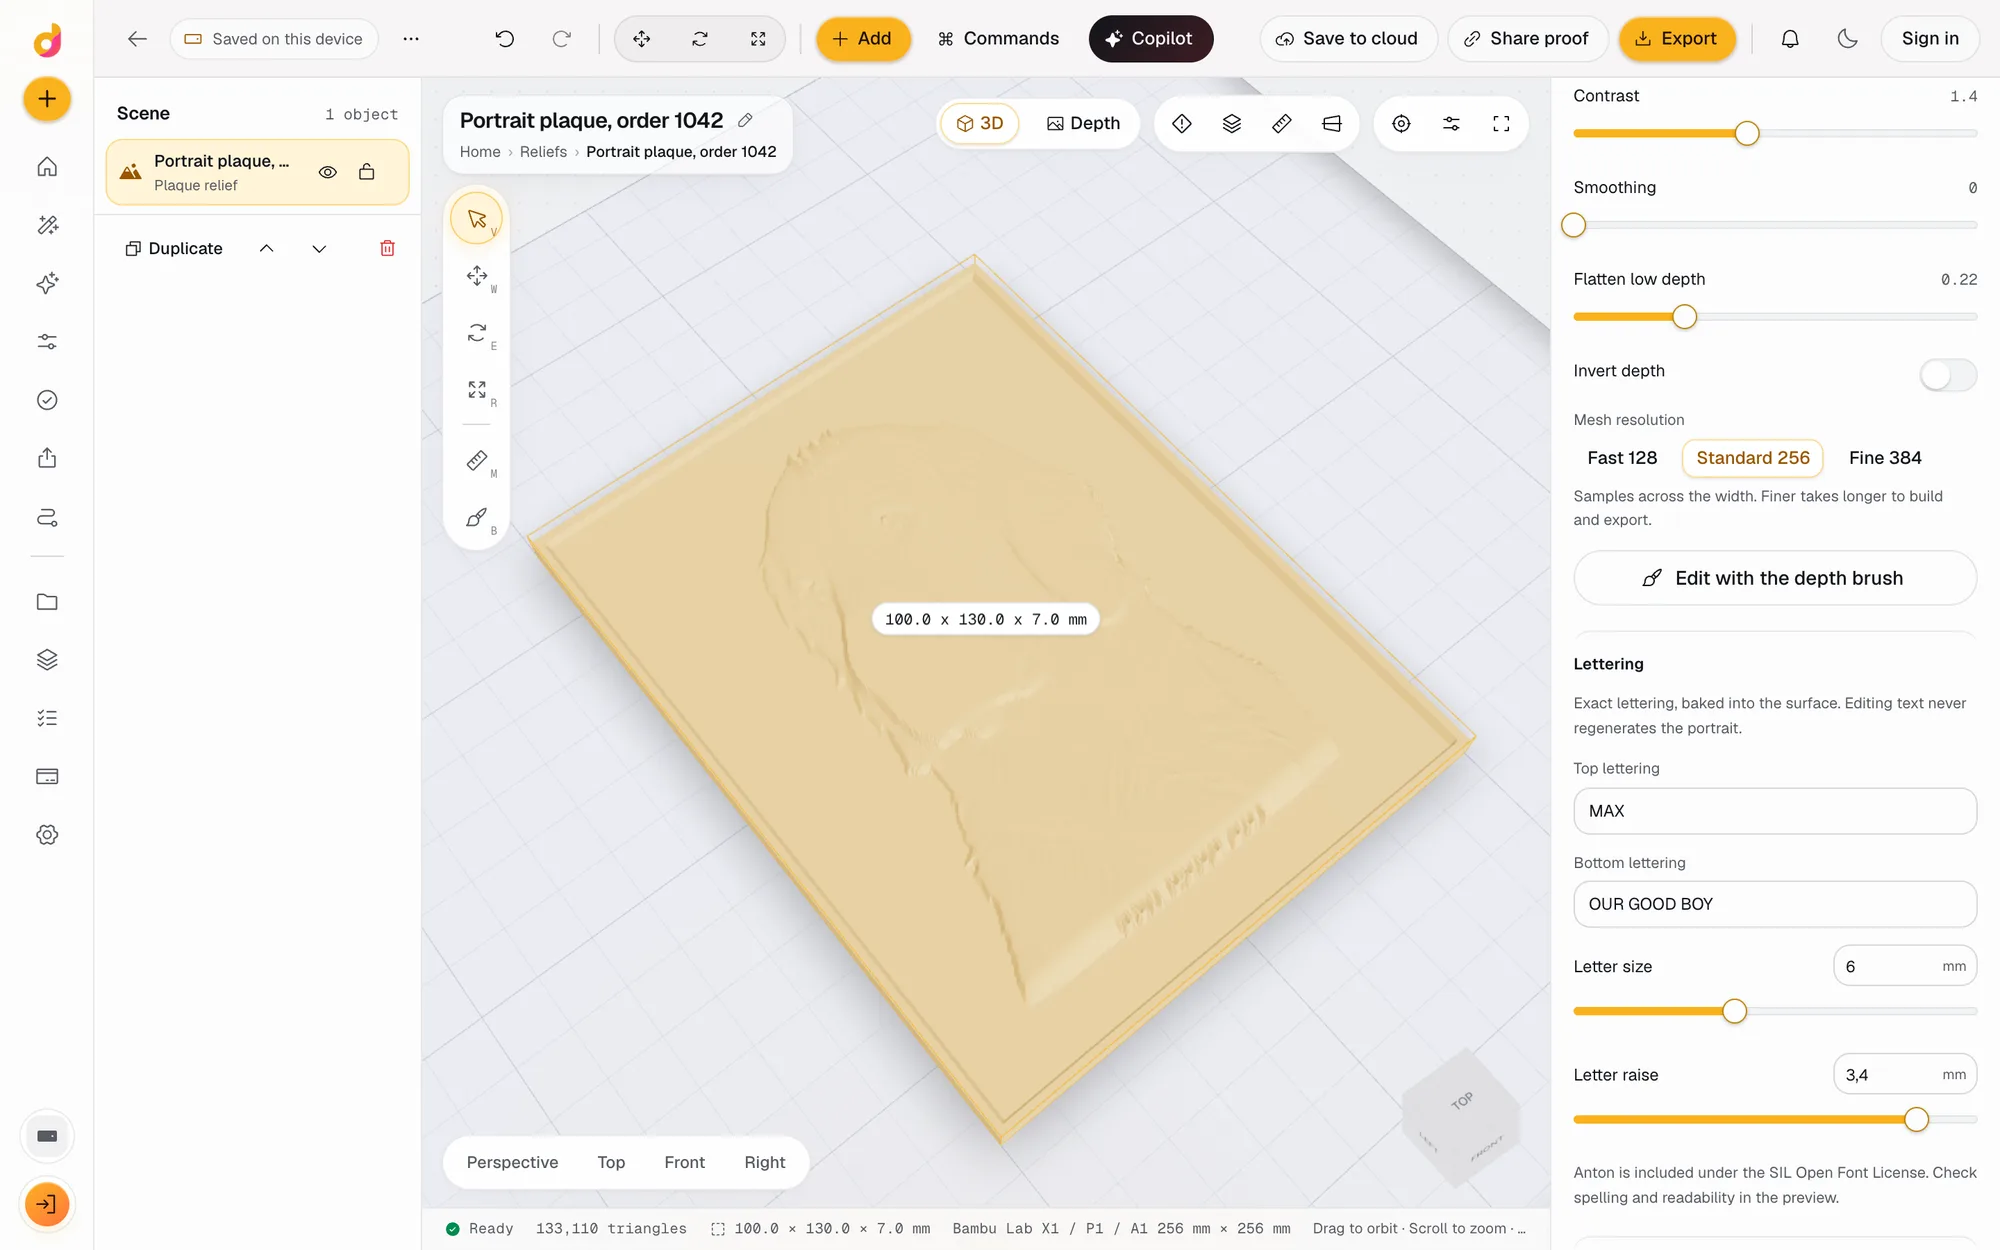
- New project, Relief from a photo, then pick a format: portrait plaque, pet medallion, heritage coin or a blank canvas.
- Drop the photo. Depth is estimated on your device. Remove the background first if the subject should stand alone.
- Shape the depth with relief height, base and rim in mm, a depth curve and contrast, then paint with the raise, lower, smooth and flatten brushes where the AI got it wrong.
- Add lettering on the top and bottom, check the mesh, and export STL, OBJ or a 16-bit PNG.
Local depth is 2 credits and an export 5, from a free allowance of 50 credits a month. If you sell custom reliefs, the proof link lets the customer approve the exact version before you print.
Way 3: AI 3D generators
AI tools such as Meshy also offer relief generators. Meshy's 3D Relief Generator lists 20 credits a generation and a 16-bit depth PNG output on its own page. These are worth a try for stylised art. For a portrait or a pet, where you want to control the height and add a name, a depth map you can edit gives more predictable results.
Getting a relief that does not look flat
- Use an AI depth map, not brightness. A brightness map pushes a dark jumper back and pulls a white collar forward. An AI depth model estimates real distance.
- Crop tight. The subject should fill most of the frame; a small face on a big background becomes a small bump.
- Add contrast to the depth curve, not more height. Too much height makes steep walls that print poorly; contrast separates the nose, eyes and hair.
- Flatten the background so the subject stands on a clean plate.
Printing it
Print the relief face up, flat on the bed, with no supports. Layers of 0.12 to 0.16 mm show facial detail; 0.2 mm is fine for a first test. A 100 to 150 mm plaque with 4 to 6 mm of relief on a 2 to 3 mm base takes a few hours on most printers. For a painted look, print in a light grey and dry brush the high points.
Want it carved or engraved instead? The same depth map drives a CNC carving or a 3D laser engraving: see photo to CNC relief plaque.
Free tools for this job
Frequently asked questions
How do I turn a photo into a bas relief STL?
Make a depth map of the photo, then turn the depth map into a mesh with a solid base. In a browser: run the photo through a depth map generator, load the result into an image to STL tool in depth map mode, set the width and relief height in mm, and download the STL.
Can I make a bas relief from a photo for free?
Yes. Depthue's depth map generator and image to STL tool are free, need no account and keep the photo on your device. Depthue Studio's free plan adds lettering, depth brushes and print checks with 50 credits a month.
What is the difference between a bas relief and a lithophane?
A bas relief is lit from the front: near parts of the subject stand out, far parts sit low. A lithophane is lit from behind: dark areas print thick and bright areas thin. They use different maps, depth for a relief and brightness for a lithophane.
Why does my relief look flat or like a mask?
Usually the depth map, not the mesh. A plain brightness map treats a dark shirt as far away and a bright cheek as near. Use an AI depth map, which estimates real distance, then raise the relief height and add a little contrast to the depth curve.
How thick should a bas relief print be?
A 2 to 3 mm base keeps it flat, and 4 to 6 mm of relief on top reads well at 100 to 150 mm wide. Taller reliefs need finer layers on the steep sides.
What photos make the best relief?
One subject, sharp, lit from one side, on a plain background. Pets and portraits work well. Remove the background first so the subject stands alone on the plate.